Maps
What is the Maps Module?
The Map helps customers find your shops or other points of interest.
Why use Maps?
By using the Maps Module you are able to showcase your nearest store or give the right direction to your office by using the Store locator plugin.
How to access Maps?
To access the Maps Module, navigate to Modules > Maps from the navigation bar.
Icon
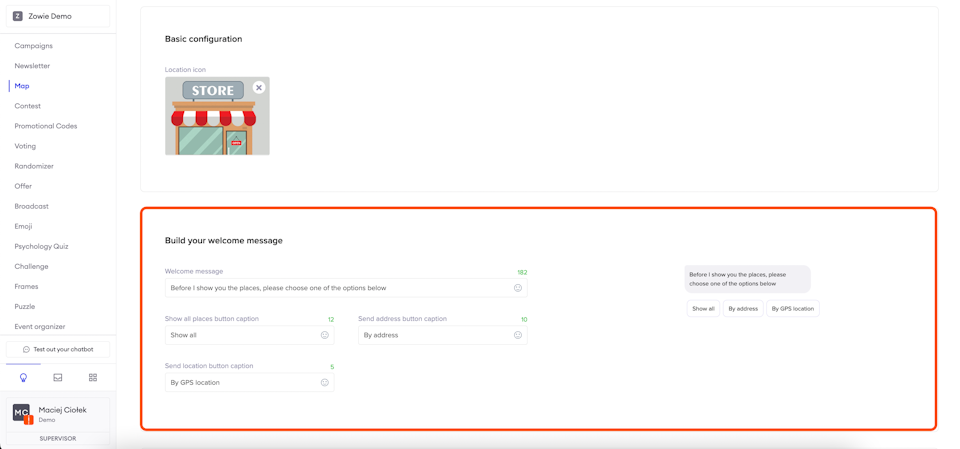
Upload the icon used to show a point of interest (POI) on the map. It will be used to distinguish all POIs you add to your map.
Welcome message
Configure the message sent to users when they enter the plugin. Enter its content as the Welcome message and provide captions for three buttons:
- Show all places: shows users the map with all POIs you configured;
- Send location: shows users POIs nearest the place they are (by GPS);
- Send address: shows users POIs nearest the address they provided.
Button responses “Show all places”
The next step is configuring the button responses.
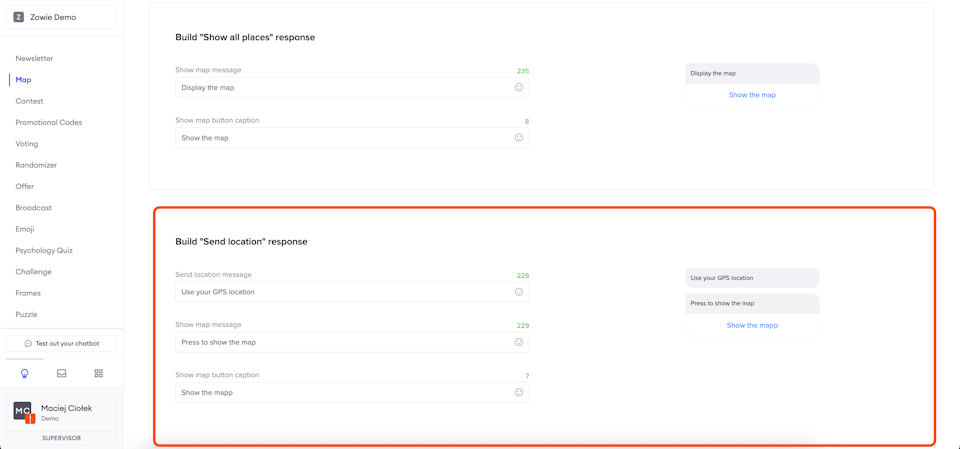
"Show all places” button
Configure the message's content from which users can enter the map and the caption on the button that shows the map.
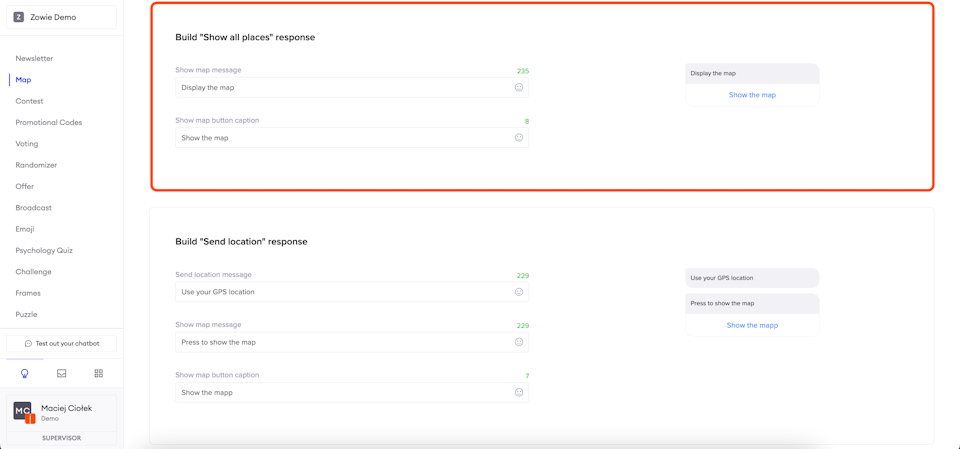
"Send location” button
Configure the content of the message that prompts users to send their location by clicking the button visible underneath it in the Send location message field. The button will appear as a quick reply to the message.
Due to API limitations, the caption on the “Send location” button isn’t configurable. It is fixed based on the language to which the user has set their platform.
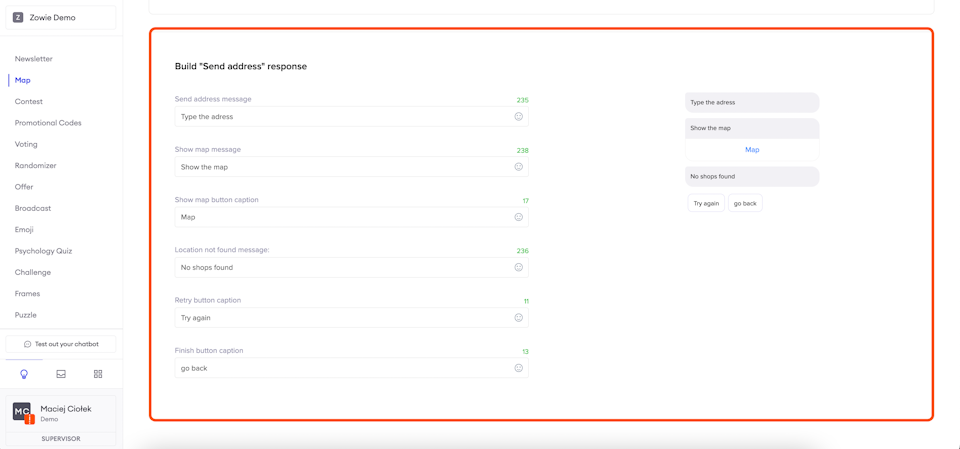
"Send address” button
Configure the content of the message that prompts the user to input their address in the Send address message field. Then proceed to fill in the message with the button to open the attached map and the message which is sent to the user if the algorithm is unable to find the address they specified.
Adding and editing POIs
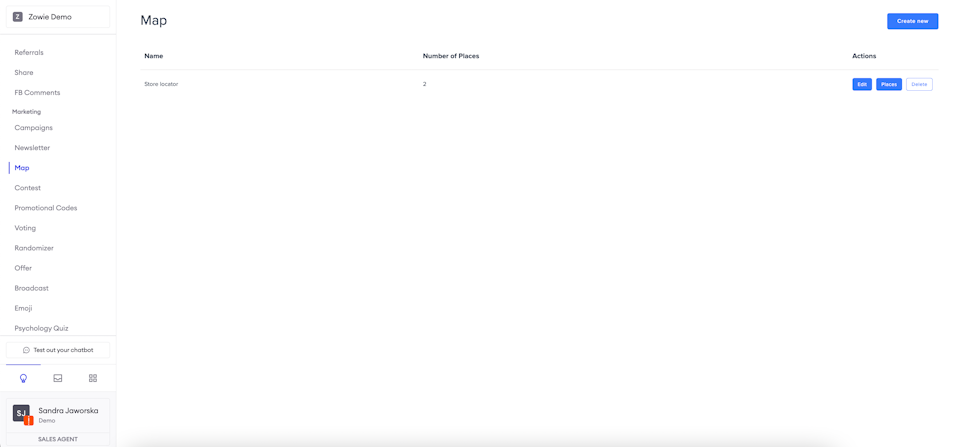
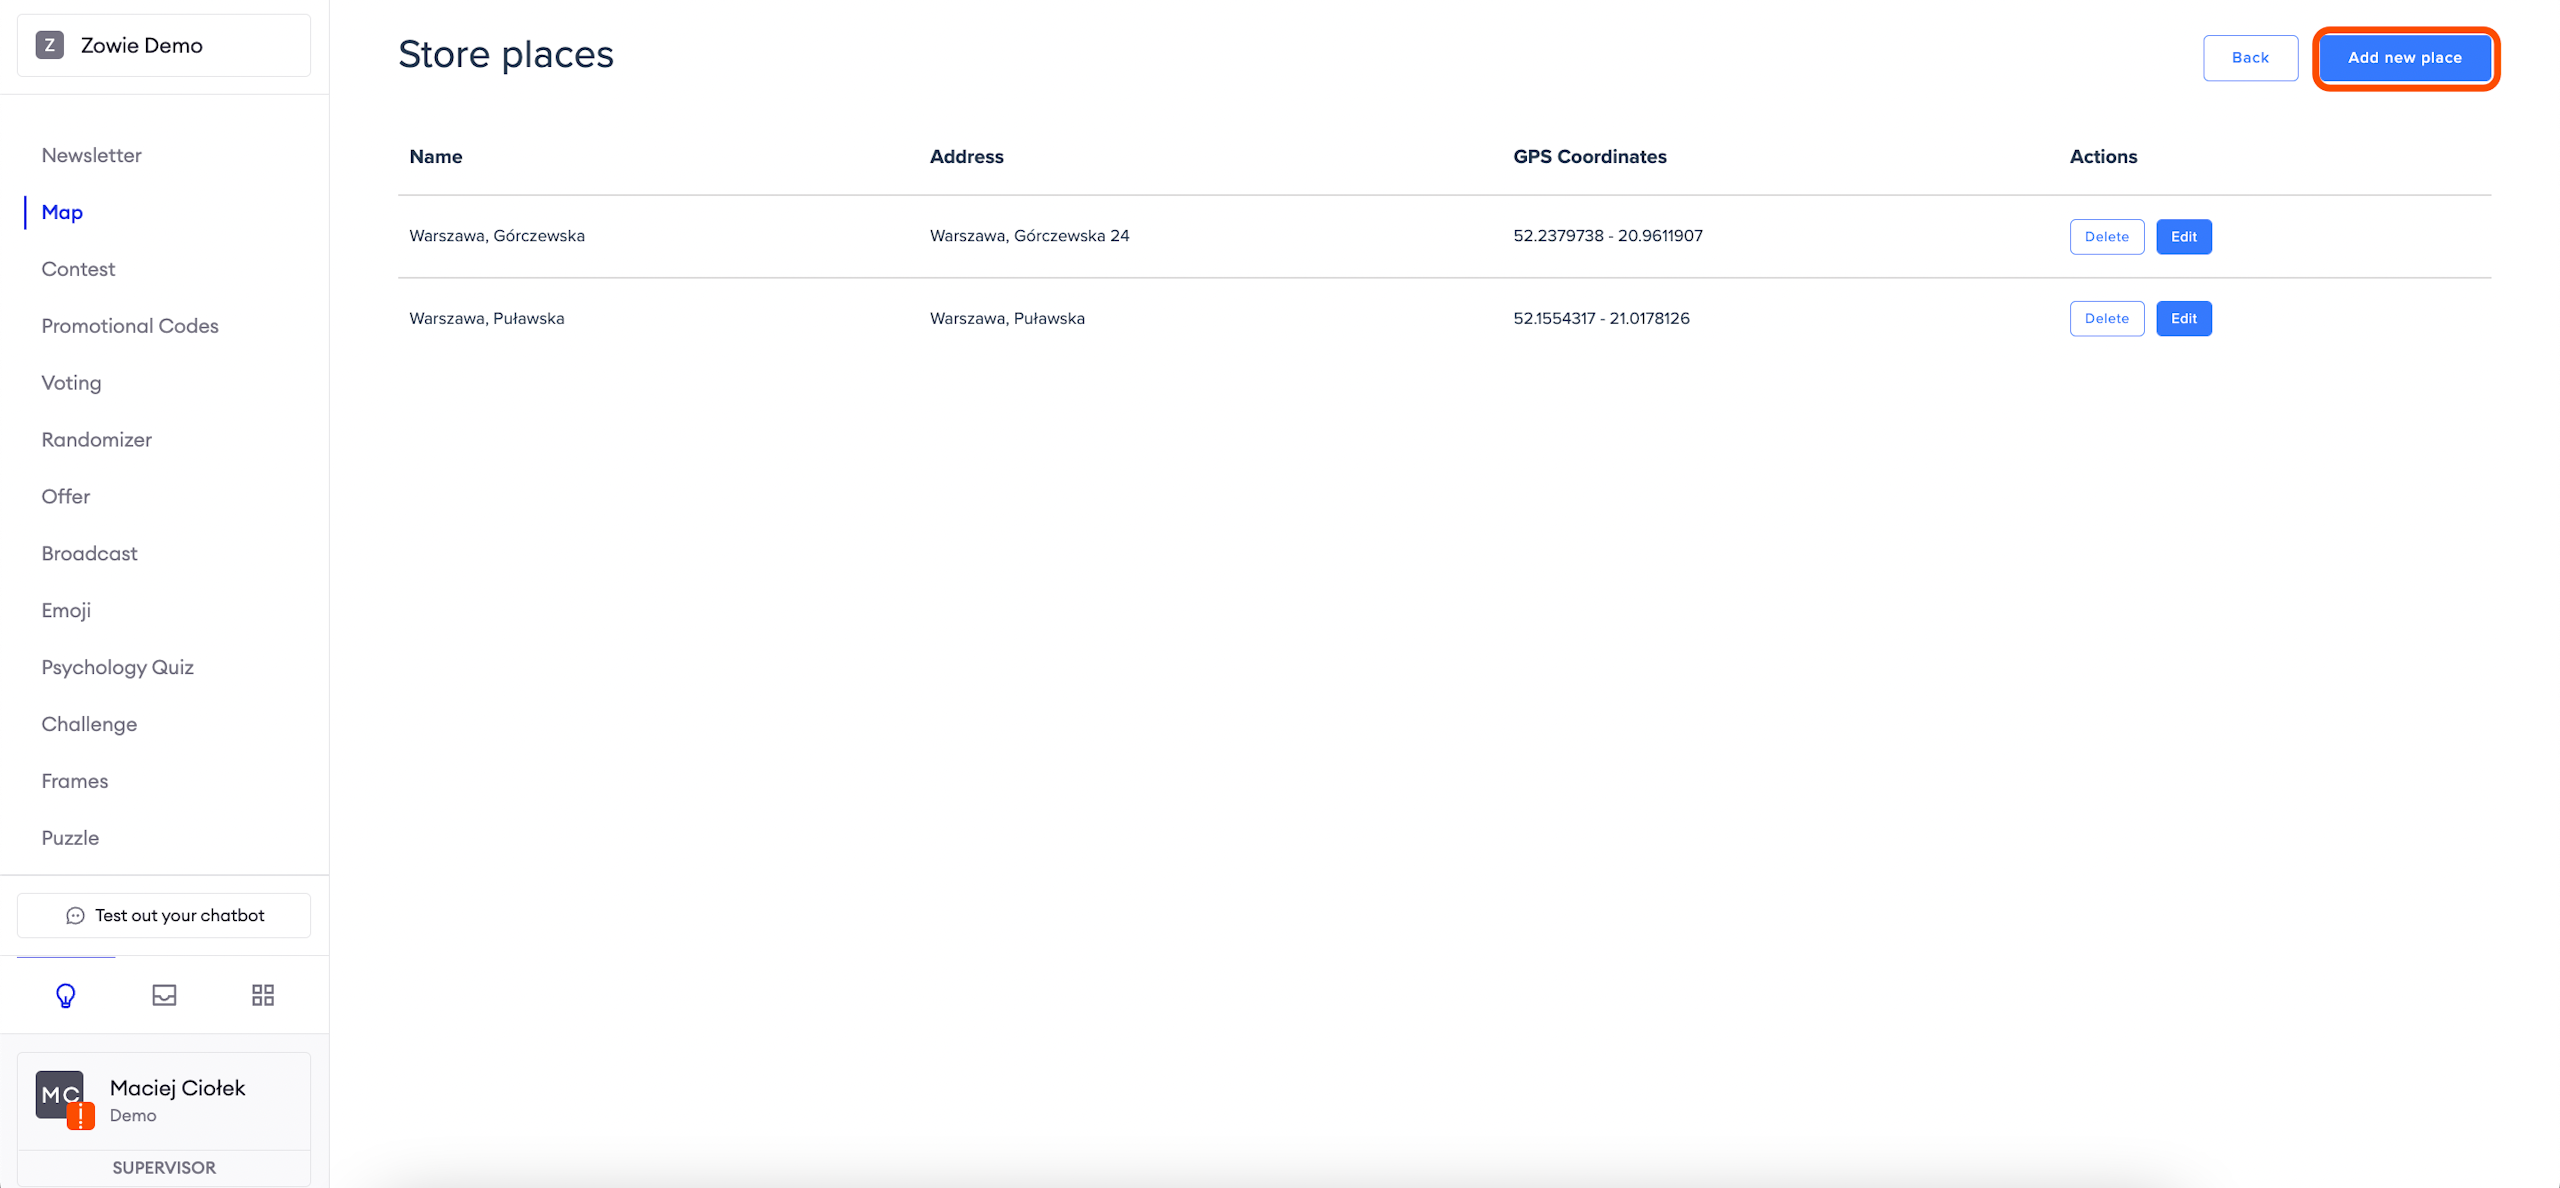
When viewing the list of all instances of the Map Module, you will find a button that shows all places marked on the map (Places).
Add a new POI by clicking "Add new place" button. Alternatively, you can edit one of the existing POIs by clicking "Edit". Both actions will open the POI editor in which you can provide details for that specific POI.
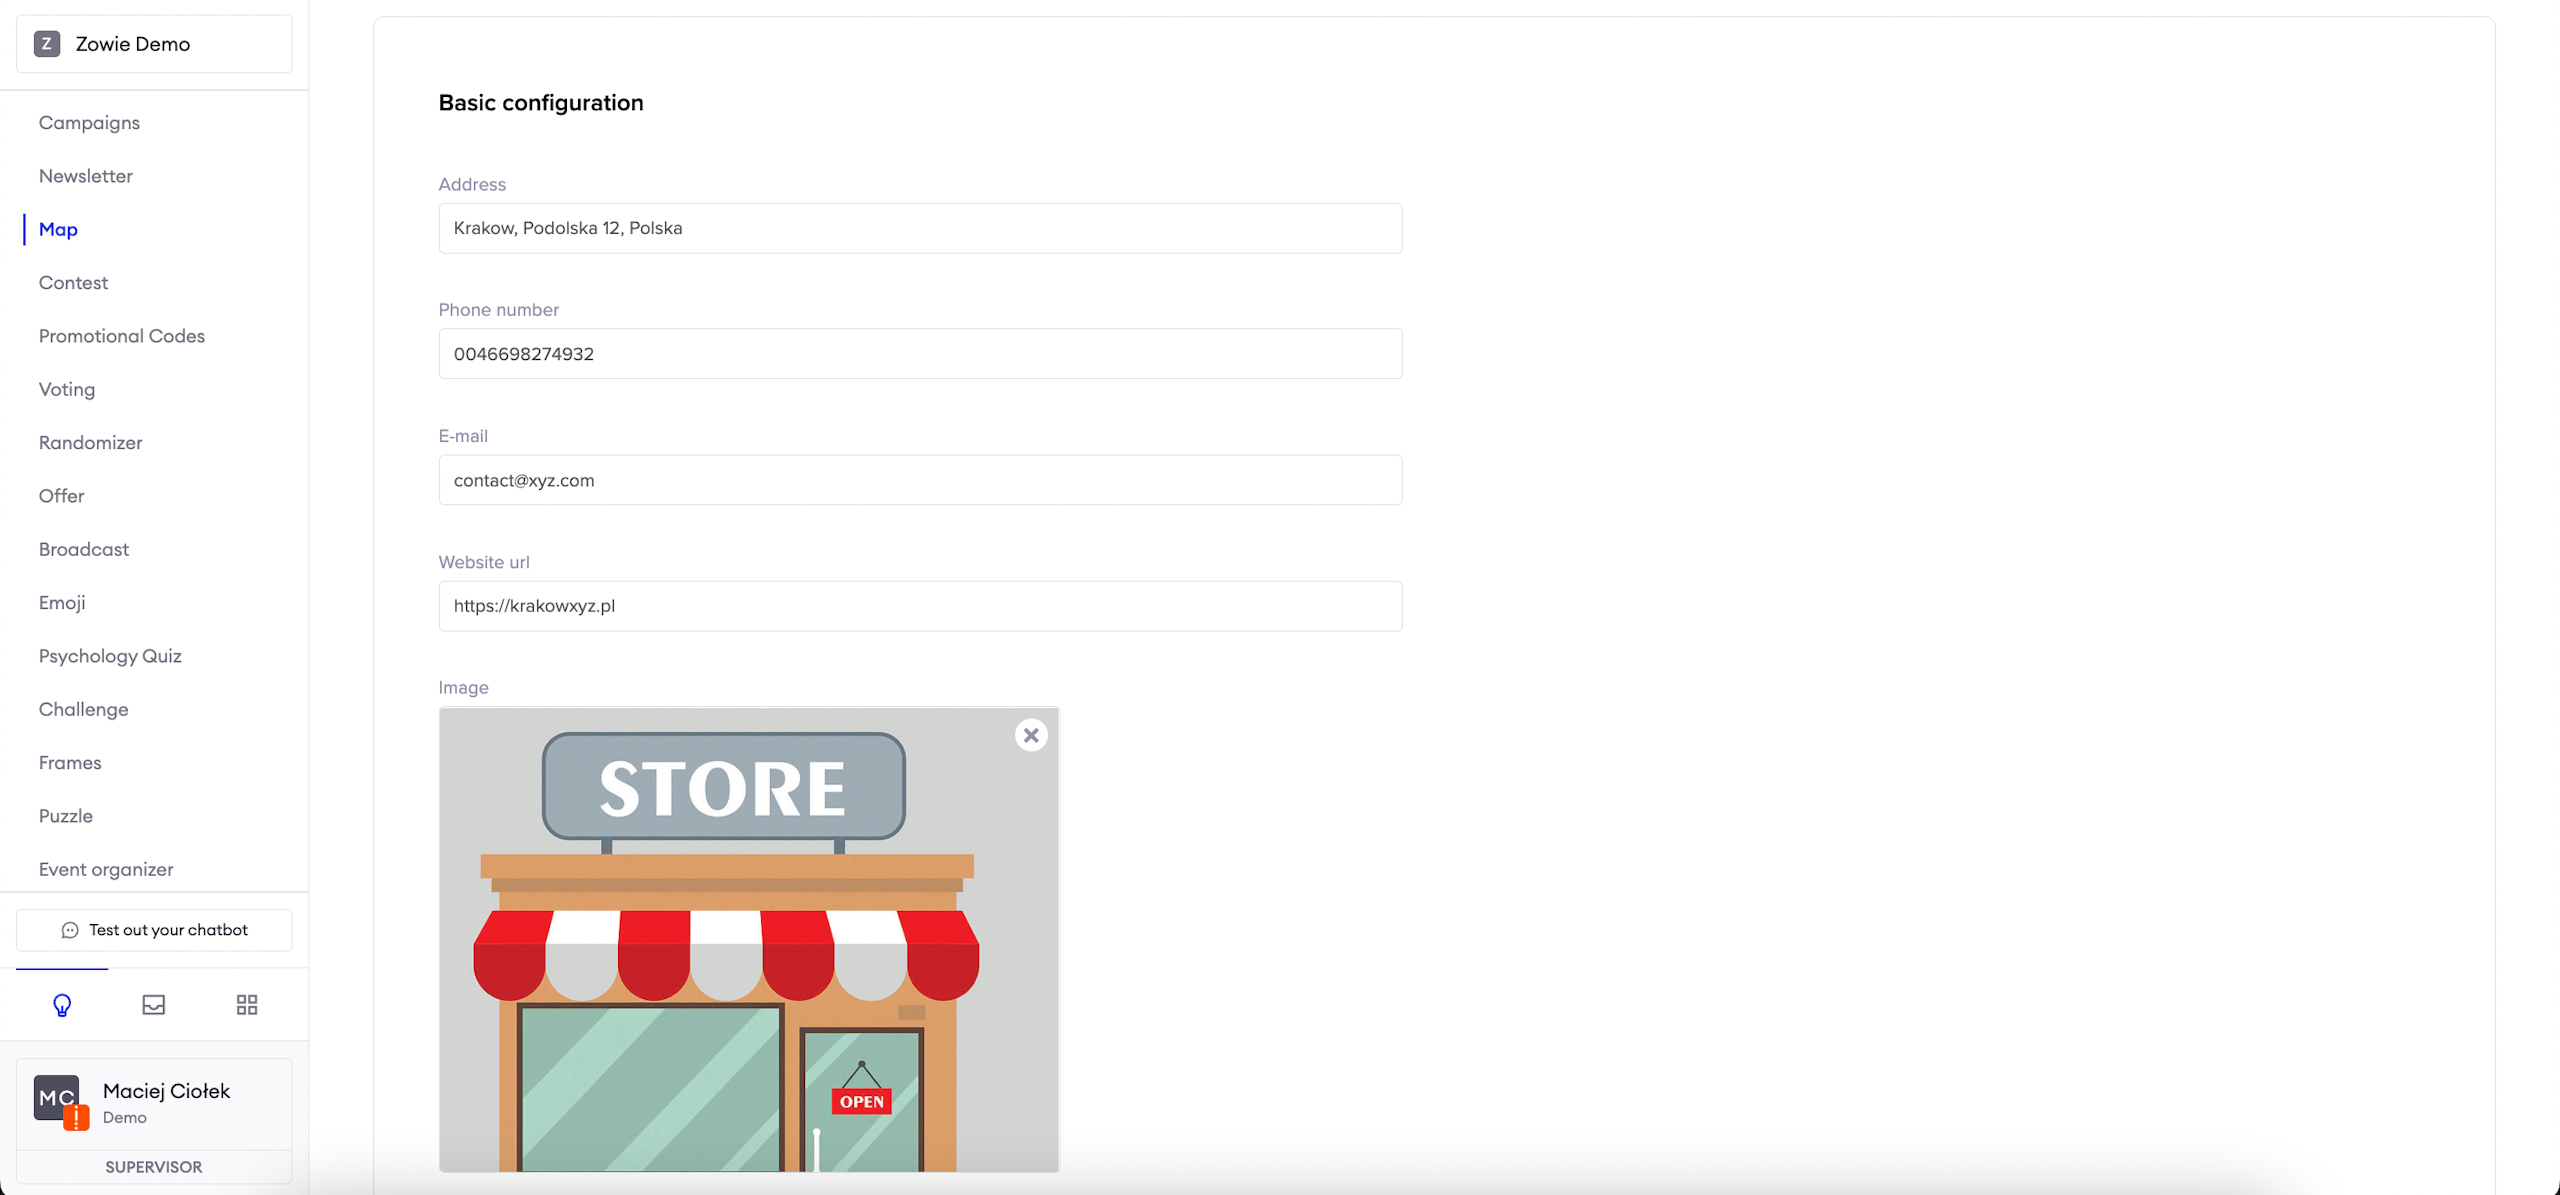
Under Basic configuration for a POI, you can specify:
- address;
- phone number;
- email address;
- website URL;
- image.
Most items on the list are optional and don’t need to be configured.

GPS coordinates
To access the GPS coordinates, navigate to Modules > Maps from the navigation bar. Then choose Places > Add New Places.
The latitude and longitude of the POI are needed to save the POI on the map. However, given that you specified the address, all you need to do is click the "Fetch for address" button, and the fields will be filled automatically.
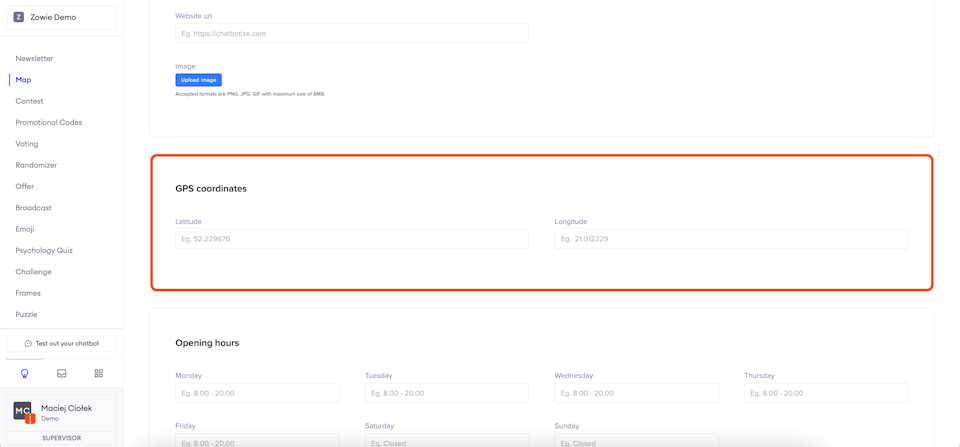
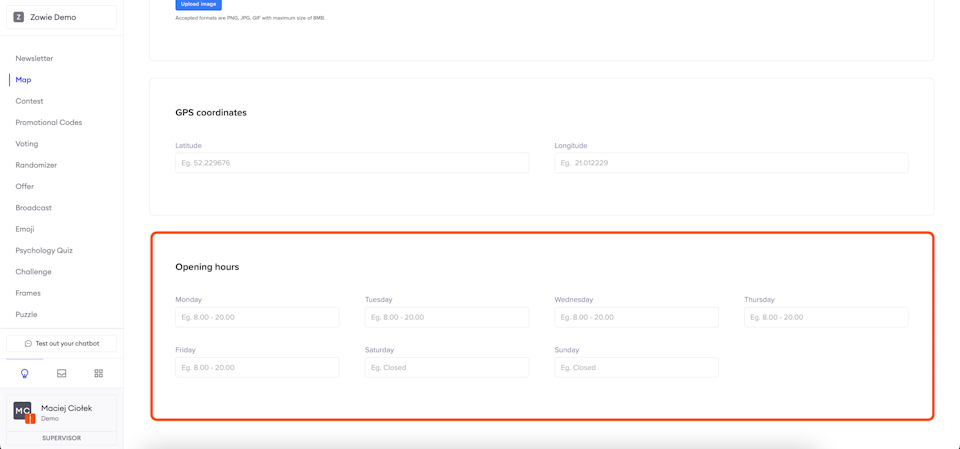
Opening hours
It’s possible to specify the POI’s opening hours.