
Custom Visual Aids
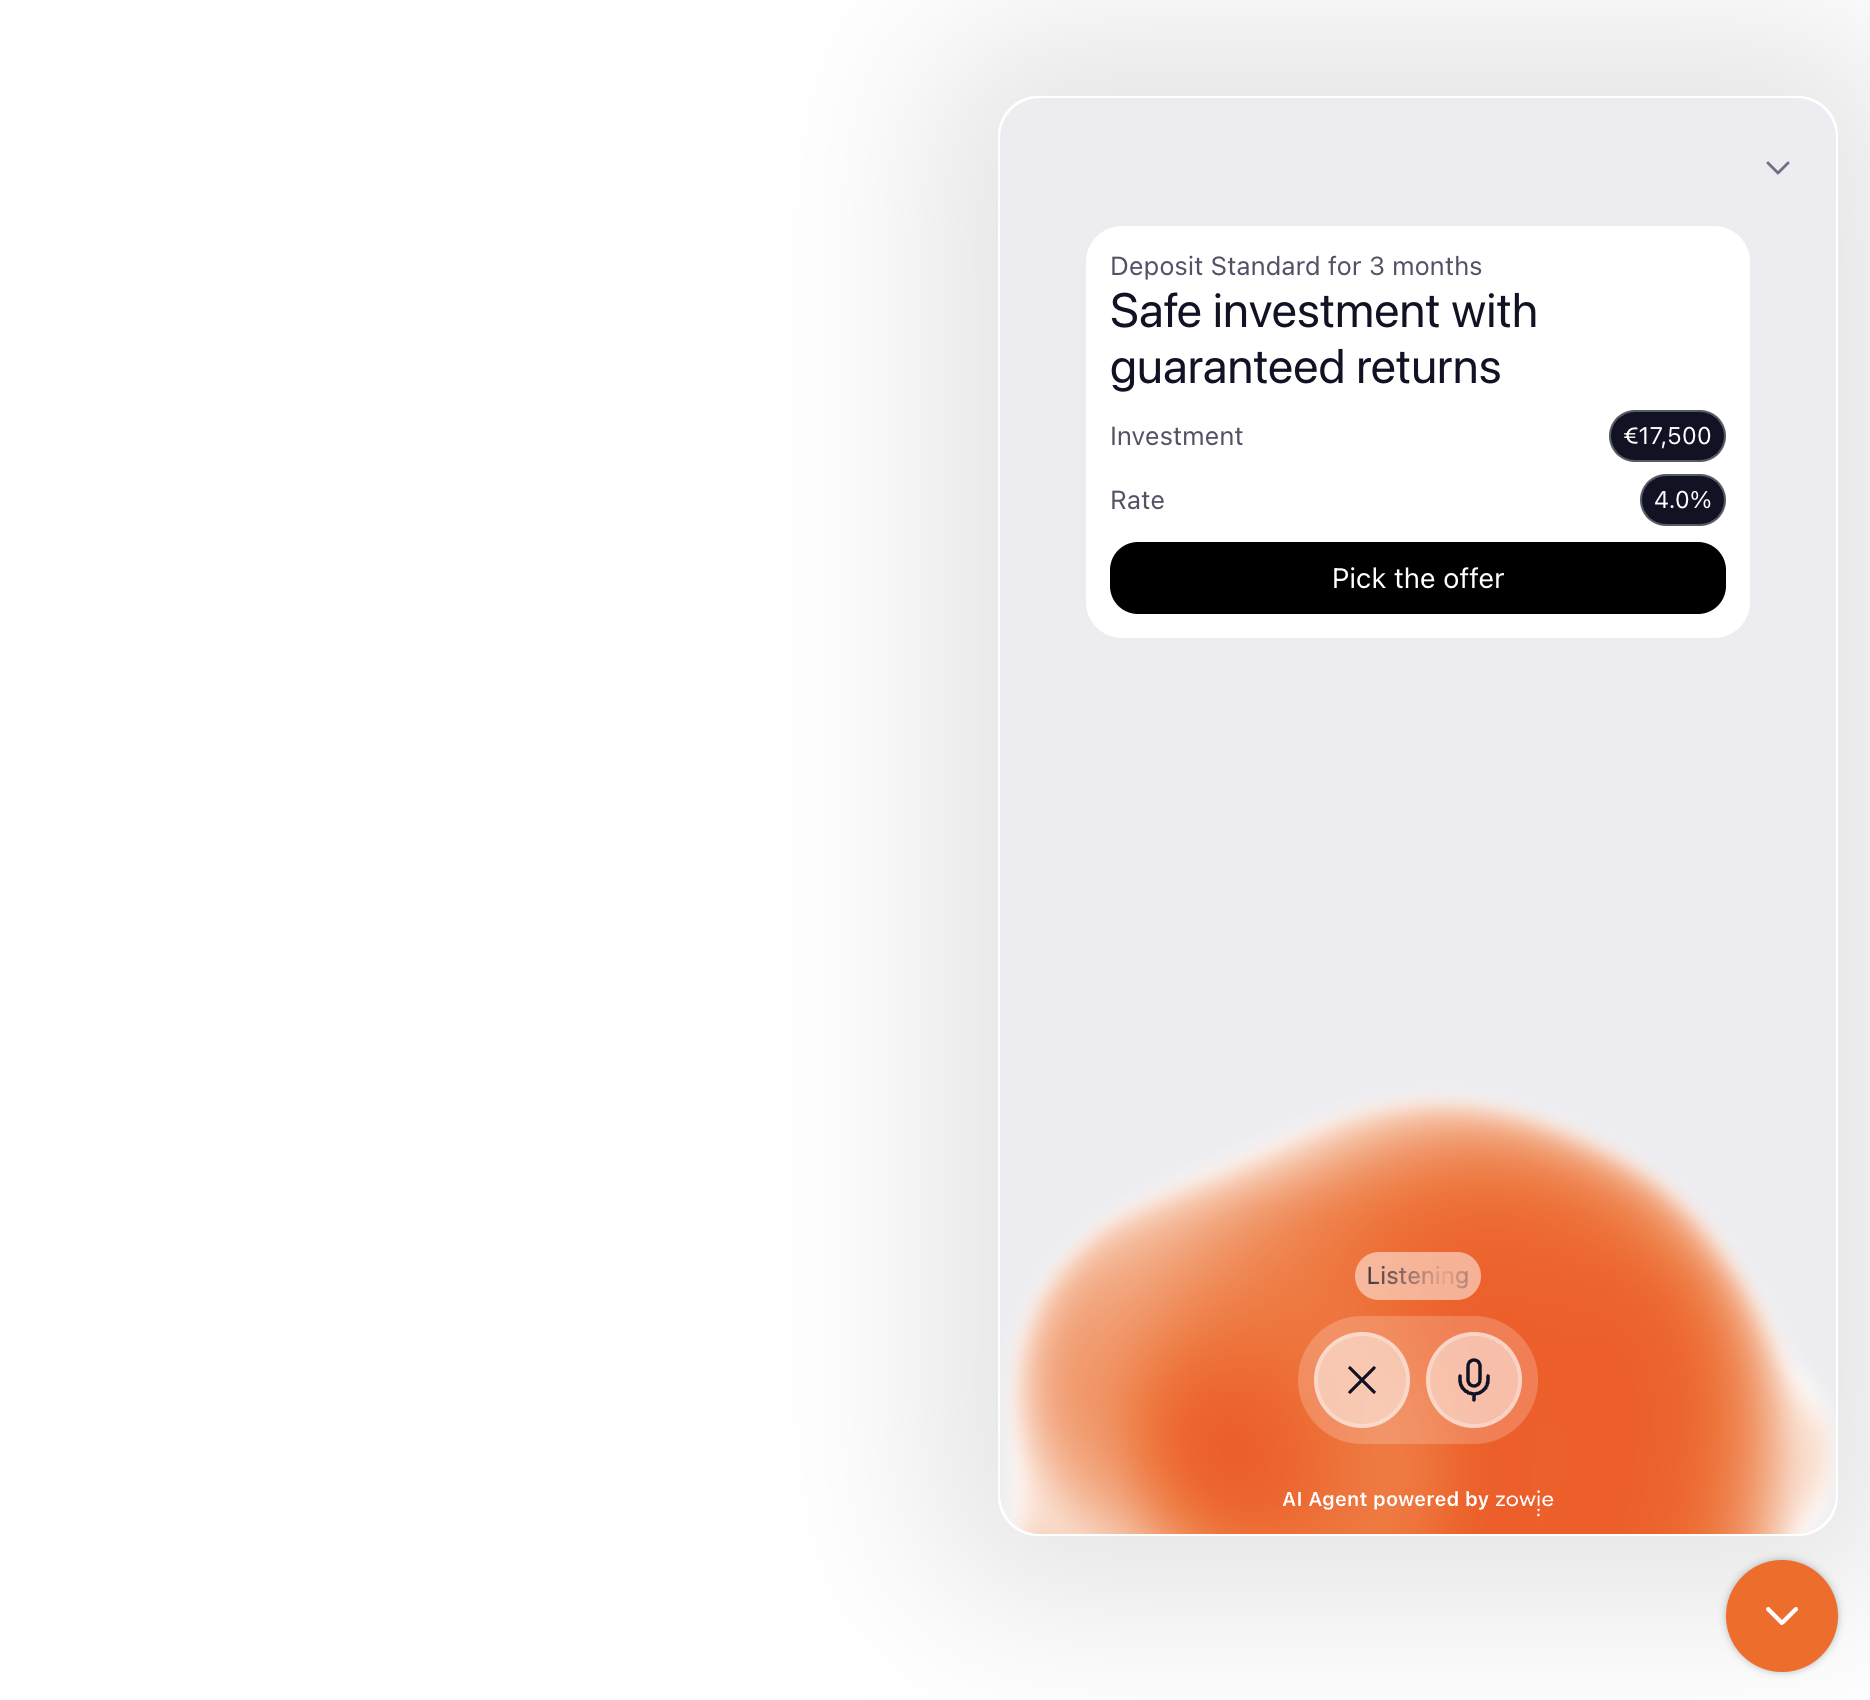
Visual aids are custom web components displayed inside the Zowie Widget via iframes. They let your AI Agent show rich, interactive content — order summaries, product cards, booking details, maps — directly in the text chat conversation and Hello. They are technology-agnostic: any web page that can run in an iframe works — plain HTML, React, Vue, or any other framework.

Building a Visual Aid
A visual aid is just an HTML page loaded in an iframe. It can be hosted anywhere — all the Zowie Widget needs is a URL. This guide walks you through the concepts layer by layer.
Step 1: Hello World
A visual aid is just an HTML page loaded in an iframe. The one thing you must do is report your content's height to the widget — iframes need a fixed height, and the widget can't measure your content from the outside. You report it by sending a postMessage to the parent window with this shape:
{
  source: 'zowie-visual-aid',
  type: 'visualAidResize',
  height: 320 // content height in pixels
}
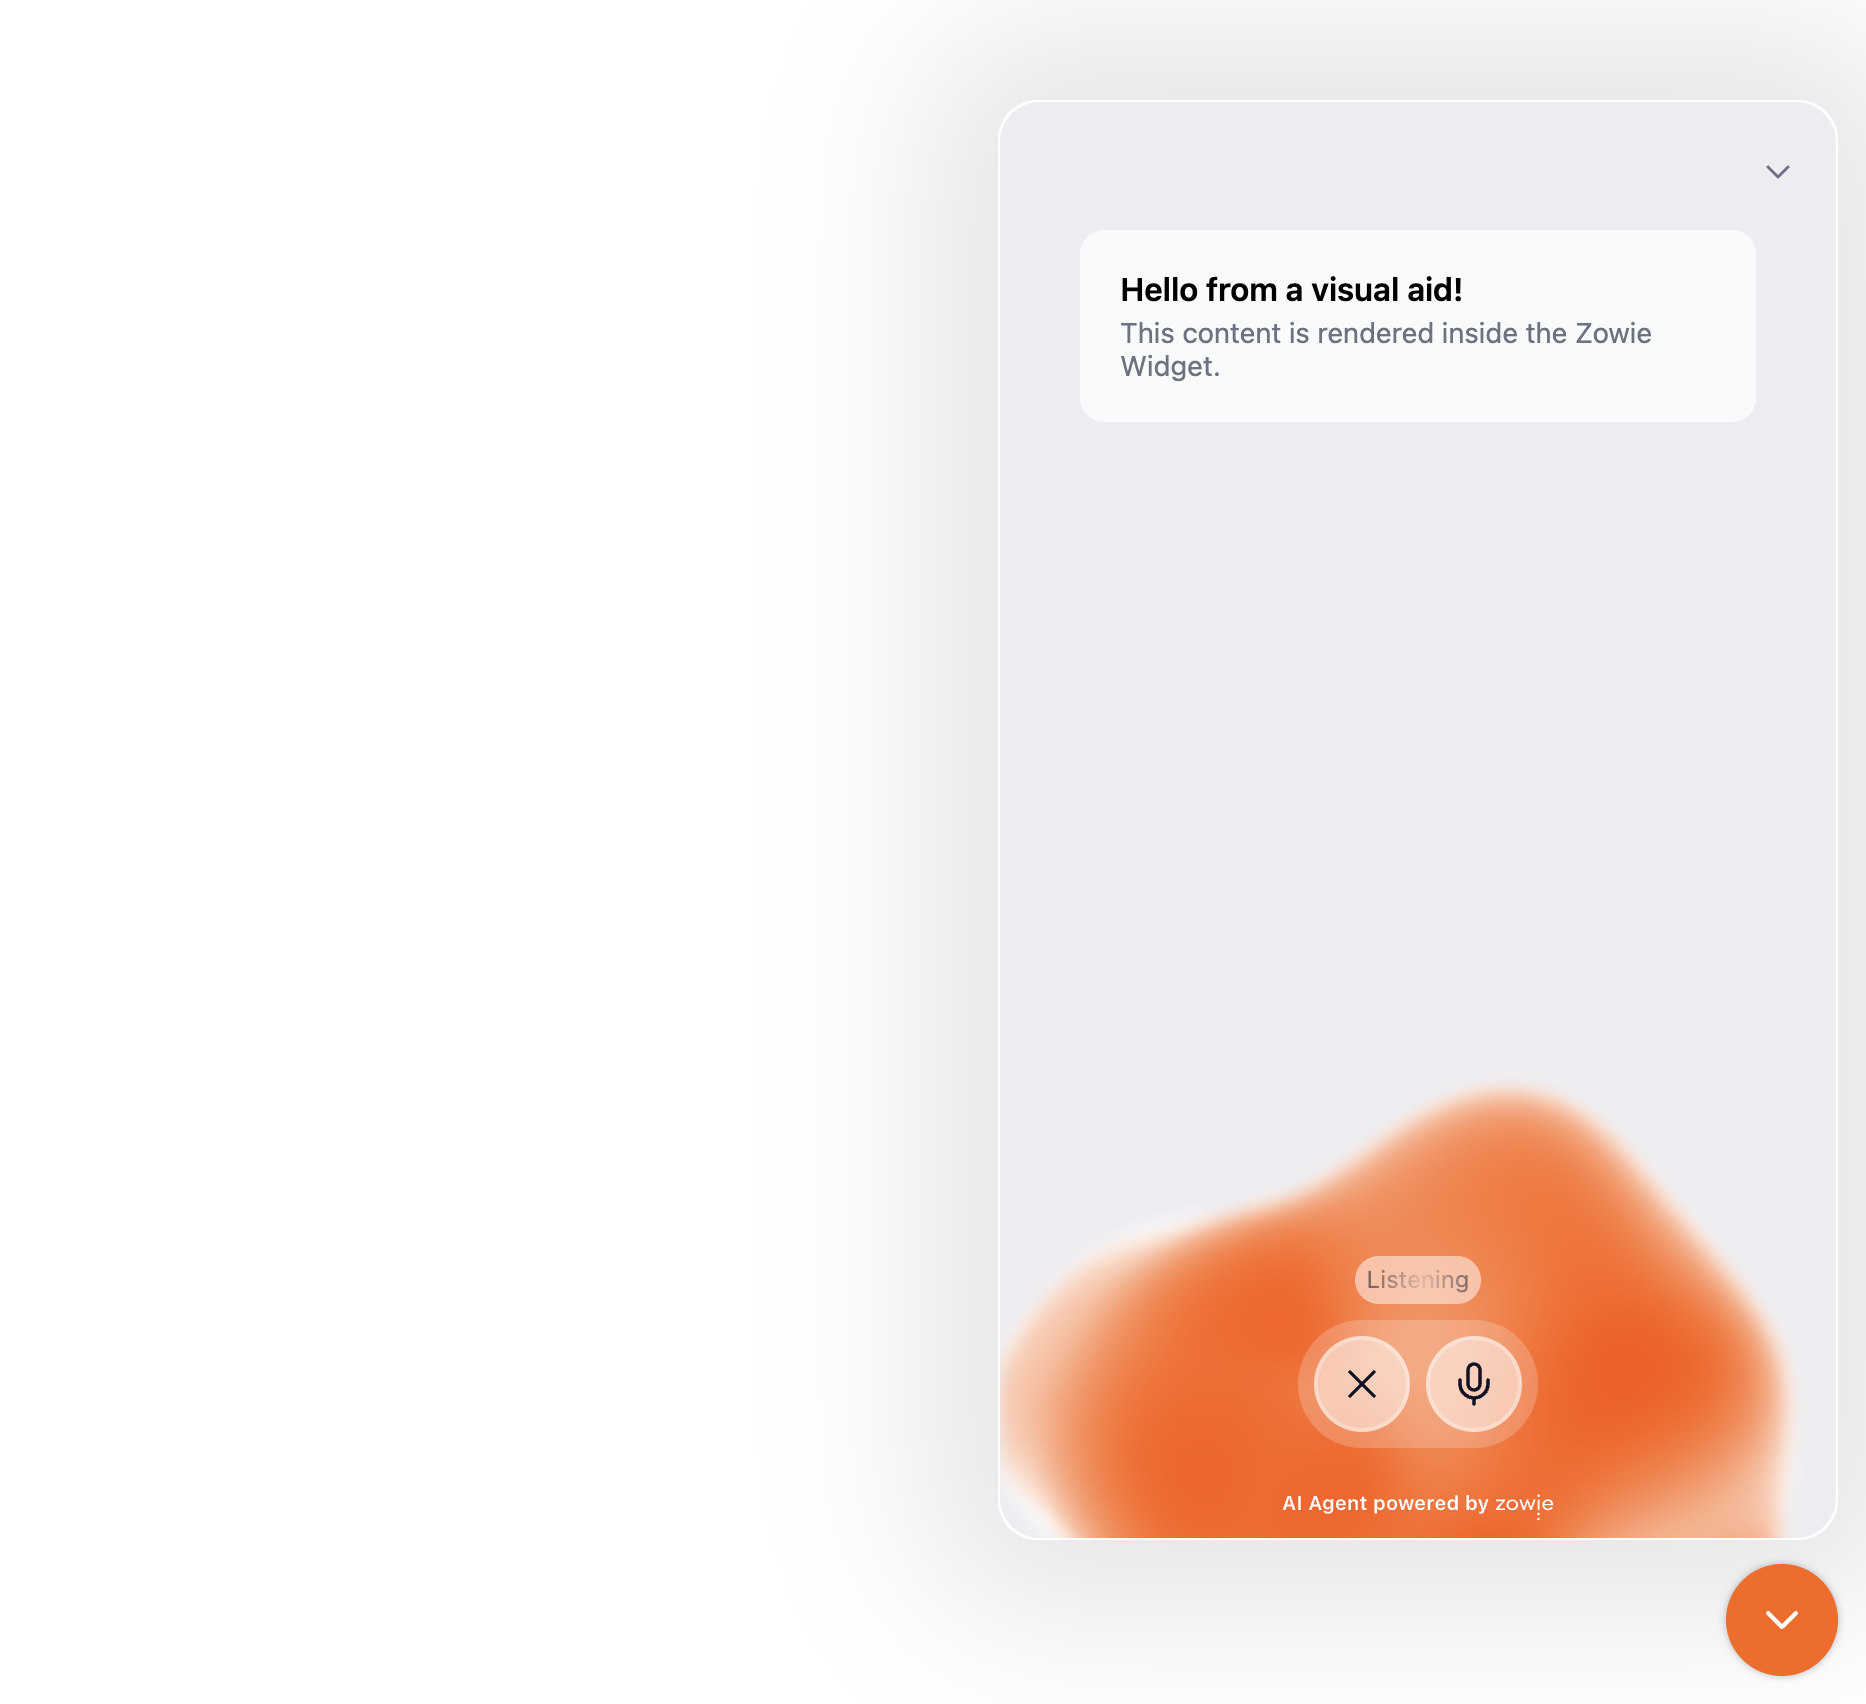
Here's the simplest working visual aid — a static card that reports its height (open example):
<!DOCTYPE html>
<html lang="en">
<head>
  <meta charset="UTF-8" />
  <meta name="viewport" content="width=device-width, initial-scale=1.0" />
  <title>Hello Visual Aid</title>
  <style>
    *, *::before, *::after { box-sizing: border-box; margin: 0; padding: 0; }
    body { font-family: -apple-system, system-ui, sans-serif; background: transparent; }
    .card {
      margin: 0 8px 12px;
      padding: 20px;
      max-width: 360px;
      border-radius: 12px;
      background: #f9fafb;
    }
    .card h1 { font-size: 16px; font-weight: 600; margin-bottom: 4px; }
    .card p { font-size: 14px; color: #6b7280; }
  </style>
</head>
<body>
  <div class="card">
    <h1>Hello from a visual aid!</h1>
    <p>This content is rendered inside the Zowie Widget.</p>
  </div>

  <script>
    // Report height to the widget so it can size the iframe
    var height = Math.ceil(document.documentElement.scrollHeight);
    if (window.parent !== window) {
      window.parent.postMessage(
        { source: 'zowie-visual-aid', type: 'visualAidResize', height: height },
        '*'
      );
    }
  </script>
</body>
</html>
Host this page anywhere and display it with a single Script Block call in Processes:
ui.showVisualAid('https://demos.getzowie.com/lfilipiuk/step1.html');That's it. The widget loads the URL in an iframe, your page reports its height, and the widget sizes the iframe to fit.
Step 2: Passing data
To make a visual aid dynamic, your page needs to receive data from the AI agent. Since the widget loads your page as a URL in an iframe, you need to get data to it through the URL itself.
You're free to use any approach — the widget simply loads whatever URL you pass to ui.showVisualAid(). Our recommended convention is to encode JSON in a query parameter (e.g. ?data=), but you could use a different parameter name, multiple parameters, a hash fragment, or any other technique that works for your setup.
Here's an example using the ?data= convention. The same card from Step 1, but now it reads a name and message from the URL (open example):
<!DOCTYPE html>
<html lang="en">
<head>
  <meta charset="UTF-8" />
  <meta name="viewport" content="width=device-width, initial-scale=1.0" />
  <title>Greeting Card</title>
  <style>
    *, *::before, *::after { box-sizing: border-box; margin: 0; padding: 0; }
    body { font-family: -apple-system, system-ui, sans-serif; background: transparent; }
    .card {
      margin: 0 8px 12px;
      padding: 20px;
      max-width: 360px;
      border-radius: 12px;
      background: #f9fafb;
    }
    .card h1 { font-size: 16px; font-weight: 600; margin-bottom: 4px; }
    .card p { font-size: 14px; color: #6b7280; }
  </style>
</head>
<body>
  <div class="card" id="app"></div>

  <script>
    // Parse data from the URL
    var raw = new URLSearchParams(window.location.search).get('data');
    var data = null;
    if (raw) {
      try {
        data = JSON.parse(decodeURIComponent(raw));
      } catch (e) {}
    }

    var app = document.getElementById('app');
    if (data) {
      app.innerHTML = '<h1>Hi, ' + data.name + '!</h1><p>' + data.message + '</p>';
    } else {
      app.textContent = 'No data provided.';
    }

    // Report height
    var height = Math.ceil(document.documentElement.scrollHeight);
    if (window.parent !== window) {
      window.parent.postMessage(
        { source: 'zowie-visual-aid', type: 'visualAidResize', height: height },
        '*'
      );
    }
  </script>
</body>
</html>
In the Script Block, encode your data into the URL:
const data = { name: 'Alex', message: 'Your return has been processed.' };
const encoded = encodeURIComponent(JSON.stringify(data));
ui.showVisualAid(`https://demos.getzowie.com/lfilipiuk/step2.html?data=${encoded}`);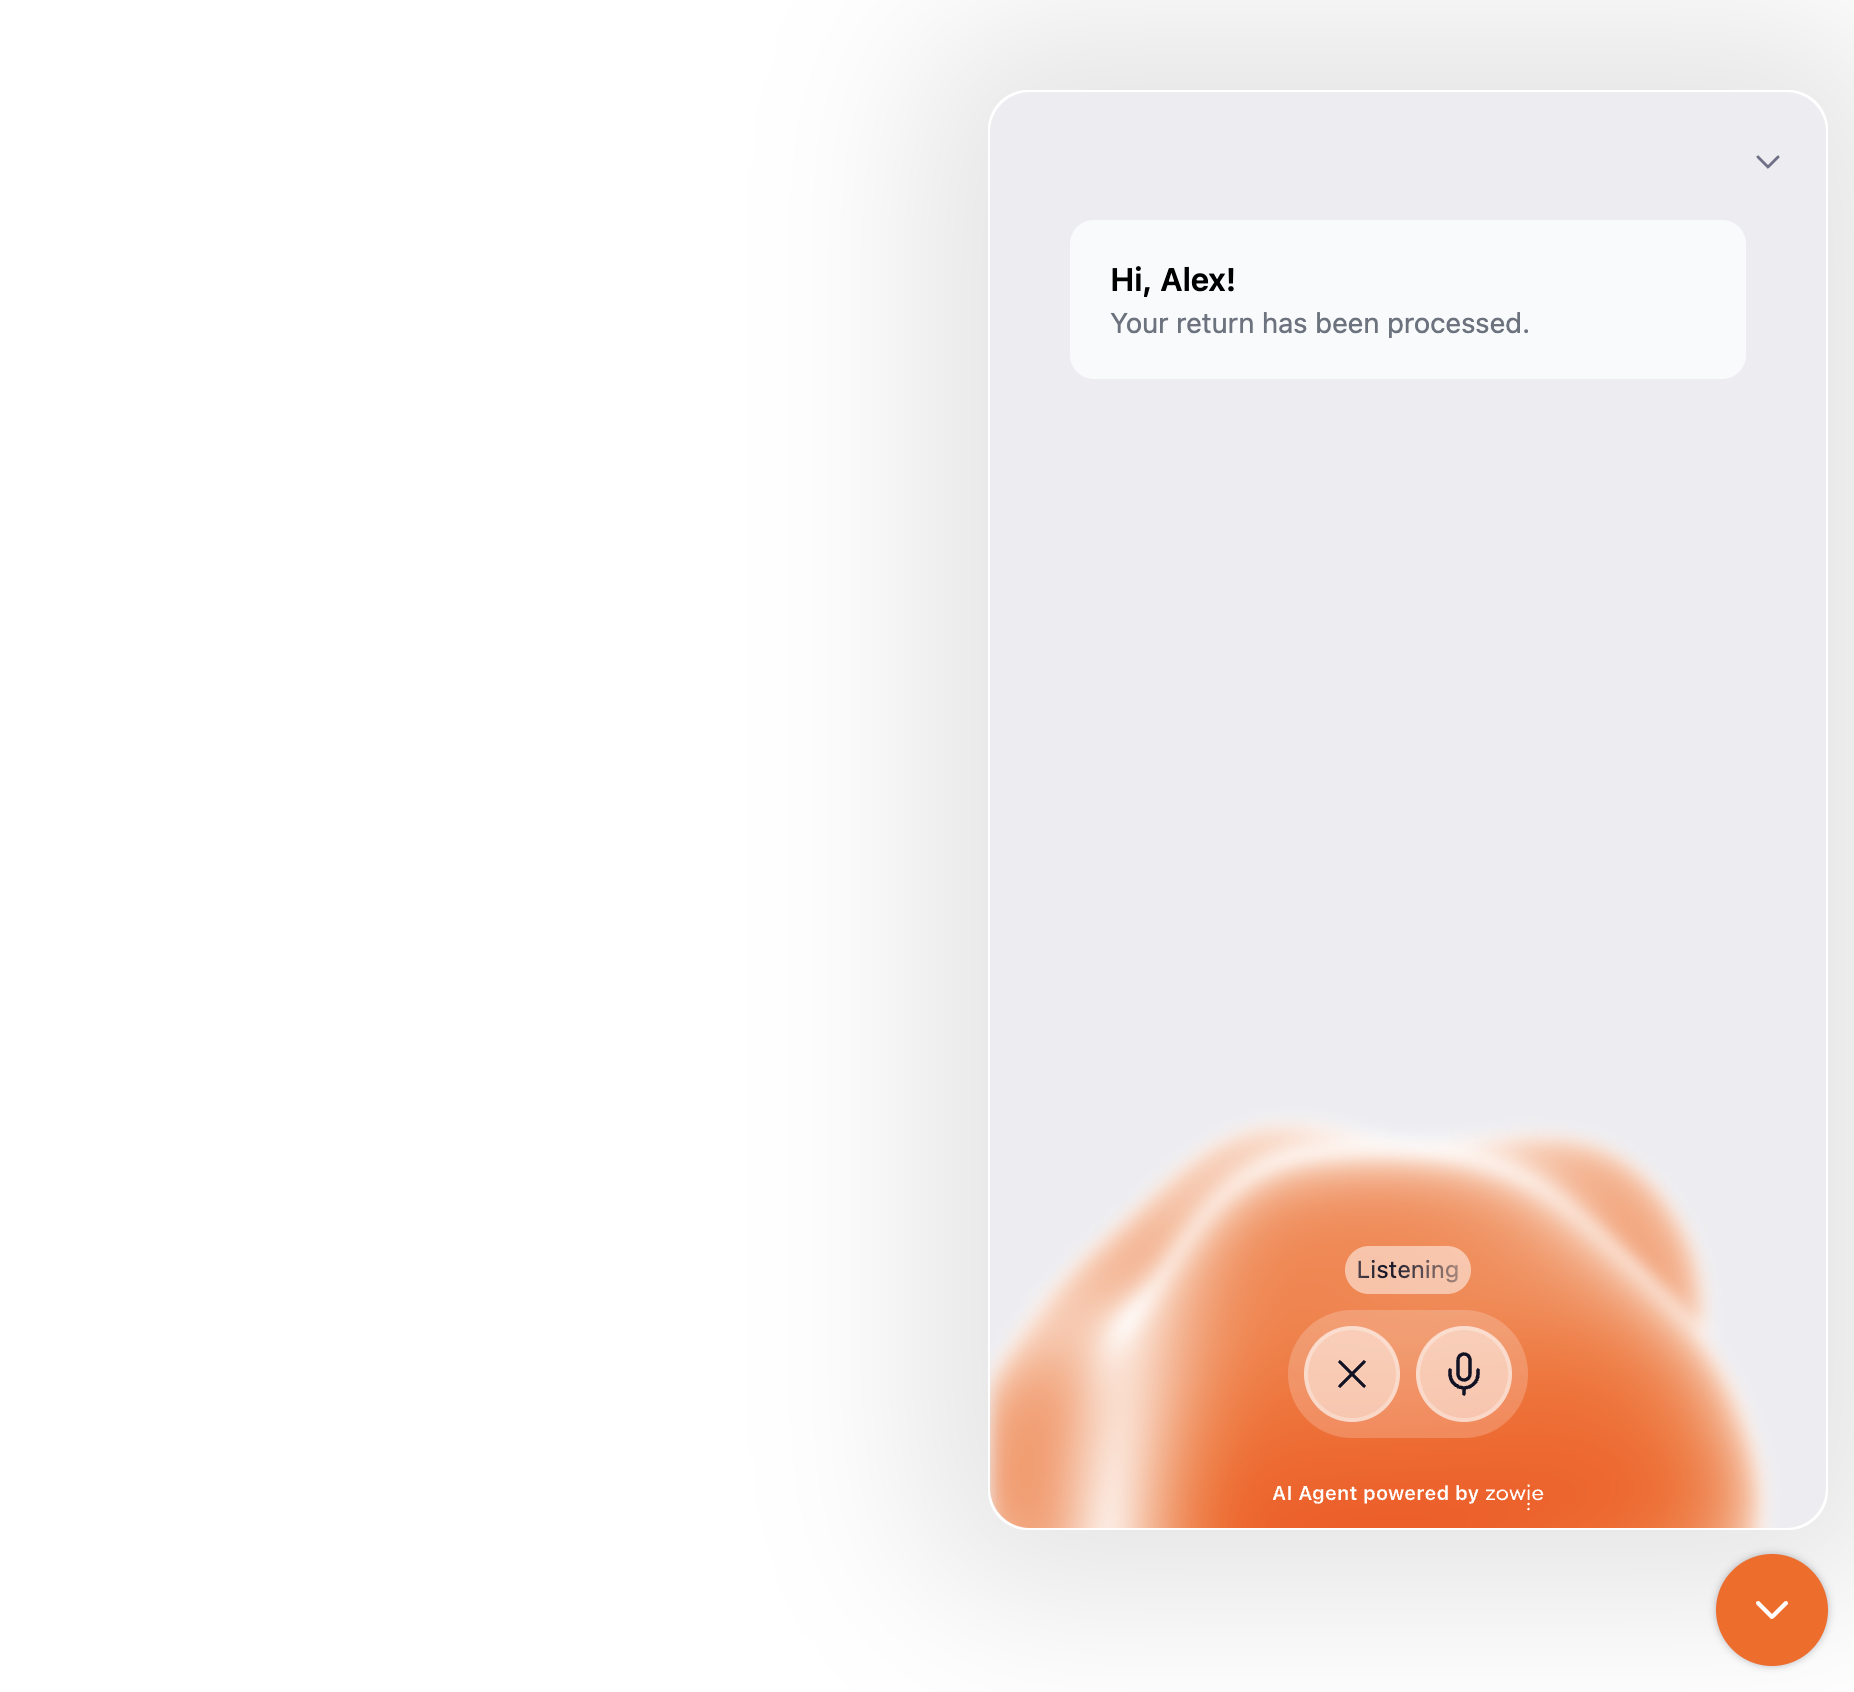
Step 3: Adapting to surfaces (optional)
Visual aids can appear in two different surfaces — Chat and Hello. The widget tells your page which one by automatically appending a ?surface= query parameter (chat or hello) to your URL. You don't need to pass it yourself.
This step is optional — if your visual aid looks the same in both surfaces, you can ignore it.
Here's the greeting card from Step 2, updated to use a different background color depending on the surface (chat example · hello example):
<!DOCTYPE html>
<html lang="en">
<head>
  <meta charset="UTF-8" />
  <meta name="viewport" content="width=device-width, initial-scale=1.0" />
  <title>Greeting Card</title>
  <style>
    *, *::before, *::after { box-sizing: border-box; margin: 0; padding: 0; }
    body { font-family: -apple-system, system-ui, sans-serif; background: transparent; }
    .card {
      margin: 0 8px 12px;
      padding: 20px;
      max-width: 360px;
      border-radius: 12px;
      background: #f9fafb;
    }
    .card--chat { background: #f9fafb; }
    .card--hello { background: #f0f9ff; }
    .card h1 { font-size: 16px; font-weight: 600; margin-bottom: 4px; }
    .card p { font-size: 14px; color: #6b7280; }
  </style>
</head>
<body>
  <div id="app"></div>

  <script>
    var params = new URLSearchParams(window.location.search);

    // Parse data from the URL
    var raw = params.get('data');
    var data = null;
    if (raw) {
      try {
        data = JSON.parse(decodeURIComponent(raw));
      } catch (e) {}
    }

    // Read the surface — appended automatically by the widget
    var surface = params.get('surface');

    var app = document.getElementById('app');
    if (data) {
      var style = surface === 'hello' ? 'hello' : 'chat';
      app.innerHTML =
        '<div class="card card--' + style + '">' +
          '<h1>Hi, ' + data.name + '!</h1>' +
          '<p>' + data.message + '</p>' +
        '</div>';
    } else {
      app.textContent = 'No data provided.';
    }

    // Report height
    var height = Math.ceil(document.documentElement.scrollHeight);
    if (window.parent !== window) {
      window.parent.postMessage(
        { source: 'zowie-visual-aid', type: 'visualAidResize', height: height },
        '*'
      );
    }
  </script>
</body>
</html>
The Script Block stays the same as Step 2 — you don't need to change anything. The widget appends ?surface=chat or ?surface=hello to your URL automatically.
Step 4: Full example — Order Summary
Here's a complete, real-world visual aid that combines everything — data parsing, surface handling, and height reporting (open example).
<!DOCTYPE html>
<html lang="en">
<head>
  <meta charset="UTF-8" />
  <meta name="viewport" content="width=device-width, initial-scale=1.0" />
  <title>Order Summary</title>
  <style>
    *, *::before, *::after { box-sizing: border-box; margin: 0; padding: 0; }
    body { font-family: -apple-system, system-ui, sans-serif; background: transparent; }
    .card { max-width: 360px; margin: 0 8px 12px; border-radius: 12px; overflow: hidden; }
    .card--chat { background: #f9fafb; }
    .card--hello { background: #f0f9ff; }
    .header { padding: 16px 20px; border-bottom: 1px solid #f3f4f6; display: flex; justify-content: space-between; align-items: center; }
    .header h2 { font-size: 16px; font-weight: 600; }
    .badge { padding: 2px 10px; border-radius: 999px; font-size: 12px; font-weight: 500; background: #d1fae5; color: #065f46; }
    .items { padding: 0 20px; }
    .item { display: flex; justify-content: space-between; padding: 12px 0; border-bottom: 1px dashed #e5e7eb; }
    .item:last-child { border-bottom: none; }
    .total { display: flex; justify-content: space-between; padding: 14px 20px; border-top: 1px solid #e5e7eb; font-weight: 700; }
  </style>
</head>
<body>
  <div id="app"></div>

  <script>
    var params = new URLSearchParams(window.location.search);

    // Parse data from the URL
    var raw = params.get('data');
    var data = null;
    if (raw) {
      try { data = JSON.parse(decodeURIComponent(raw)); } catch (e) {}
    }

    // Read the surface
    var surface = params.get('surface');

    var app = document.getElementById('app');

    if (data) {
      var style = surface === 'hello' ? 'hello' : 'chat';
      var itemsHtml = (data.items || []).map(function (item) {
        return '<div class="item"><span>' + item.name + '</span><span>' + item.price + '</span></div>';
      }).join('');

      app.innerHTML =
        '<div class="card card--' + style + '">' +
          '<div class="header">' +
            '<h2>' + data.orderNumber + '</h2>' +
            '<span class="badge">' + data.statusLabel + '</span>' +
          '</div>' +
          '<div class="items">' + itemsHtml + '</div>' +
          '<div class="total"><span>Total</span><span>' + data.total + '</span></div>' +
        '</div>';
    }

    // Report height
    var height = Math.ceil(document.documentElement.scrollHeight);
    if (window.parent !== window) {
      window.parent.postMessage(
        { source: 'zowie-visual-aid', type: 'visualAidResize', height: height },
        '*'
      );
    }
  </script>
</body>
</html>
Script Block in Processes:
const data = {
  orderNumber: 'ORD-2024-78432',
  statusLabel: 'Shipped',
  items: [
    { name: 'Wireless Headphones', price: '$79.99' },
    { name: 'Phone Case - Clear', price: '$24.99' },
  ],
  total: '$104.98',
};
const encoded = encodeURIComponent(JSON.stringify(data));
ui.showVisualAid(`https://demos.getzowie.com/lfilipiuk/step4.html?data=${encoded}`);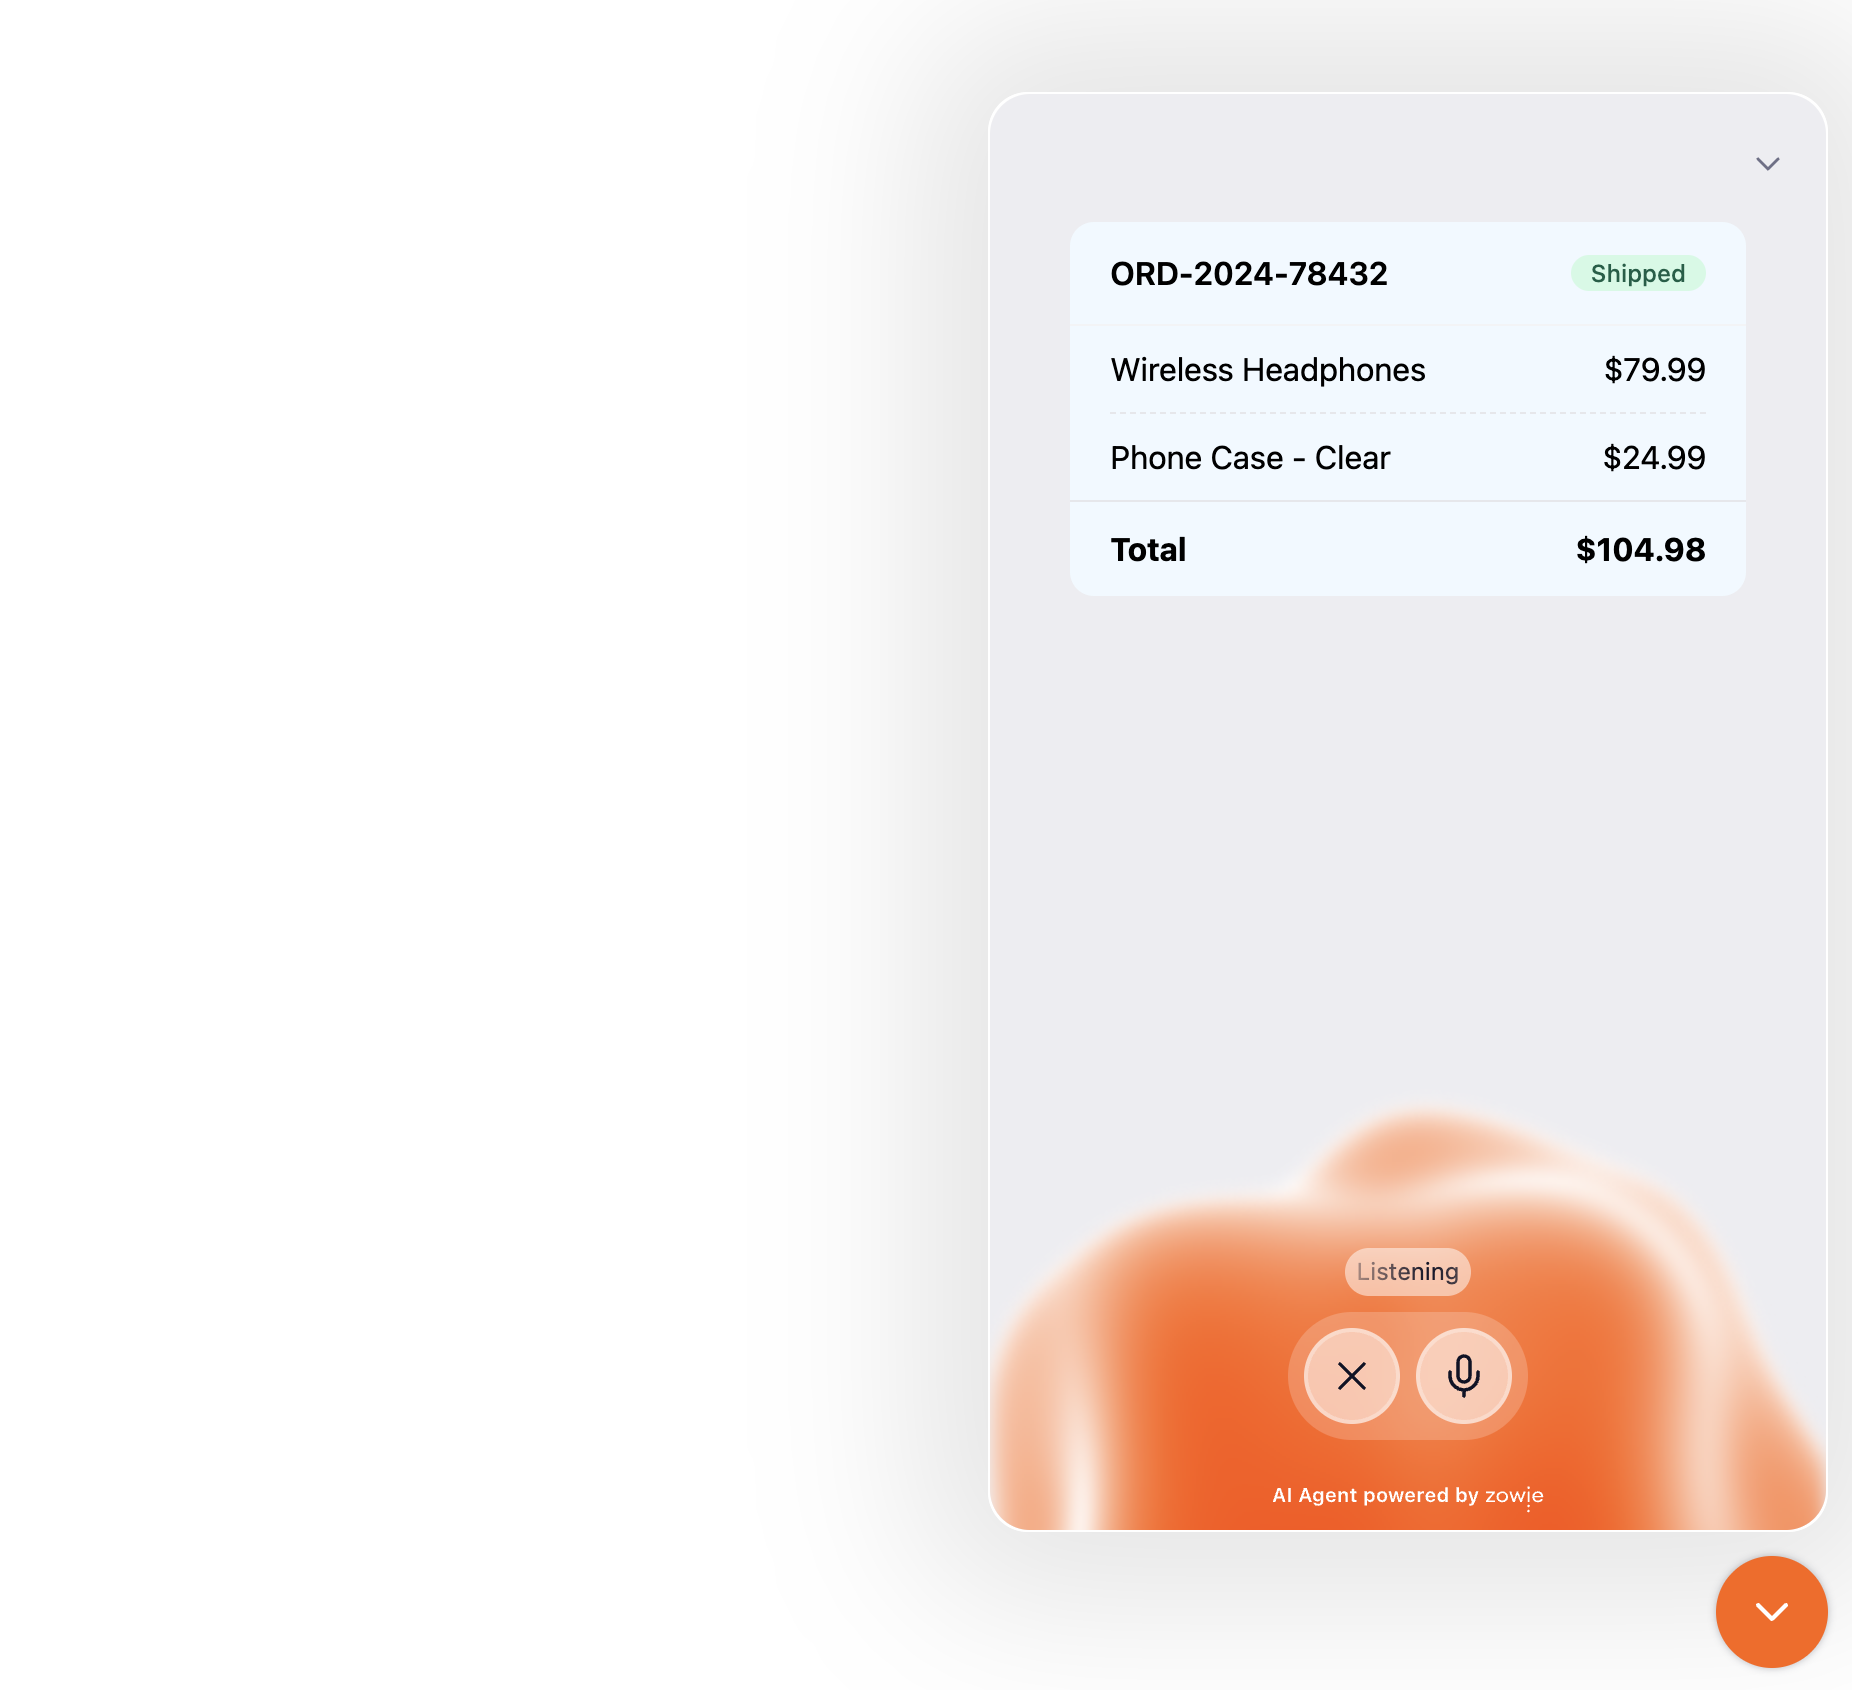
How it all connects
- The Script Block in Processes calls
ui.showVisualAid(url)— the URL points to your hosted page, with any data you need encoded in it - The Zowie Widget creates an iframe pointing to that URL (appending
?surface=) - Your page reads its data from the URL, parses it, and renders content
- Your page reports its content height via
postMessage - The widget resizes the iframe to match
Technical Reference
ui.showVisualAid(url)
ui.showVisualAid(url)Call this in a Script Block in Processes to display a visual aid.
ui.showVisualAid(url);URL Parameters
| Parameter | Source | Description |
|---|---|---|
surface | Appended by widget | chat or hello. Tells your page which surface it's displayed in. |
| (your data) | Passed by you | The widget doesn't prescribe how you pass data. Our recommended convention is a ?data= param with URL-encoded JSON (see Step 2), but you can use any query parameter or technique. |
Hosting & Deployment
When you're ready to go live, deploy your visual aid to any static hosting provider.
Requirements
- HTTPS — the widget only loads secure URLs
- No X-Frame-Options: DENY — the page must be embeddable in an iframe
- Publicly accessible — the widget loads the URL client-side
Updated 6 months ago