Proactive Chats
What are Proactive Chats?
Proactive chats are used to override the chat widget's default scenario and to proactively reach out to customers with a personalized message based on a user's behavior.
Why use Proactive Chats?
Proactive chats help you to provide dedicated content for the user based on the behavior they are displaying.
Proactive chats help you to:
- Drive sales by reaching out to customers who are displaying buying behavior (paused on your checkout page, product pages, etc.) and connecting them immediately to an agent;
- Trigger specific automation on help center pages to provide a streamlined support experience, e.g., if somebody is looking for info about returns, we can show it right away.
How to access Proactive Chats?
To access the Proactive Chats, navigate to Chatbot > Proactive Chats from the navigation bar.
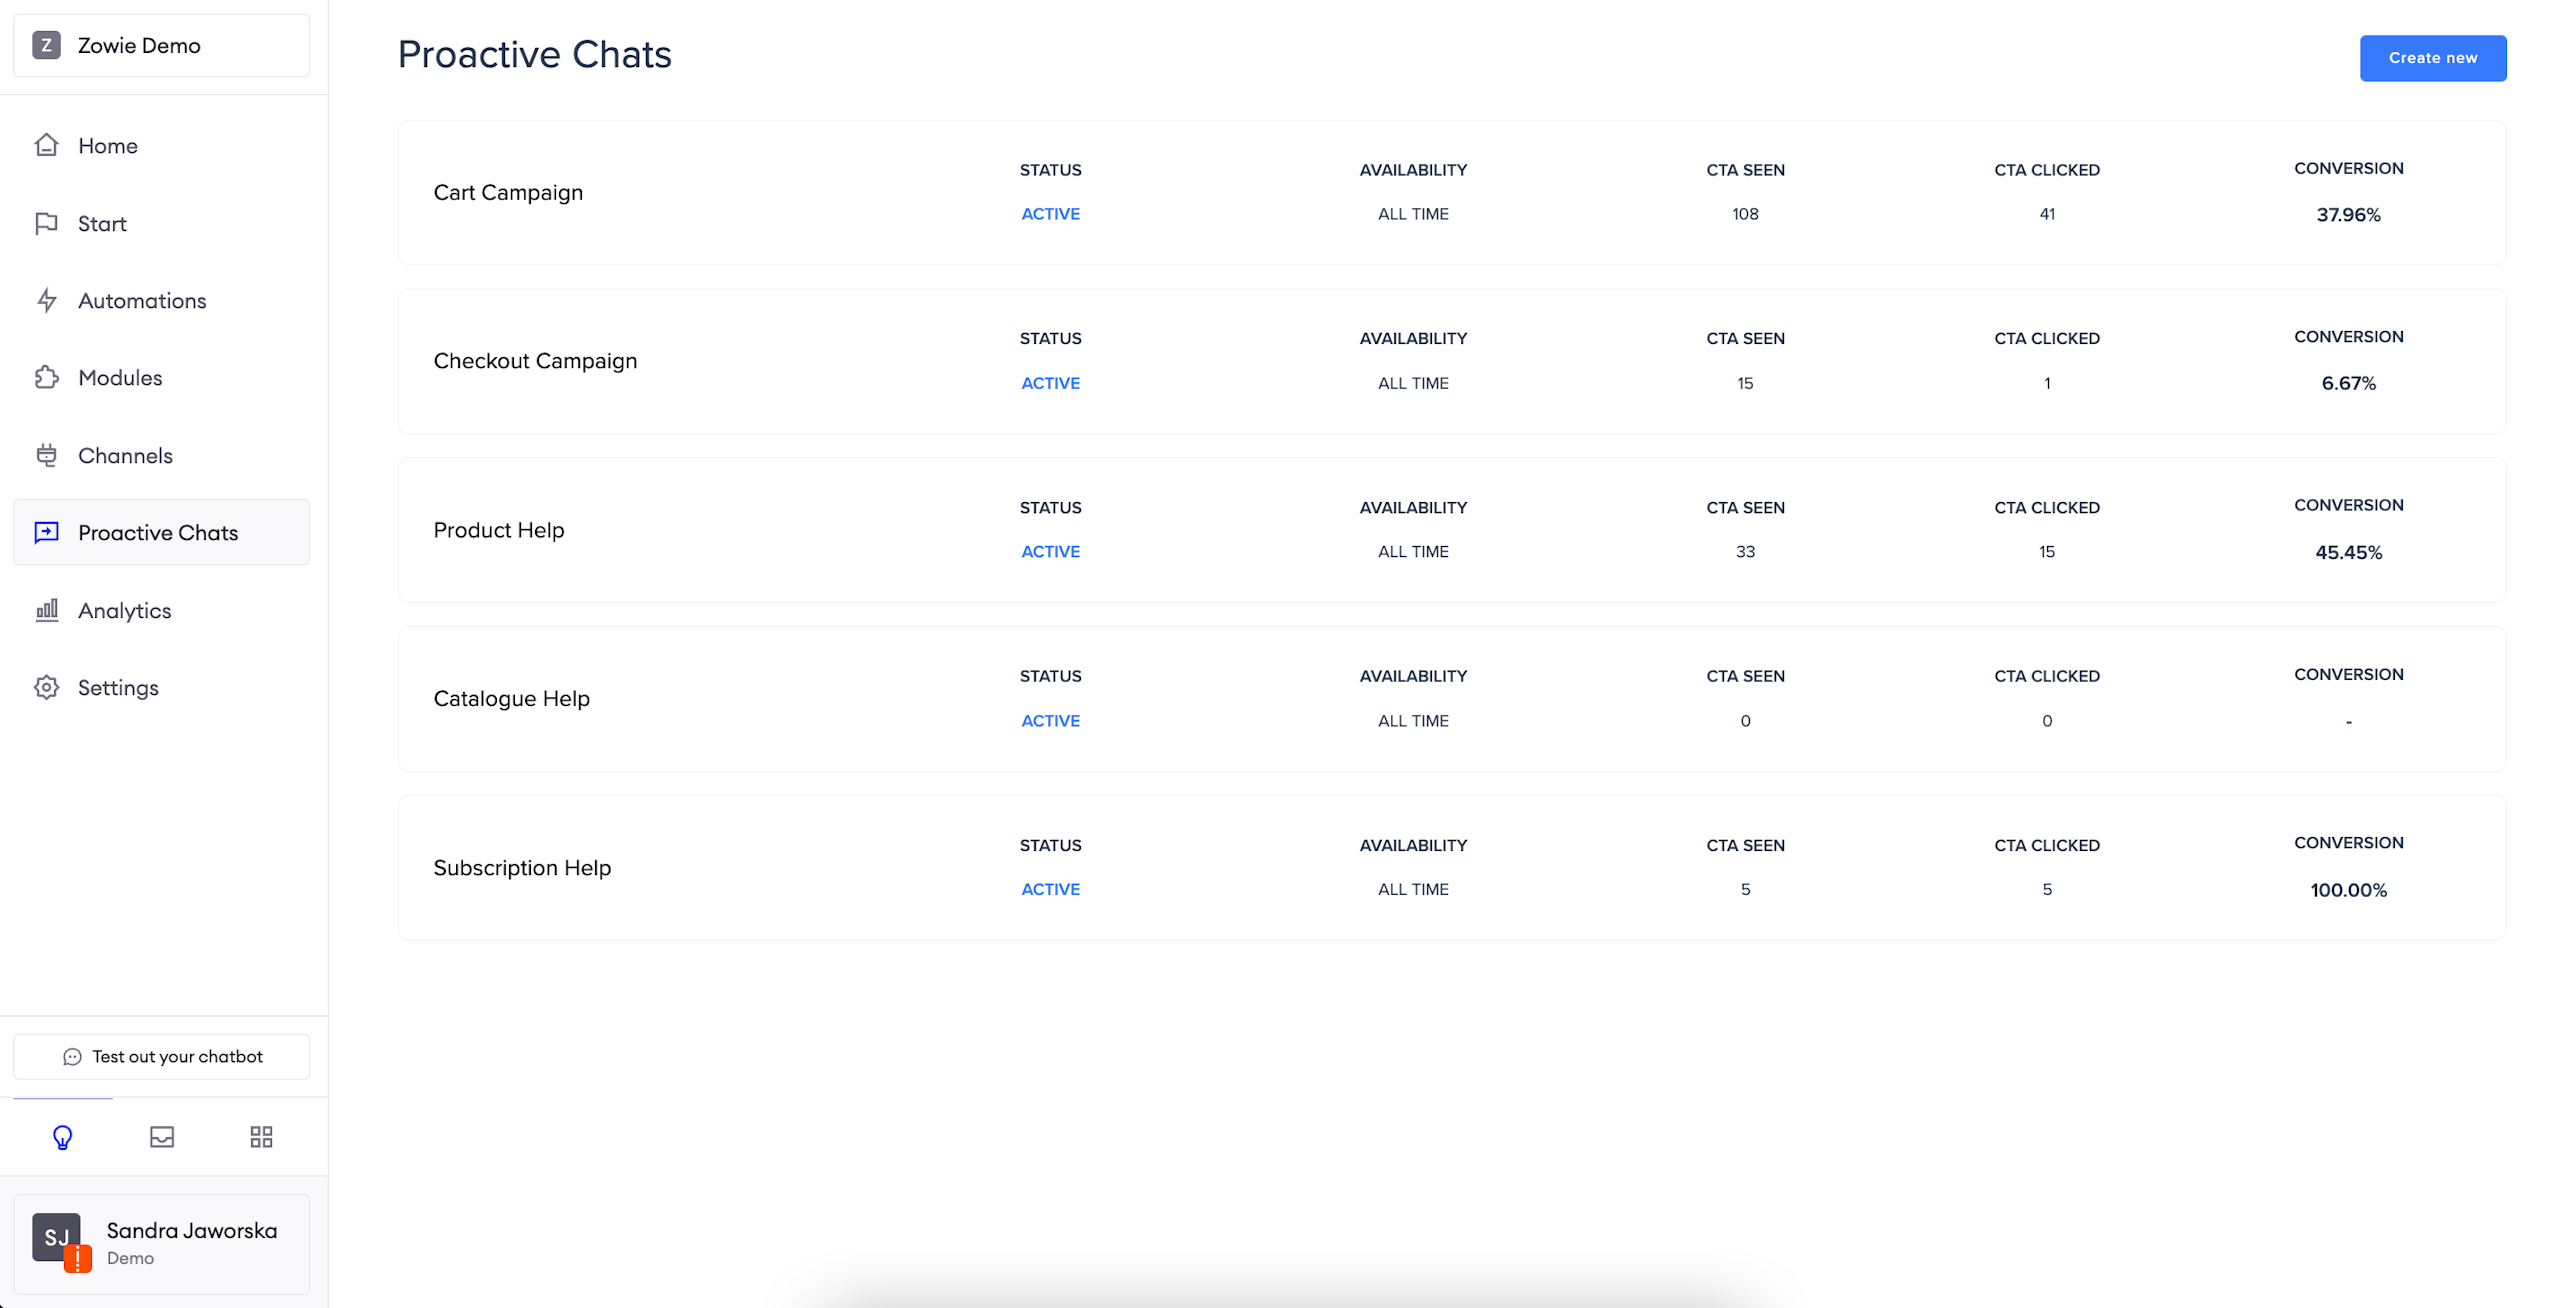
View the list of Proactive Chats
AttentionEach item on the list is clickable and allows you to open the details view.
Status active means that your users can access the configured widget; inactive means they can't.
Availability shows you if that Proactive Chat is available to your users all the time or if there's a defined schedule when it's displayed.
CTA seen tells you how many users saw the Call To Action item.
CTA clicked displays the number of users who clicked on the displayed CTA.
Conversion shows how many users, from all who saw the CTA, clicked it to access the configured scenario.

Configure a Proactive Chat
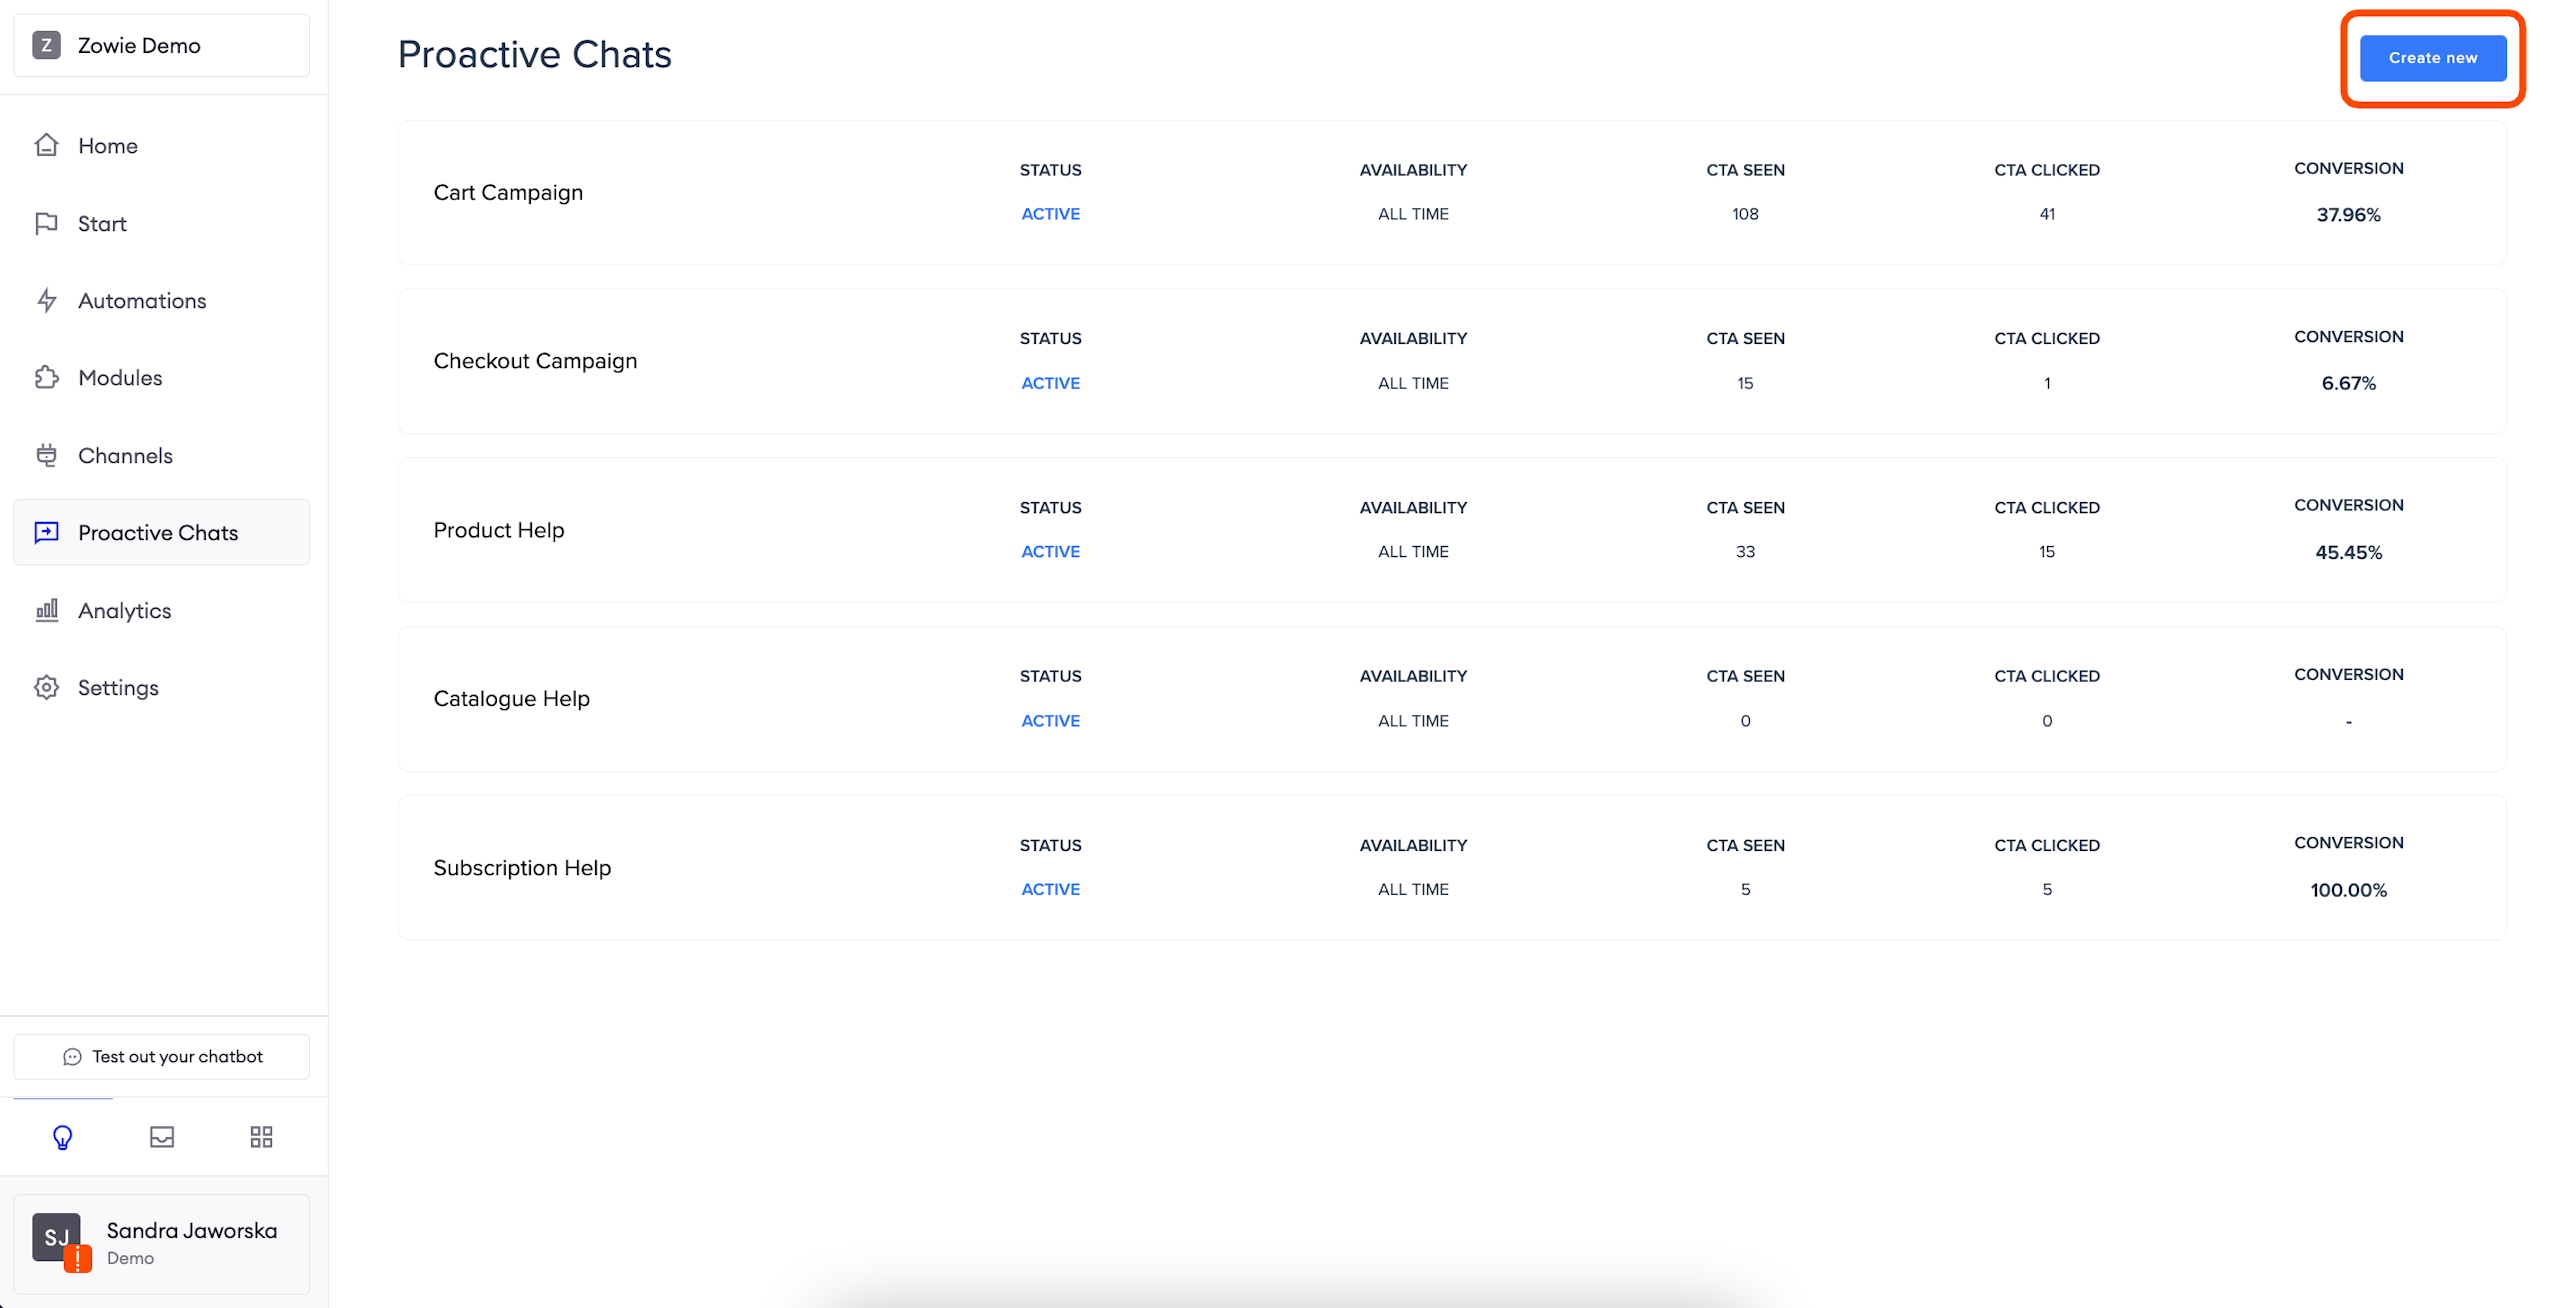
Click the button
Click the "Create new" button in the top-right corner to open a new page.
Name your Proactive Chat
Now, give your Proactive Chat a name.
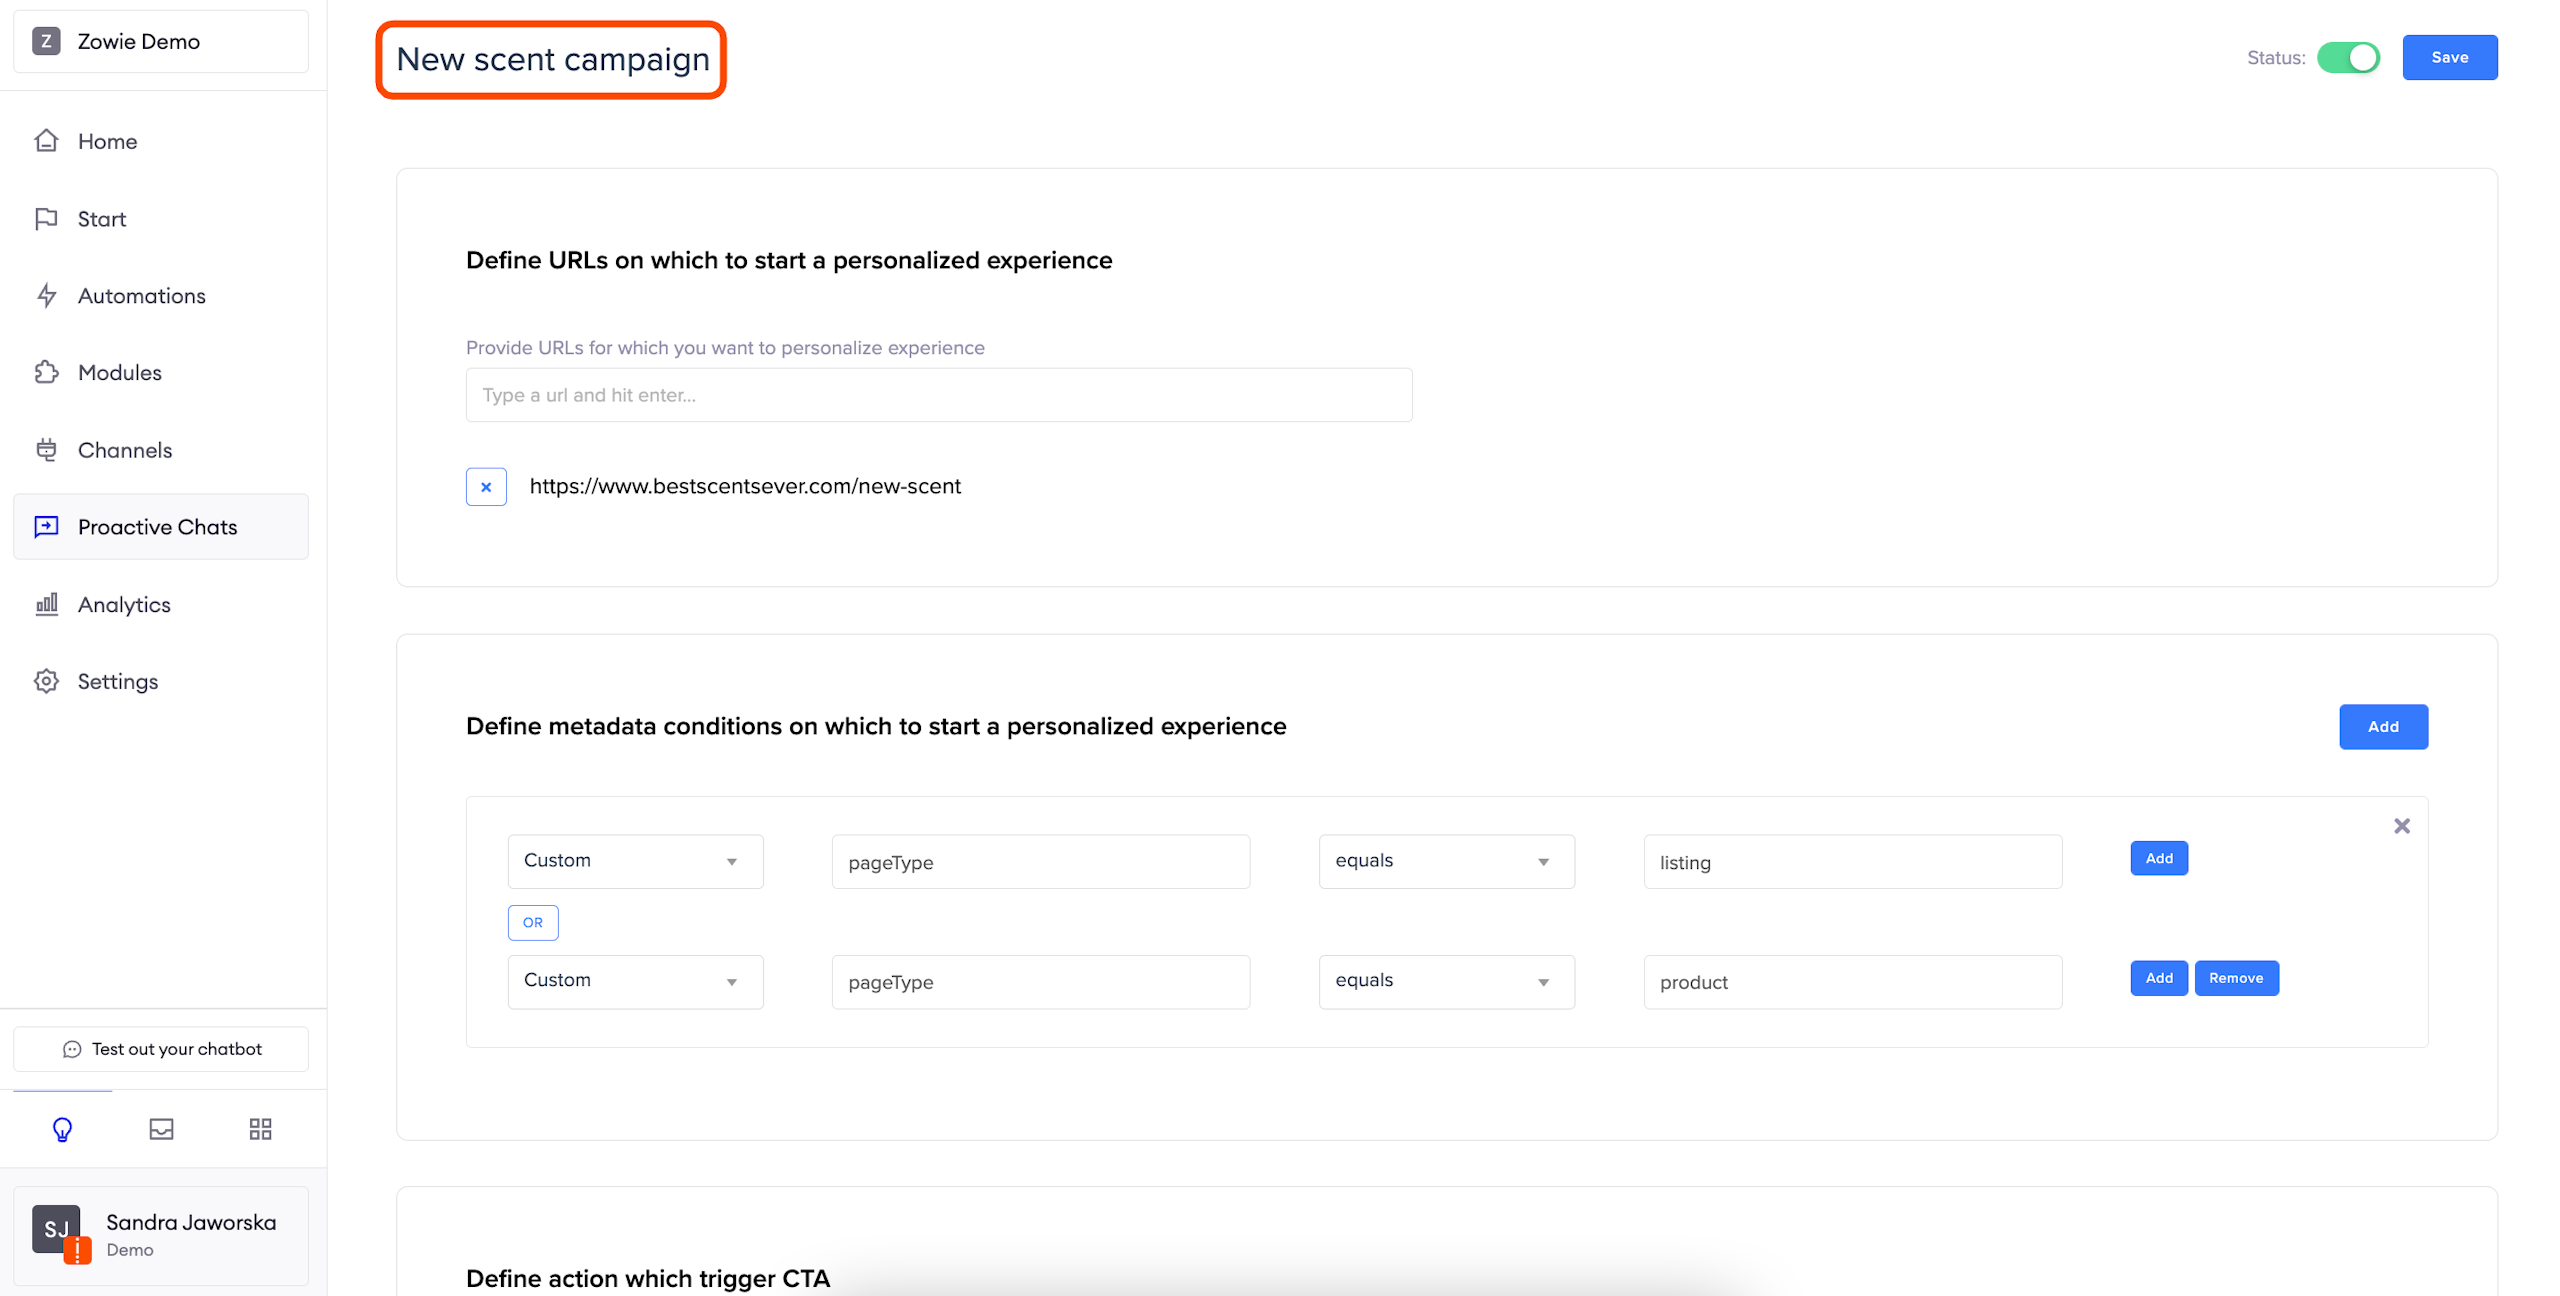
Configure where widget should be displayed
There are two options to determine the placement of the widget.
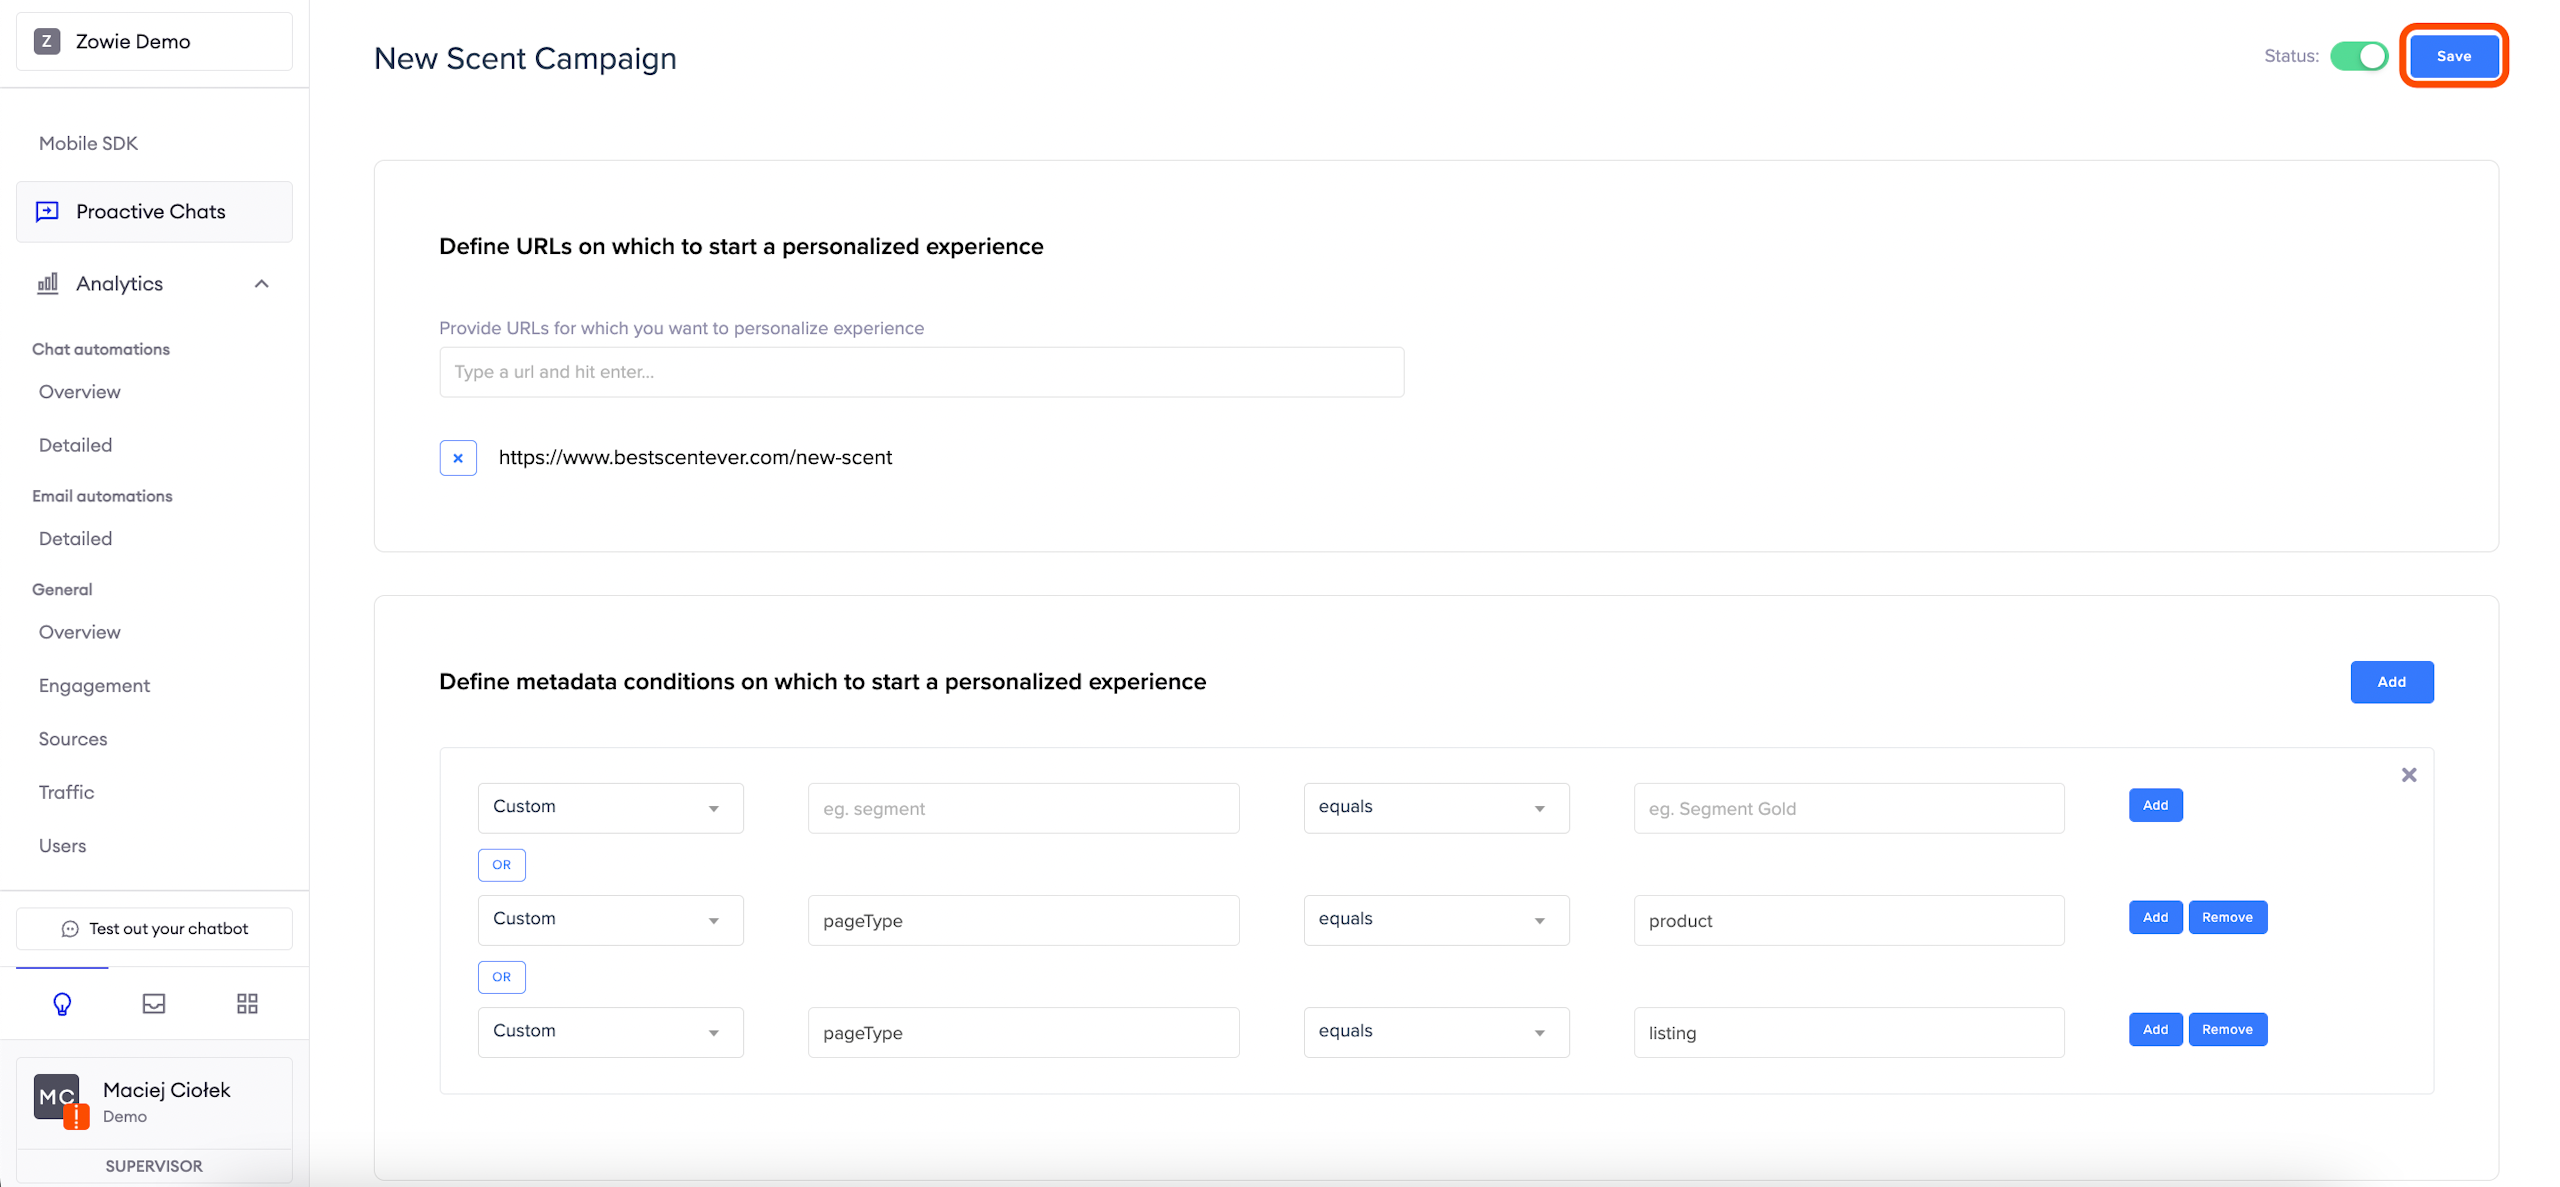
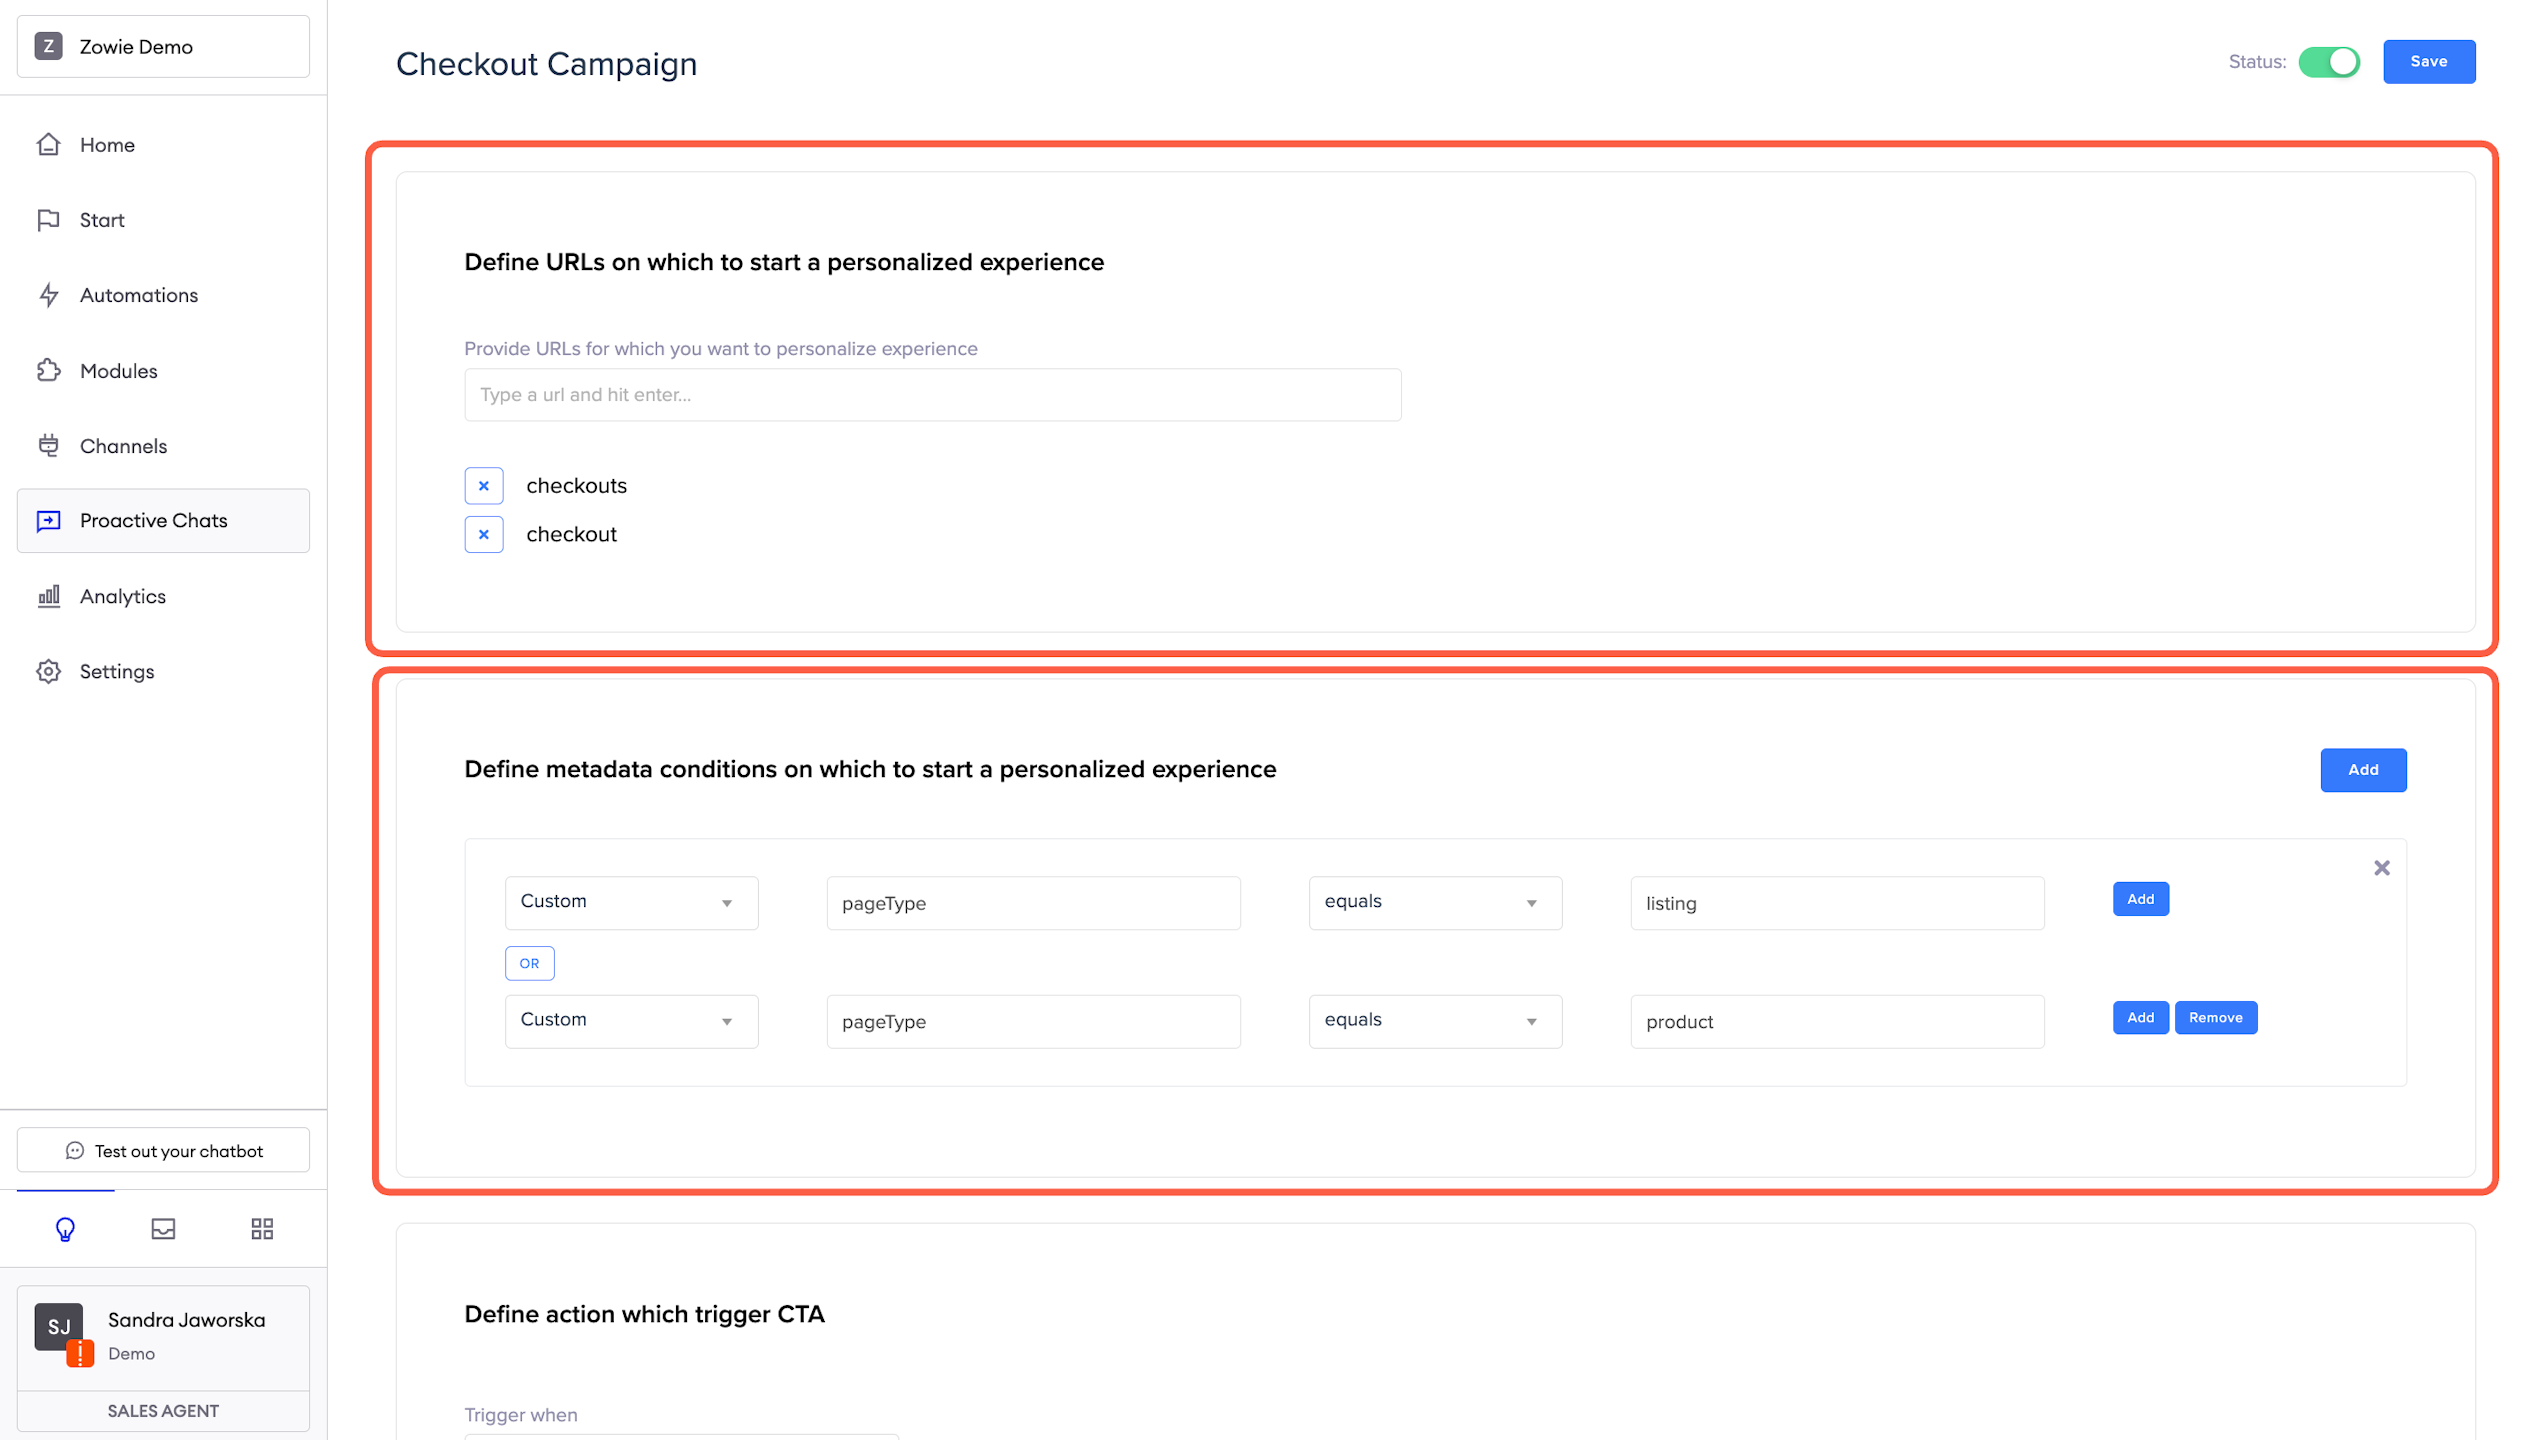
Define URLs on which to start a personalized experience: you can type an exact URL or a keyword found in the URL.
AttentionIf you enter the keyword checkout, all URLs containing this word will display this Proactive Chat.
Usemetadata: if you use specified parameters, you can place the widget according to them.
Example for metadata:You're using a parameter called pageType, and there are four types defined: main-page, product, listing, faq. You want to place the widget only on product listings and product pages. You need to add two conditions: Custom - pageType - equals - product and Custom - pageType - equals - listing.
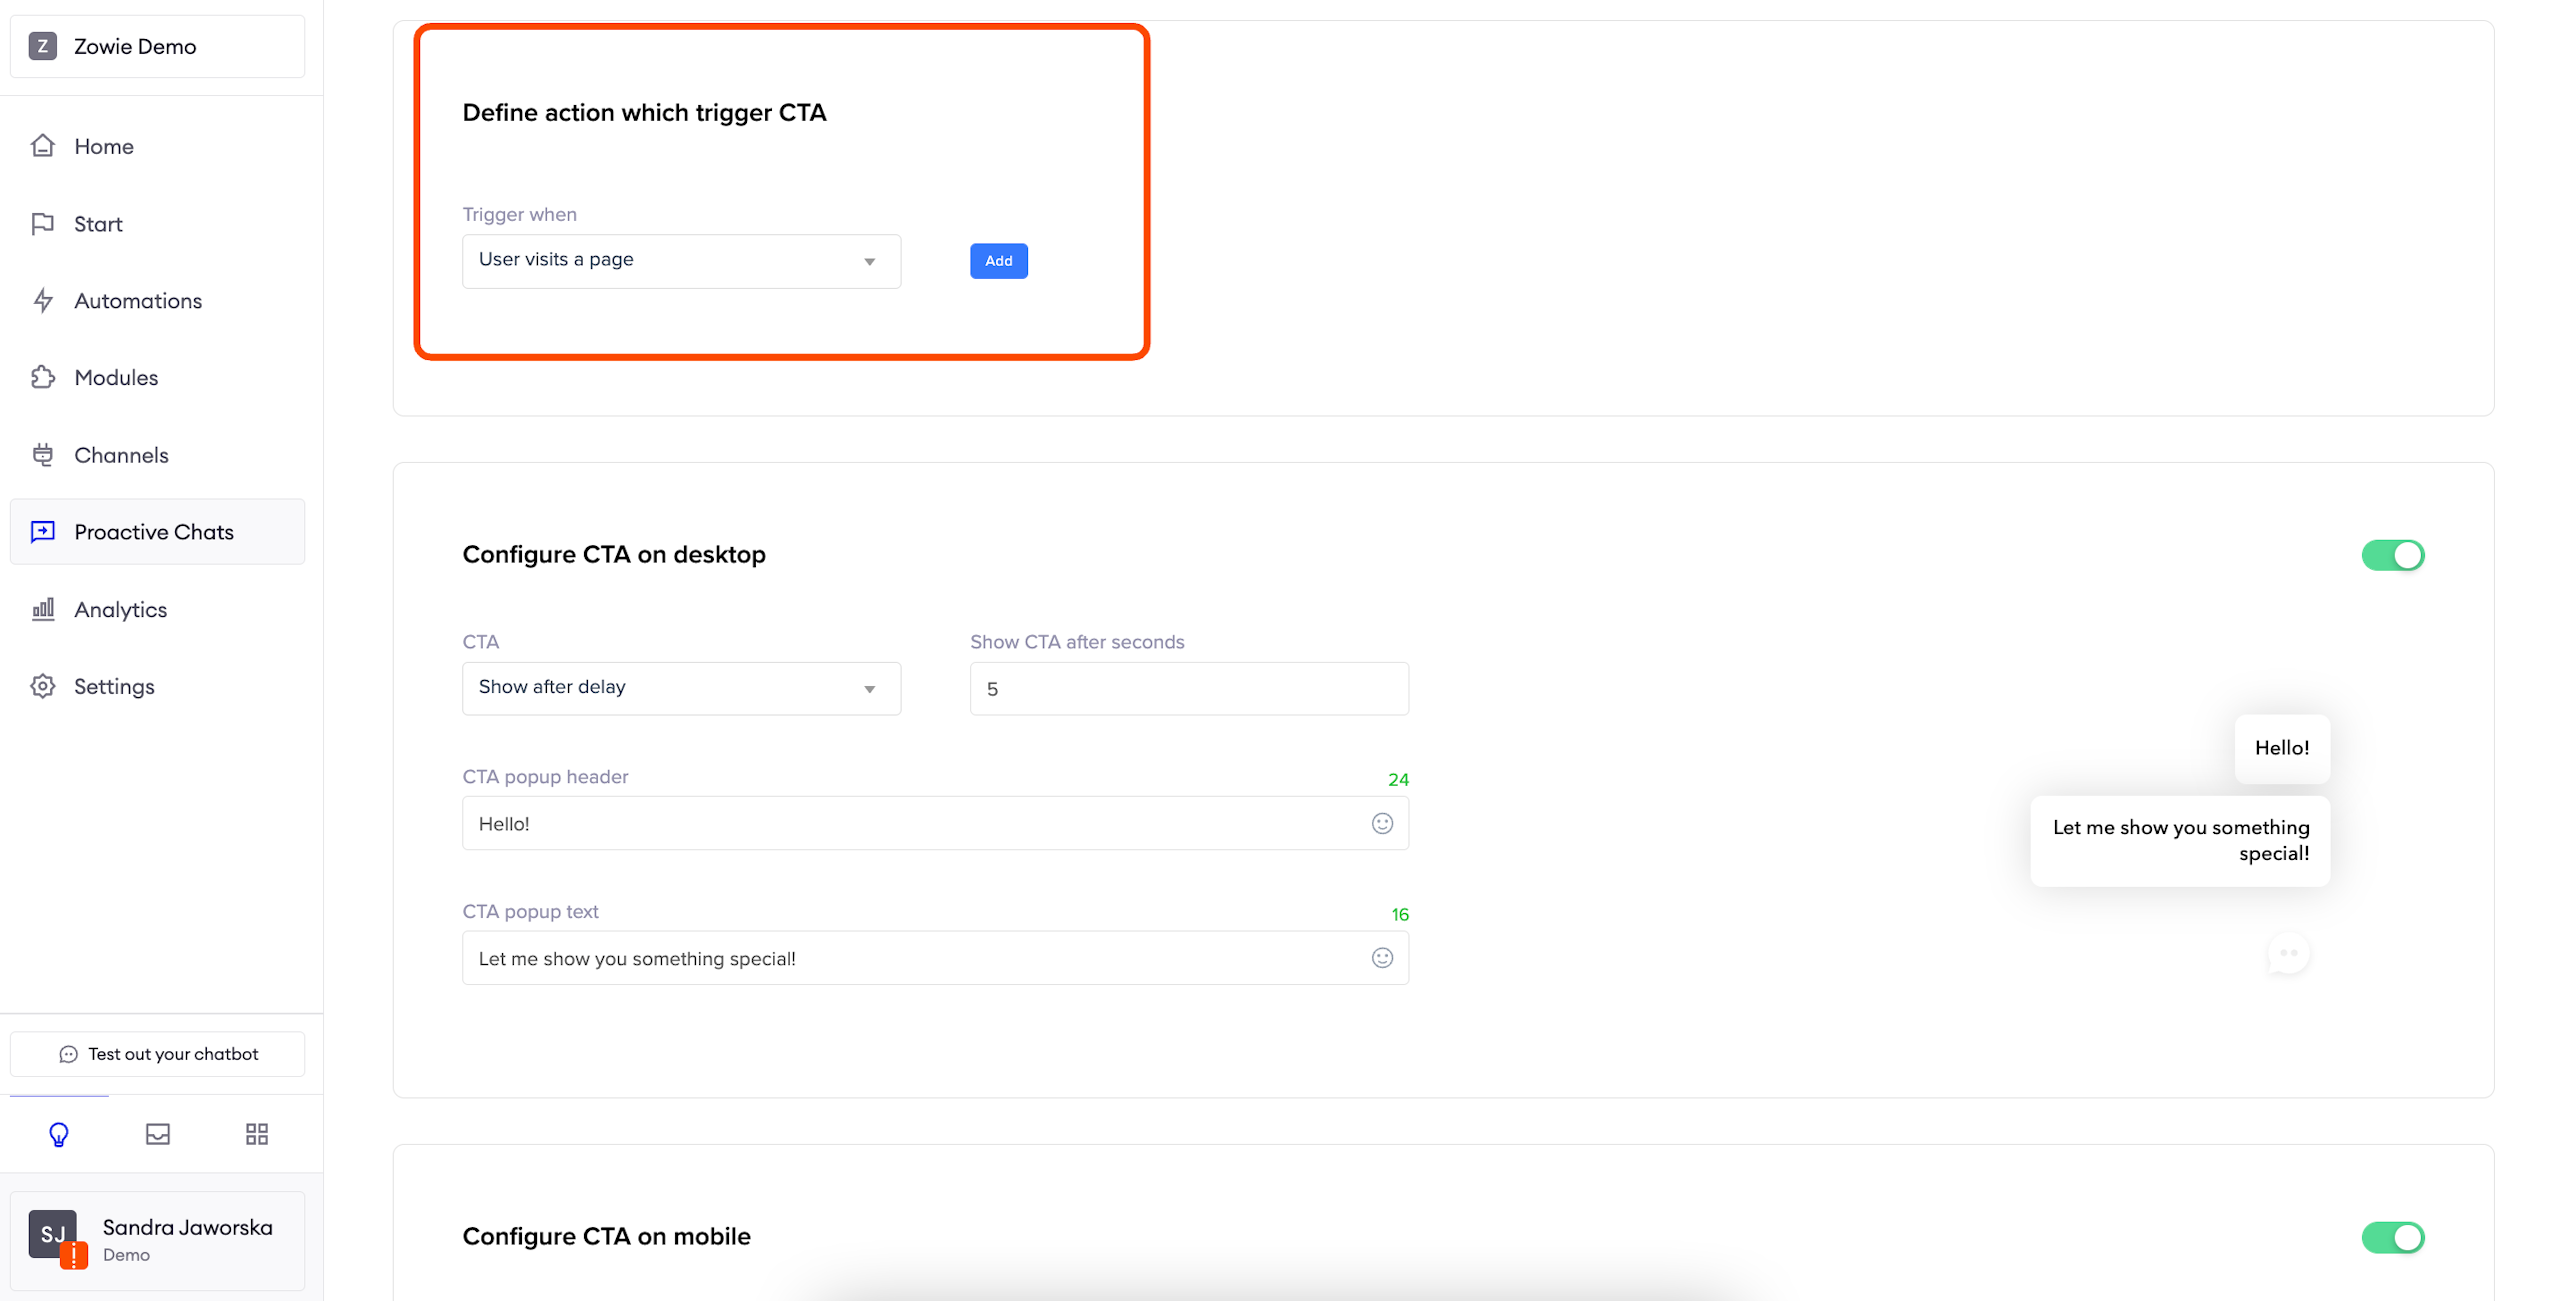
Configure which Actions trigger CTA
In this section, you can choose which action will trigger CTA.
User visits a page will be triggered when the user visits a page configured in the placement section.
User left a tab will be triggered when a user doesn't return to the tab with a page configured in the placement section for a defined number of seconds.
User returns to a page will be triggered if a user visits a page configured in the placement section for the second time after a defined number of hours.
User hovers an element will be triggered when a user moves their mouse coursor over a defined element on your page.
User clicks an element will be triggered when a user clicks on a defined element on your page.
User adds a product to a cart will be triggered when a user who's on a page defined in the placement section adds a product to the cart.
User removes a product to a cart will be triggered when a user who's on a page defined in the placement section removes a product from the cart.
User visits a product will be triggered when a user visits a defined number of pages with products.
Configure CTA
During this step, you can configure the look and feel of the CTA which will convince your users to open the widget.

CTA on desktop
Show after delay allows you to determine how many seconds will pass before the CTA text will be displayed to the user. You can also decide to Show on widget hover.
CTA popup header and CTA popup text are the boxes which will be shown to your user. On the right, you can see the preview of your configuration.
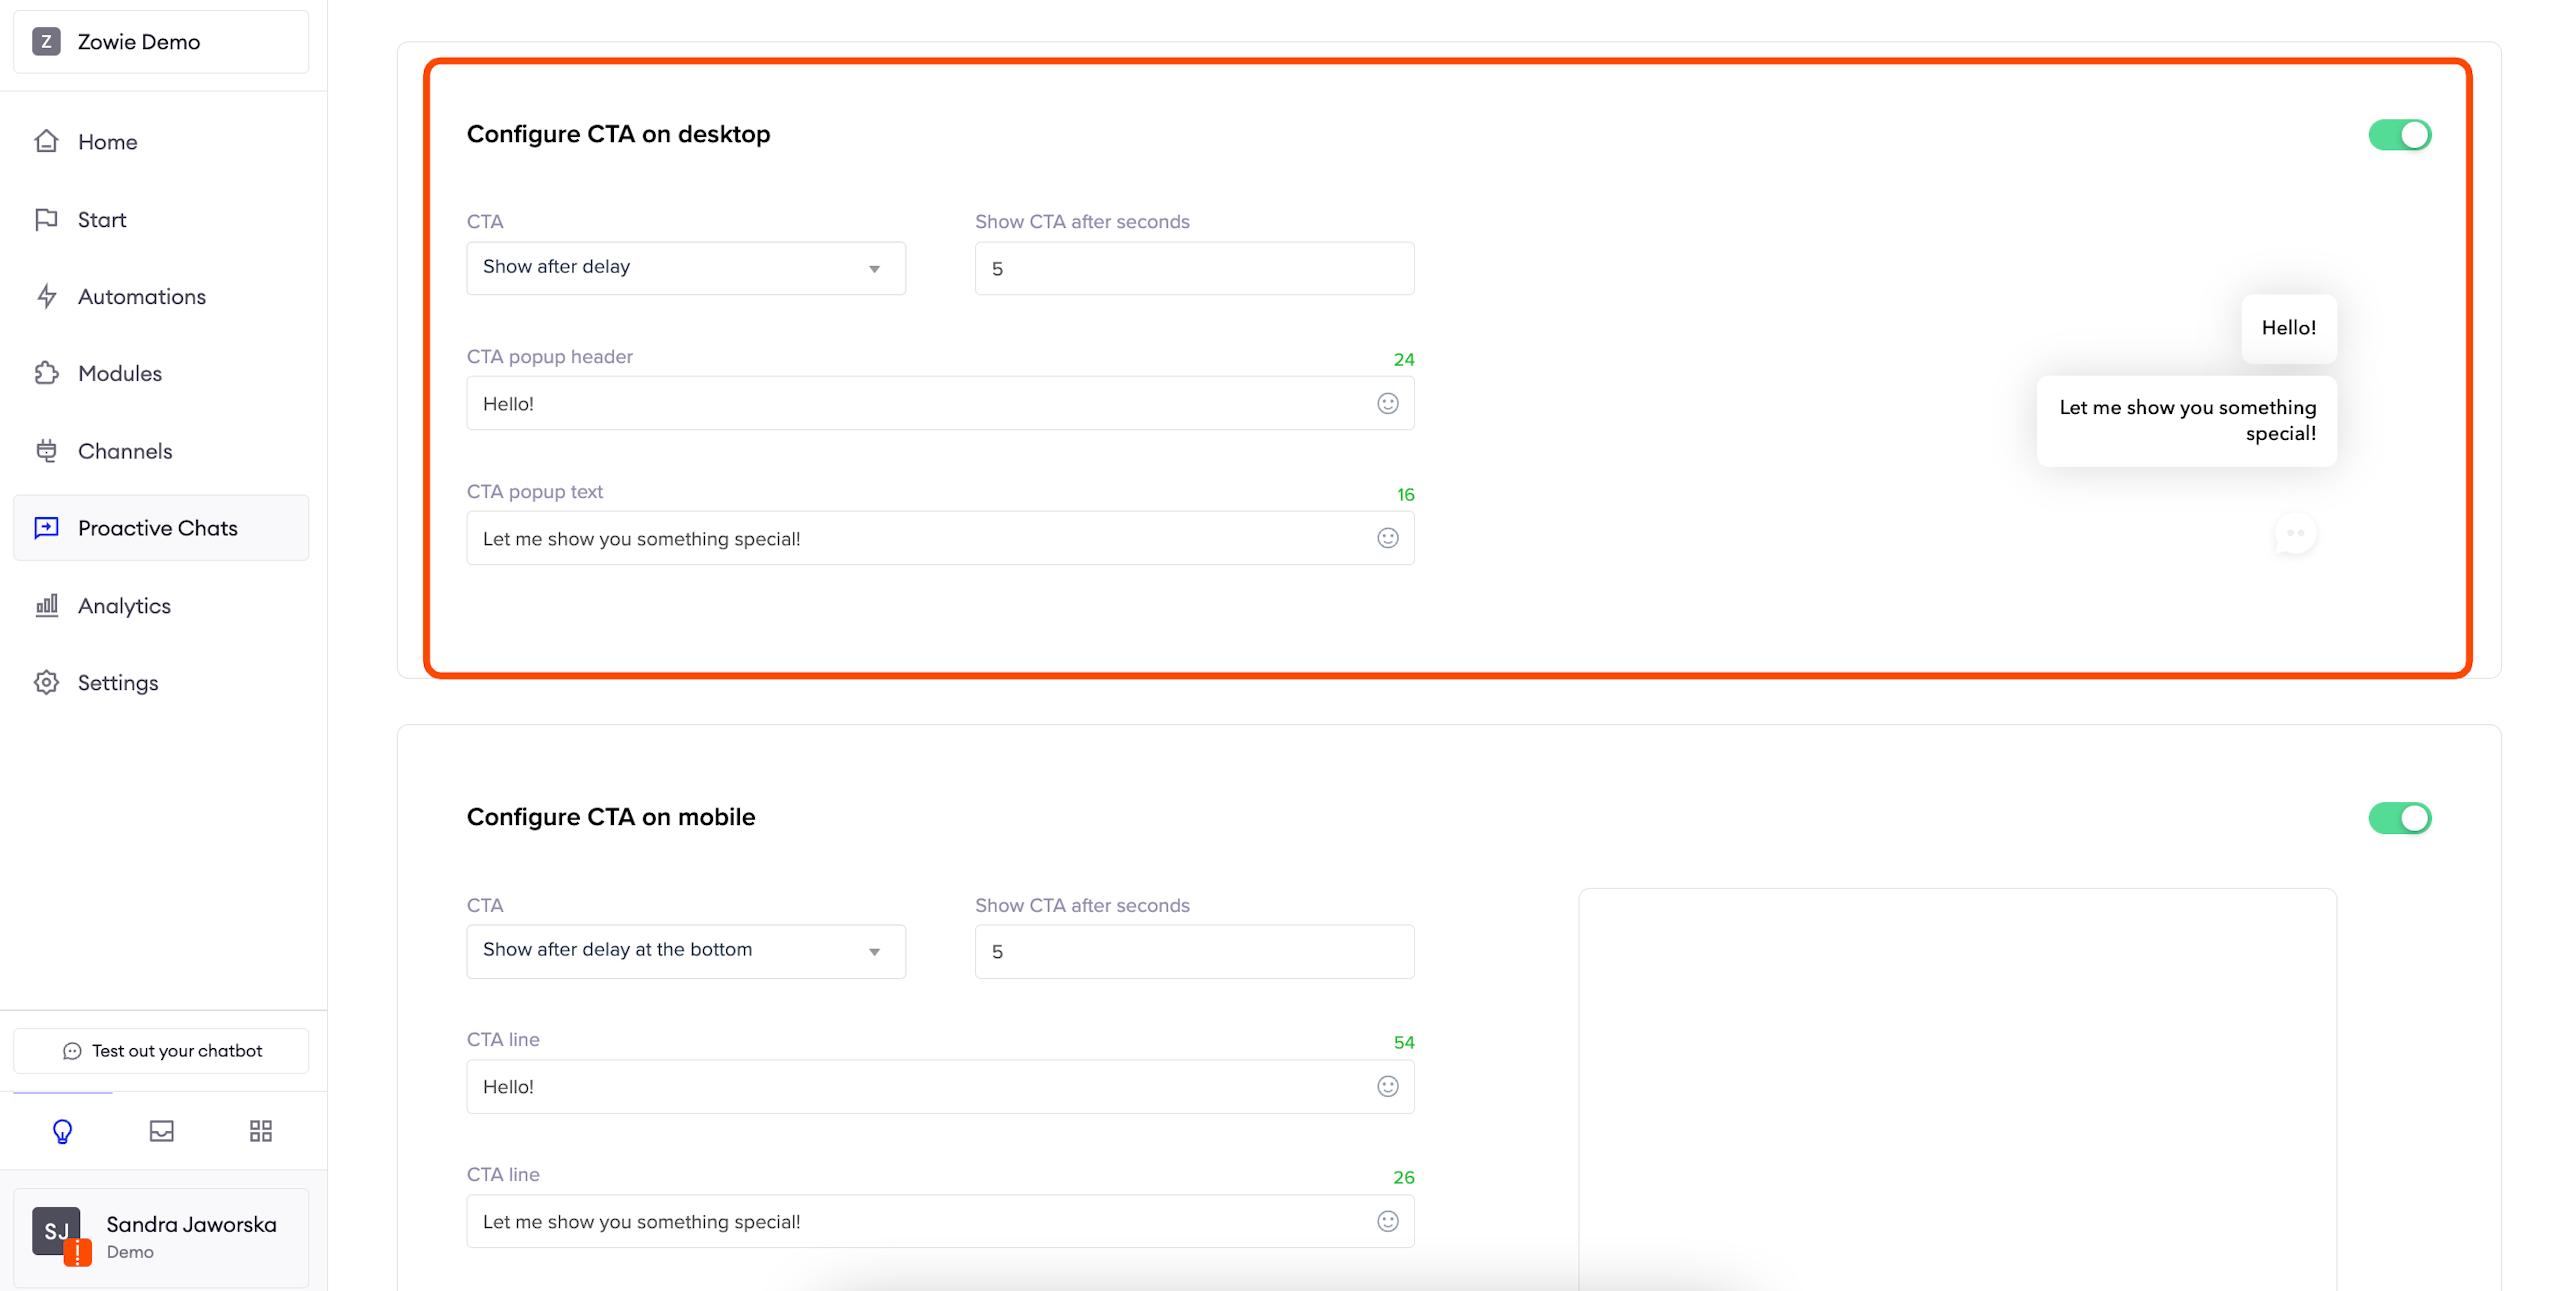
CTA on mobile
Show after delay on the top and Show after delay on the bottom allow you to decide when and where you want the text to appear. Then, simply configure what kind of greeting you want your users to see.

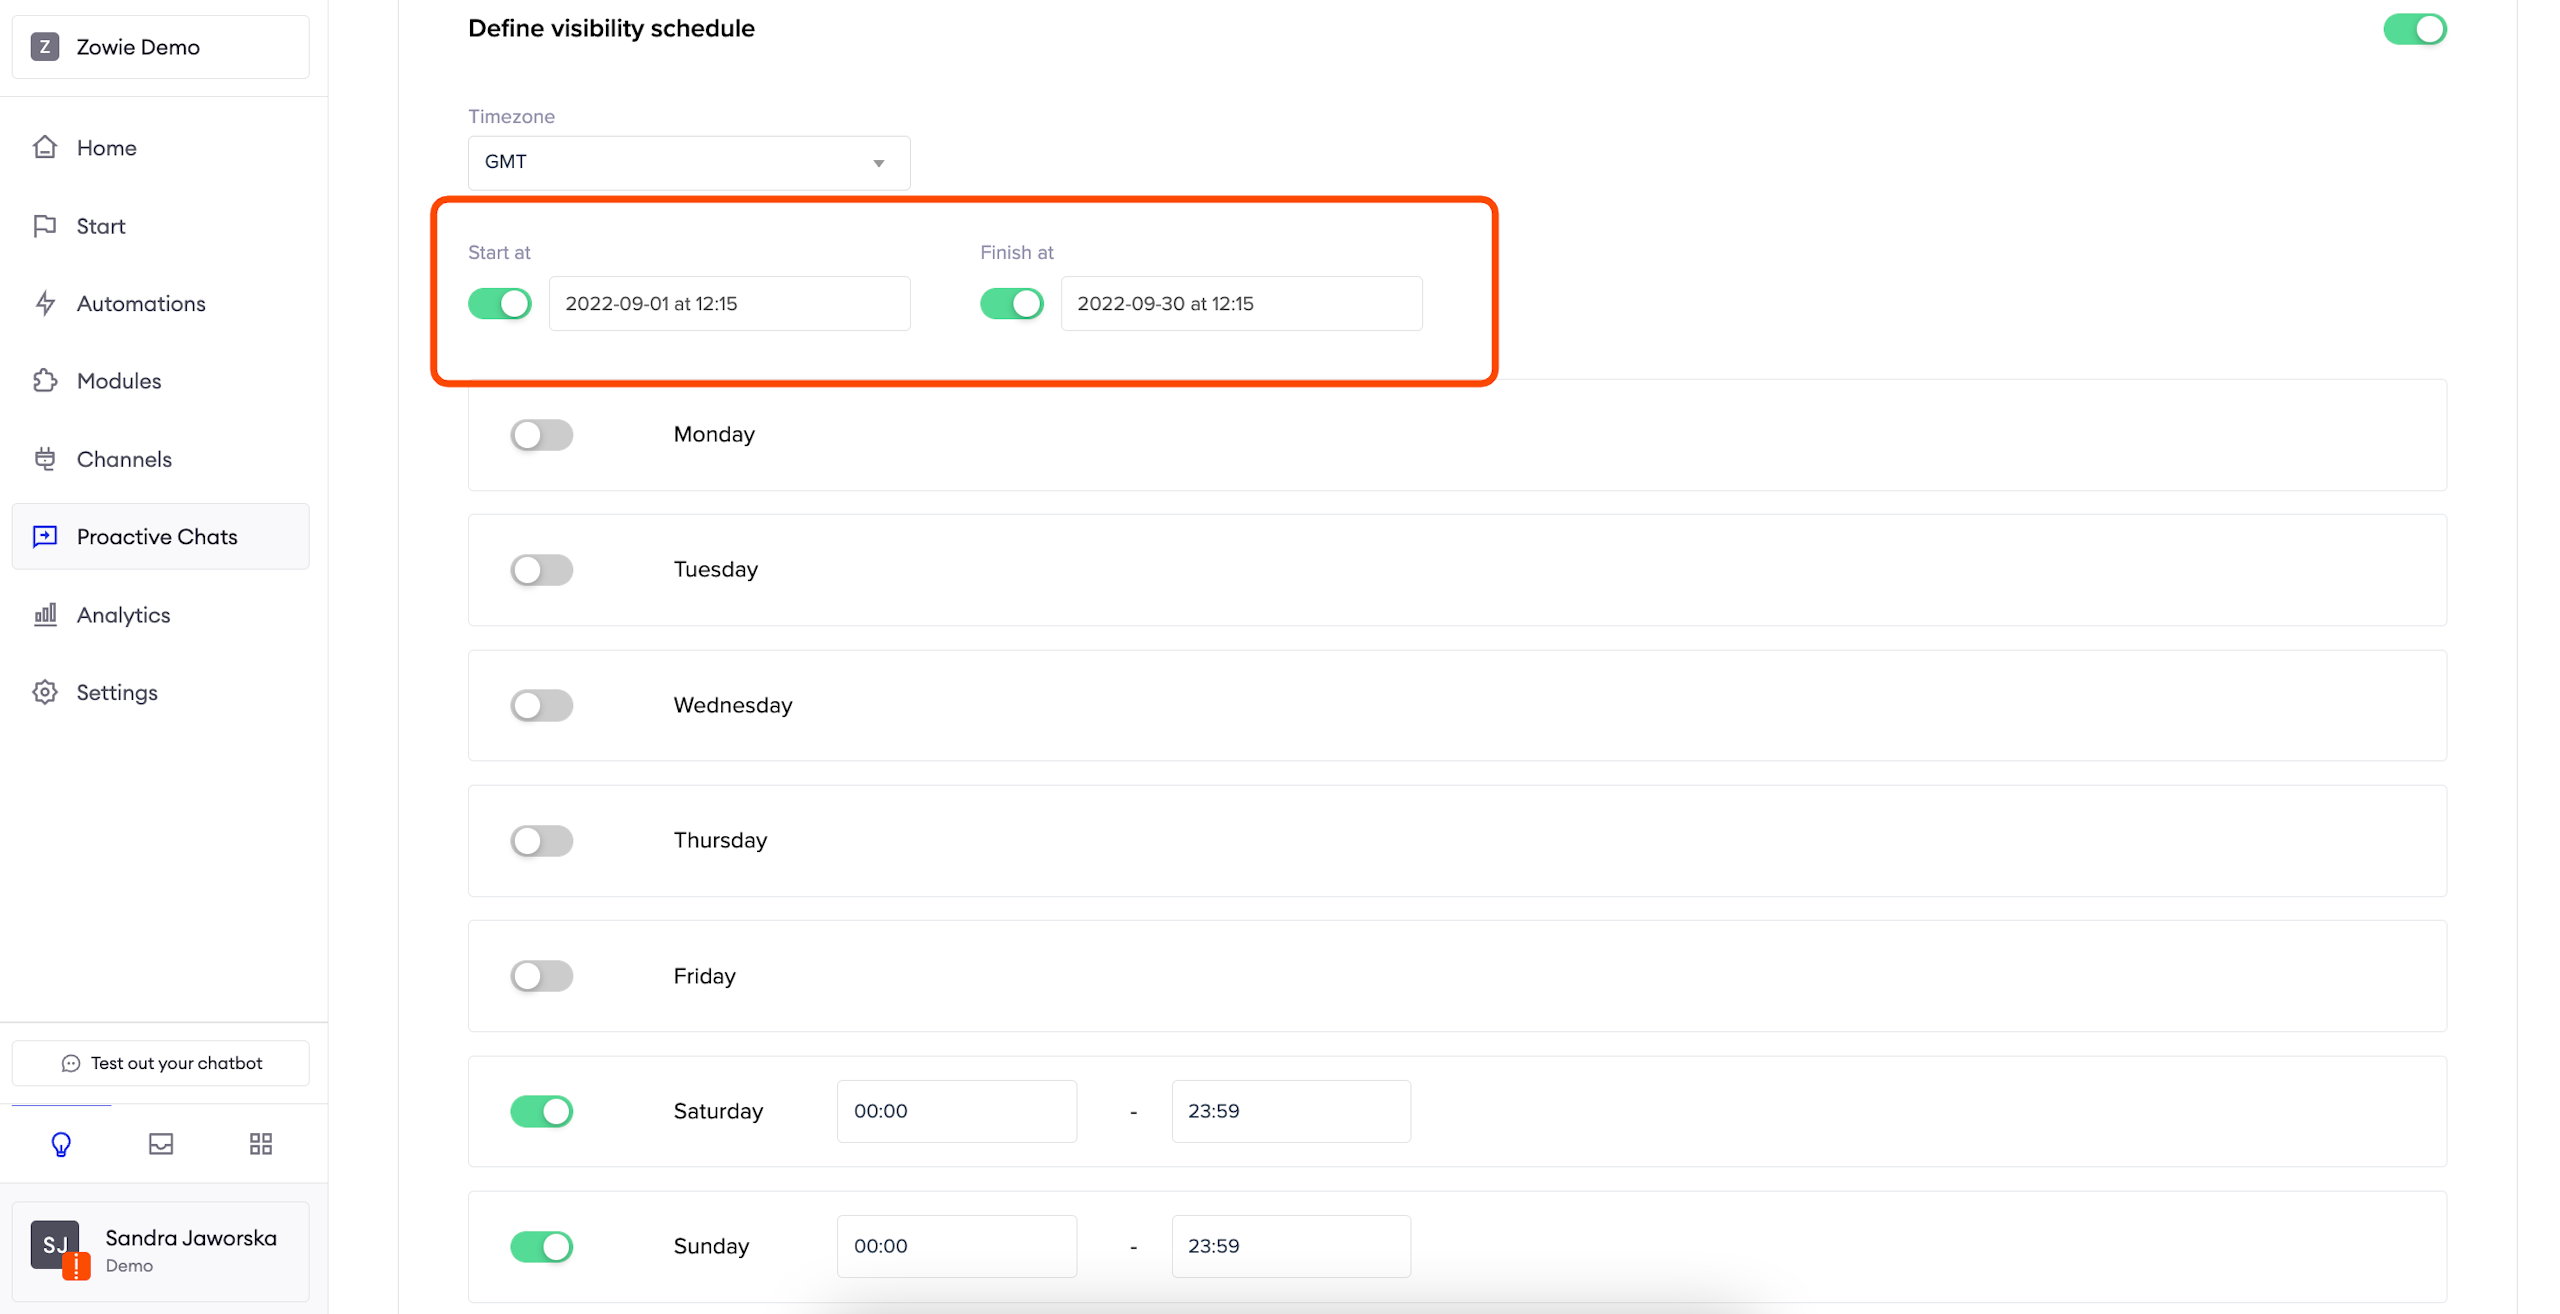
Define visibility schedule
Schedule
If you don't enable this section, your Proactive Chat will always be available to your users. If, on the other hand, you want to limit it to specific hours of the day (for example, to align it with the working hours of your Customer Service Team) or run it for a specified period of time (for example, this Proactive Chat supports a marketing campaign that you are running in September), you can use this section.
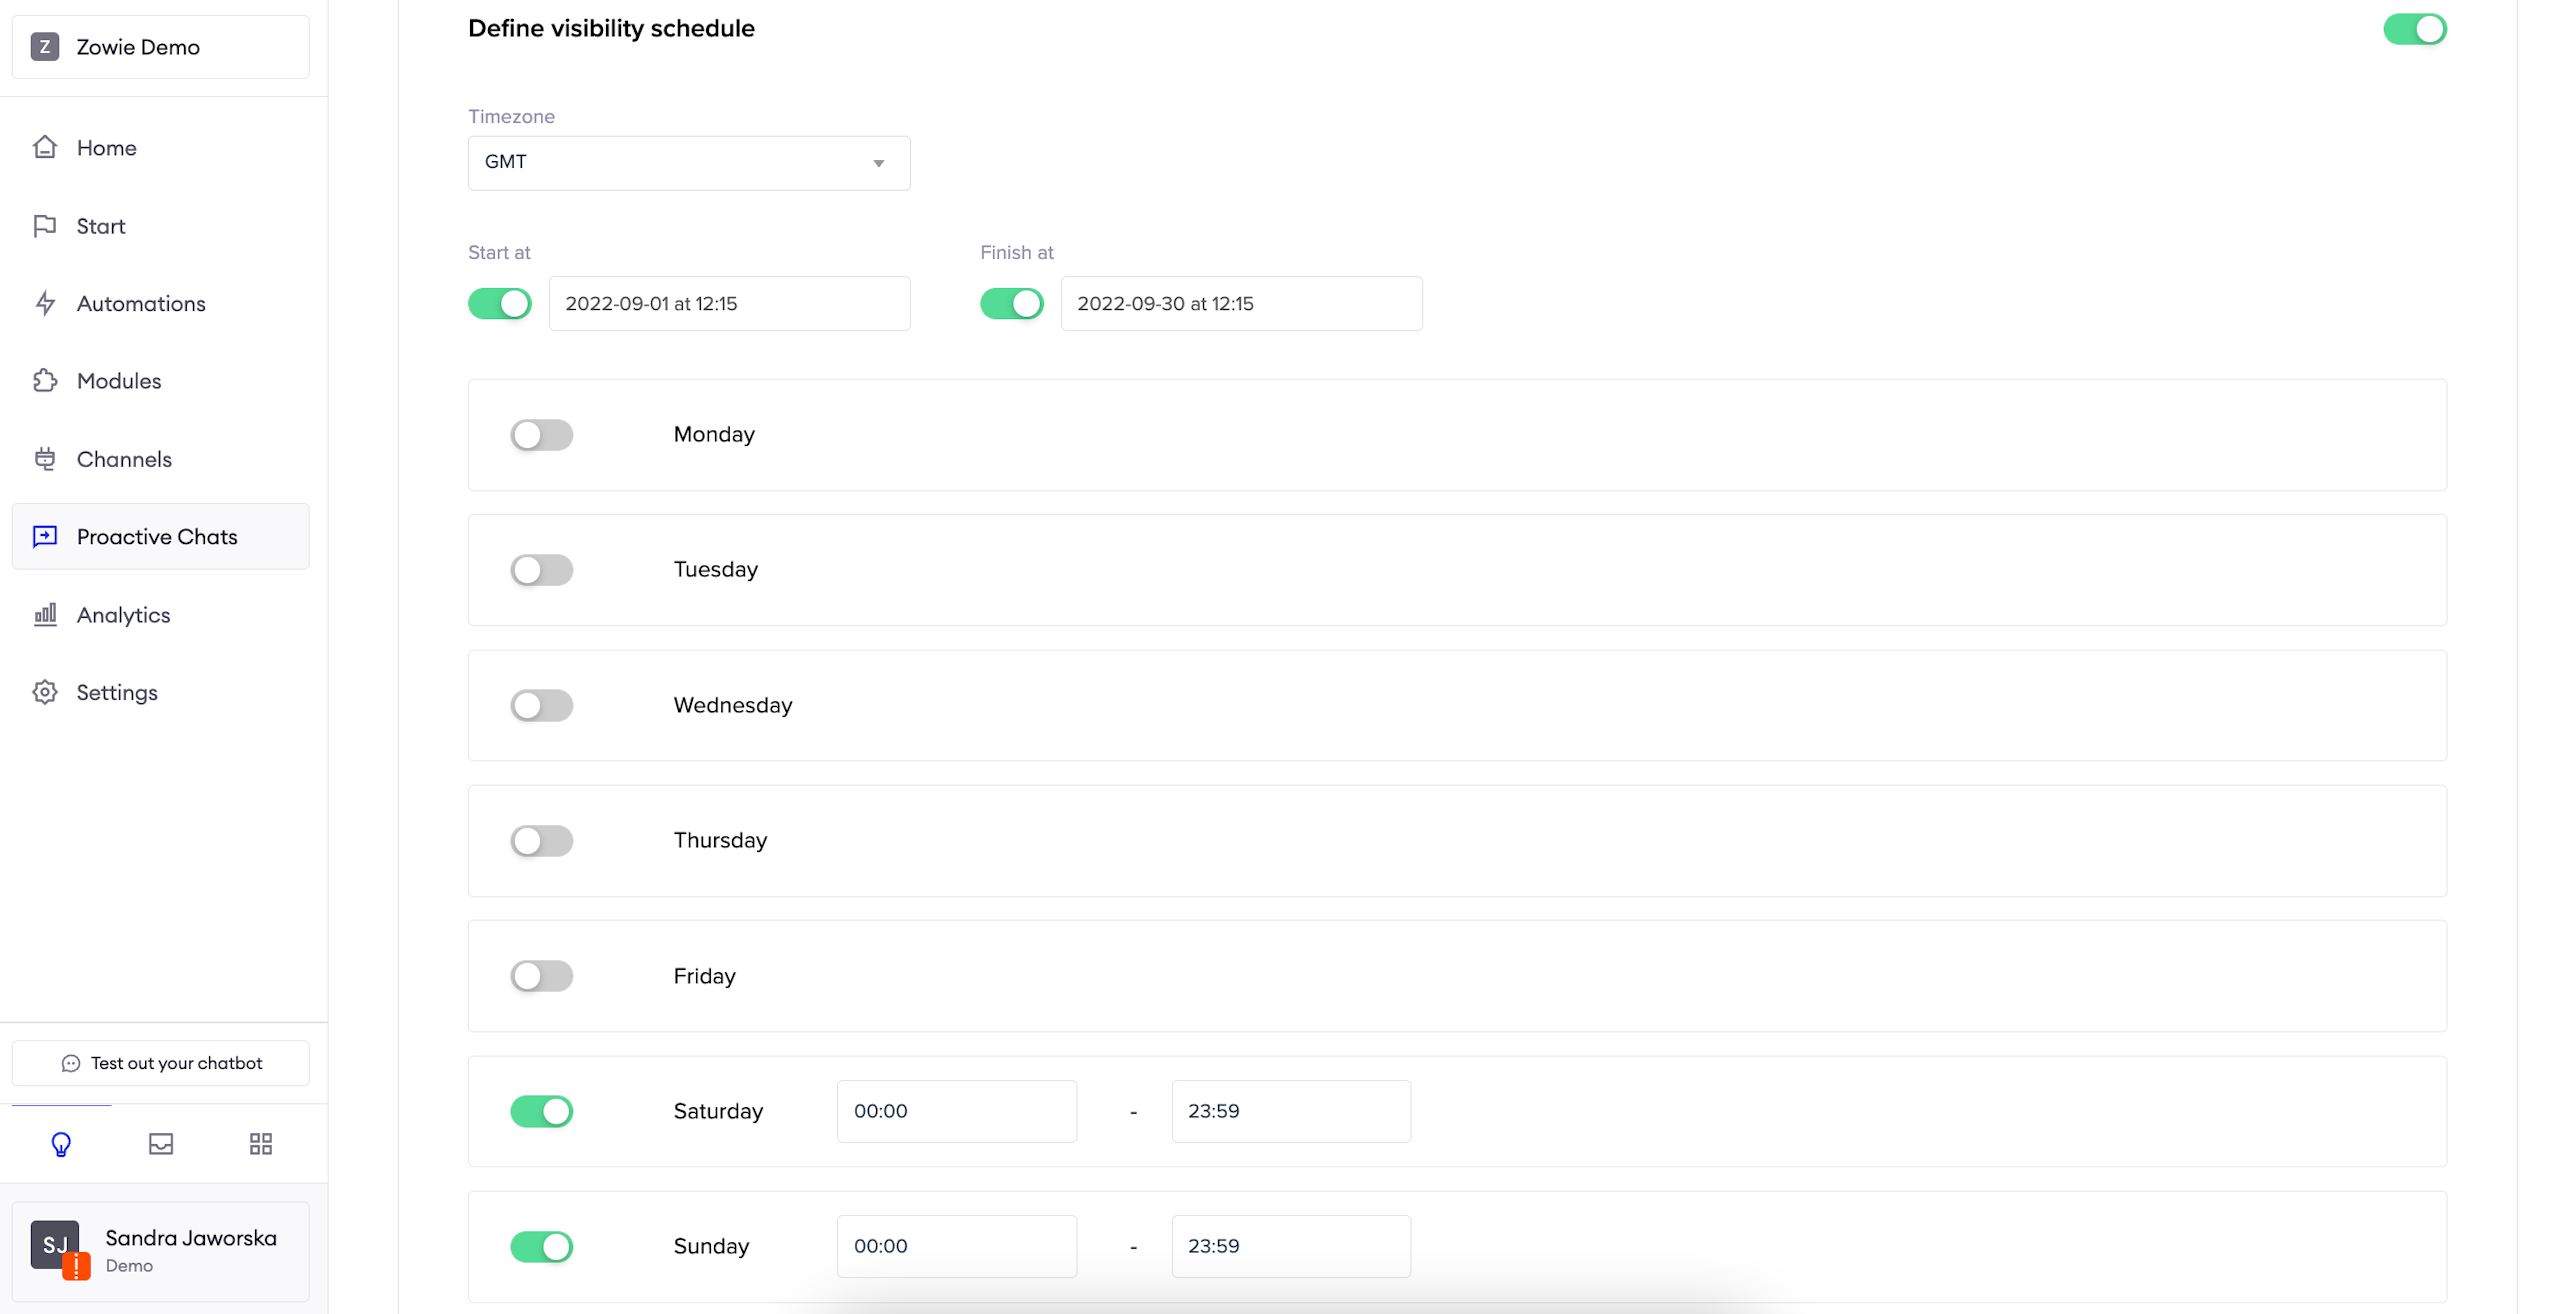
Seasonal campaigns
Start at and Finish at allow you to pick a timeframe when the Proactive Chat will be displayed. It's great for seasonal marketing campaigns.
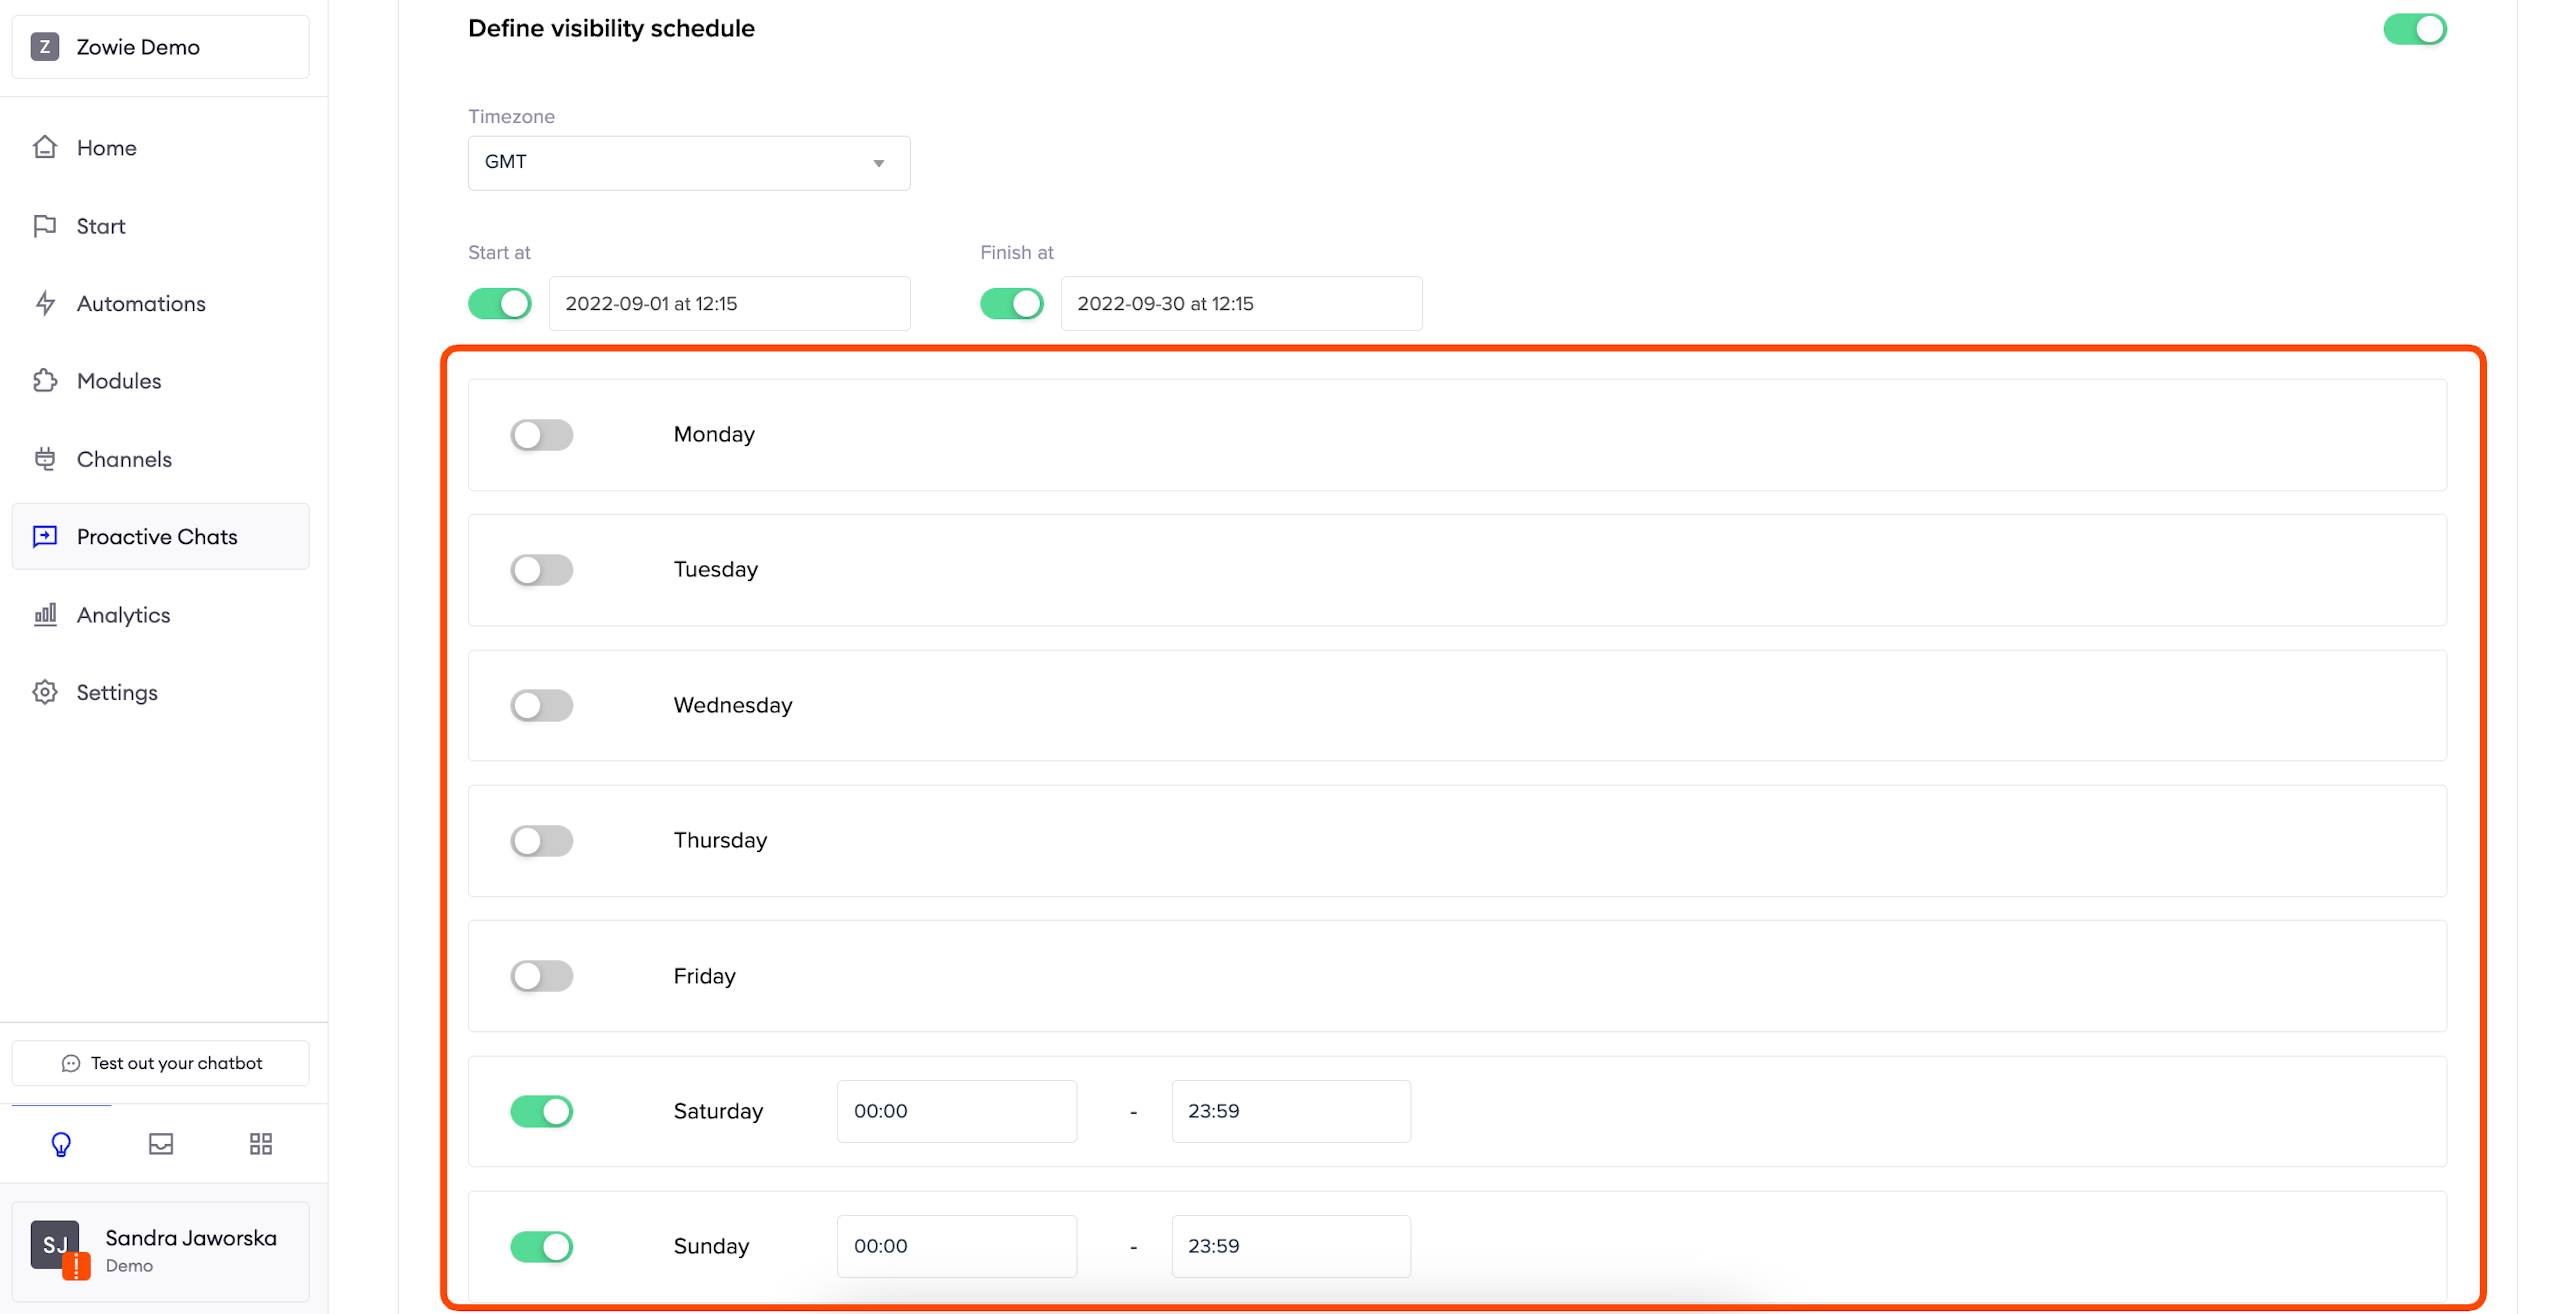
Daily schedule
Here, you can define the days and hours you want to display the CTA to your users. It's great for ongoing marketing campaigns or enabling customer support in case of problems during checkout.
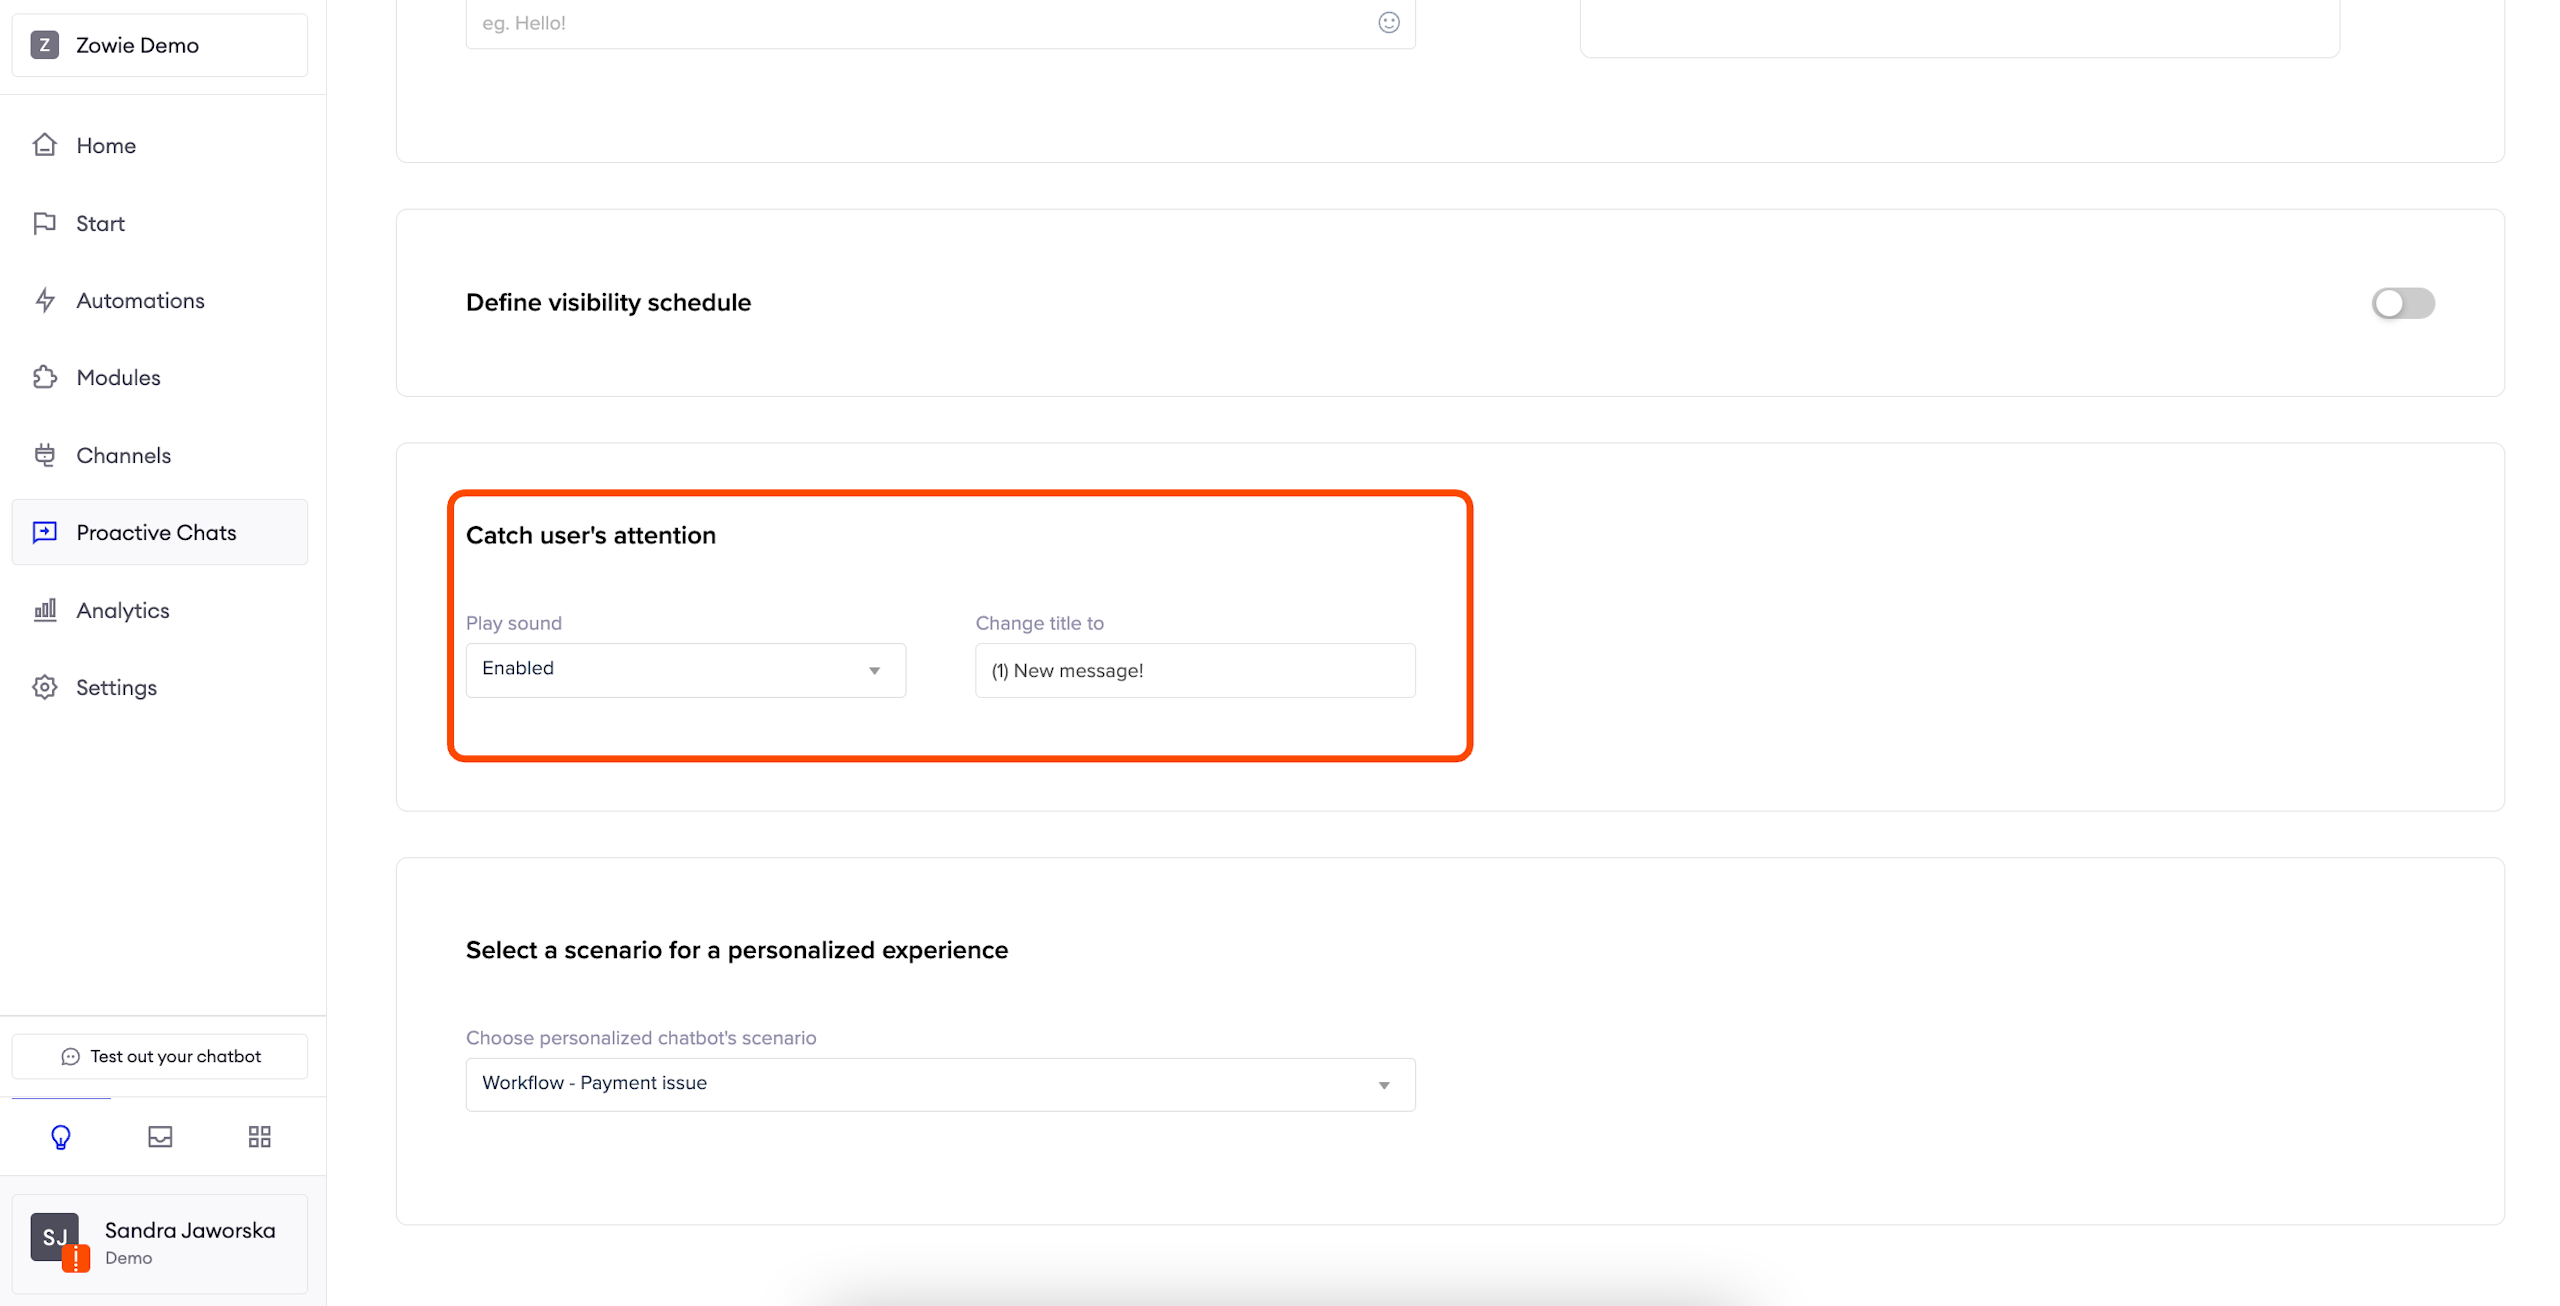
Catch User's attention
Here, you may configure a sound notification and title change of a tab to catch the user’s attention.
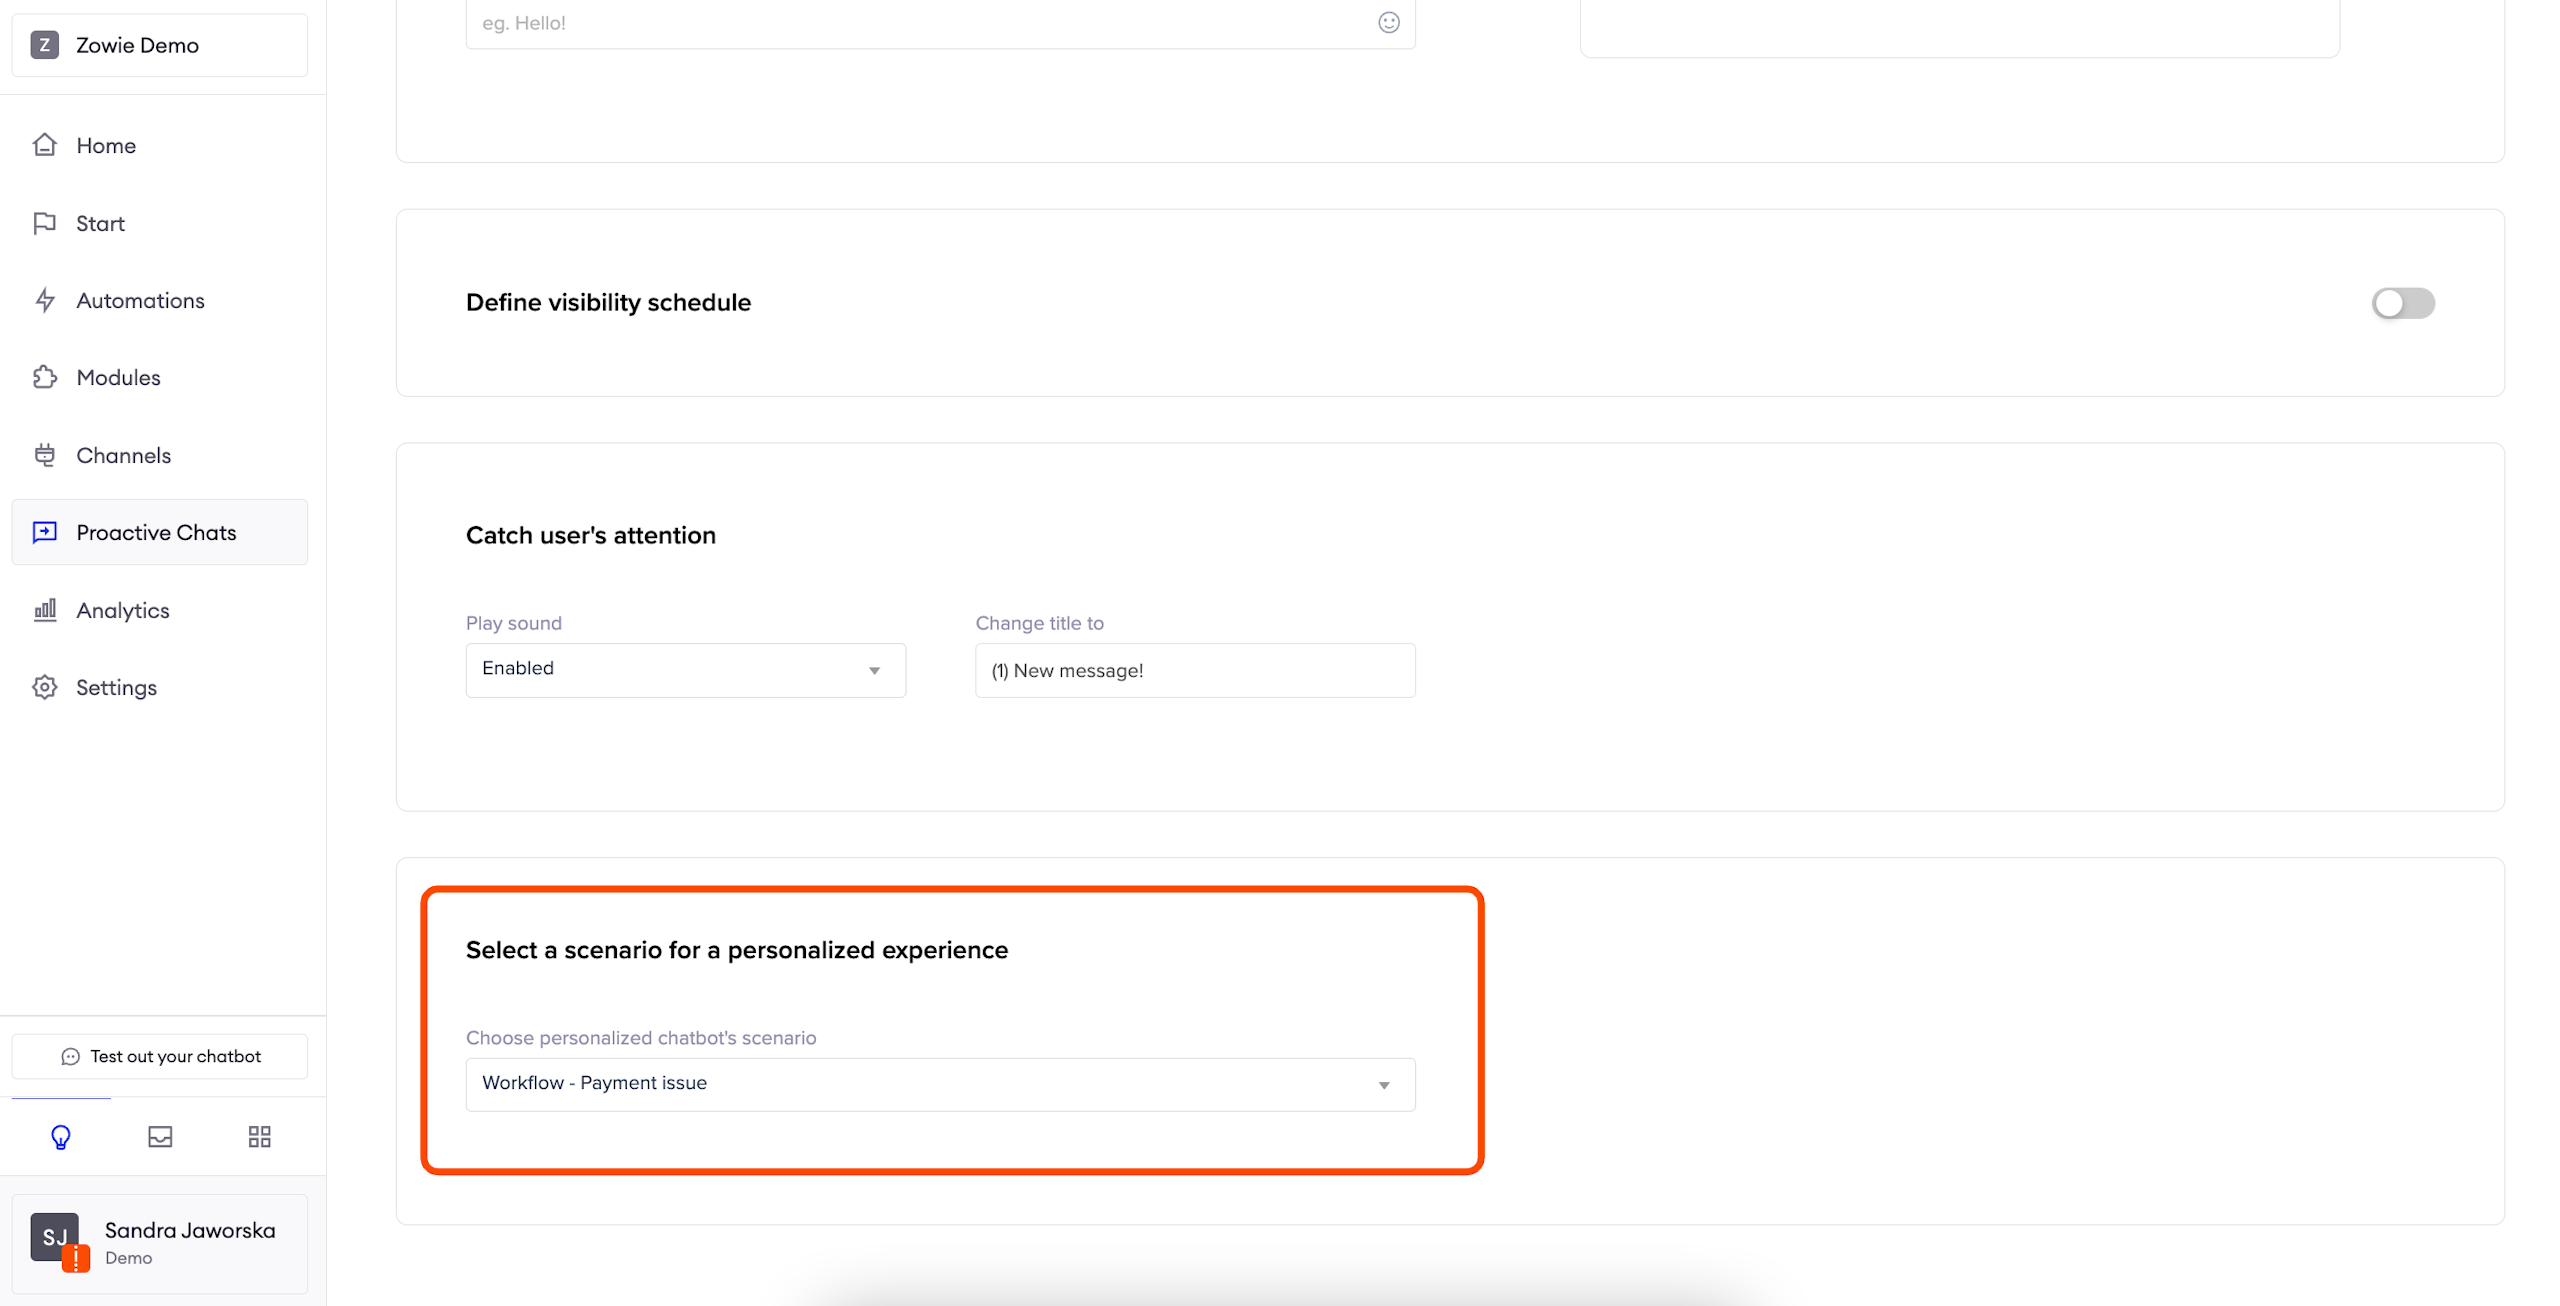
Configure the starting module
Scenario
During this step, you can select which module or automation should be triggered when a user clicks on the CTA and opens the widget.
Example:You want to support your users during checkout so you configure the widget in a way that it proactively offers help with payment issues.
Test your Proactive Chat
Click "Save" and your Proactive Chat is done! Now you can go to your website and experience what your users will see.