REST Automation
What is the REST Automation Module?
This module allows you to integrate Zowie with existing RESTful APIs inside your tech stack, with the ability to send and receive requests from existing RESTful infrastructure.
Why use the REST Automation Module?
Using Zowie's REST Automation, you can increase the helpfulness of your chatbot and maximize deflection by providing your users with information about their accounts, orders, or any other details within your external systems that help to resolve user queries.
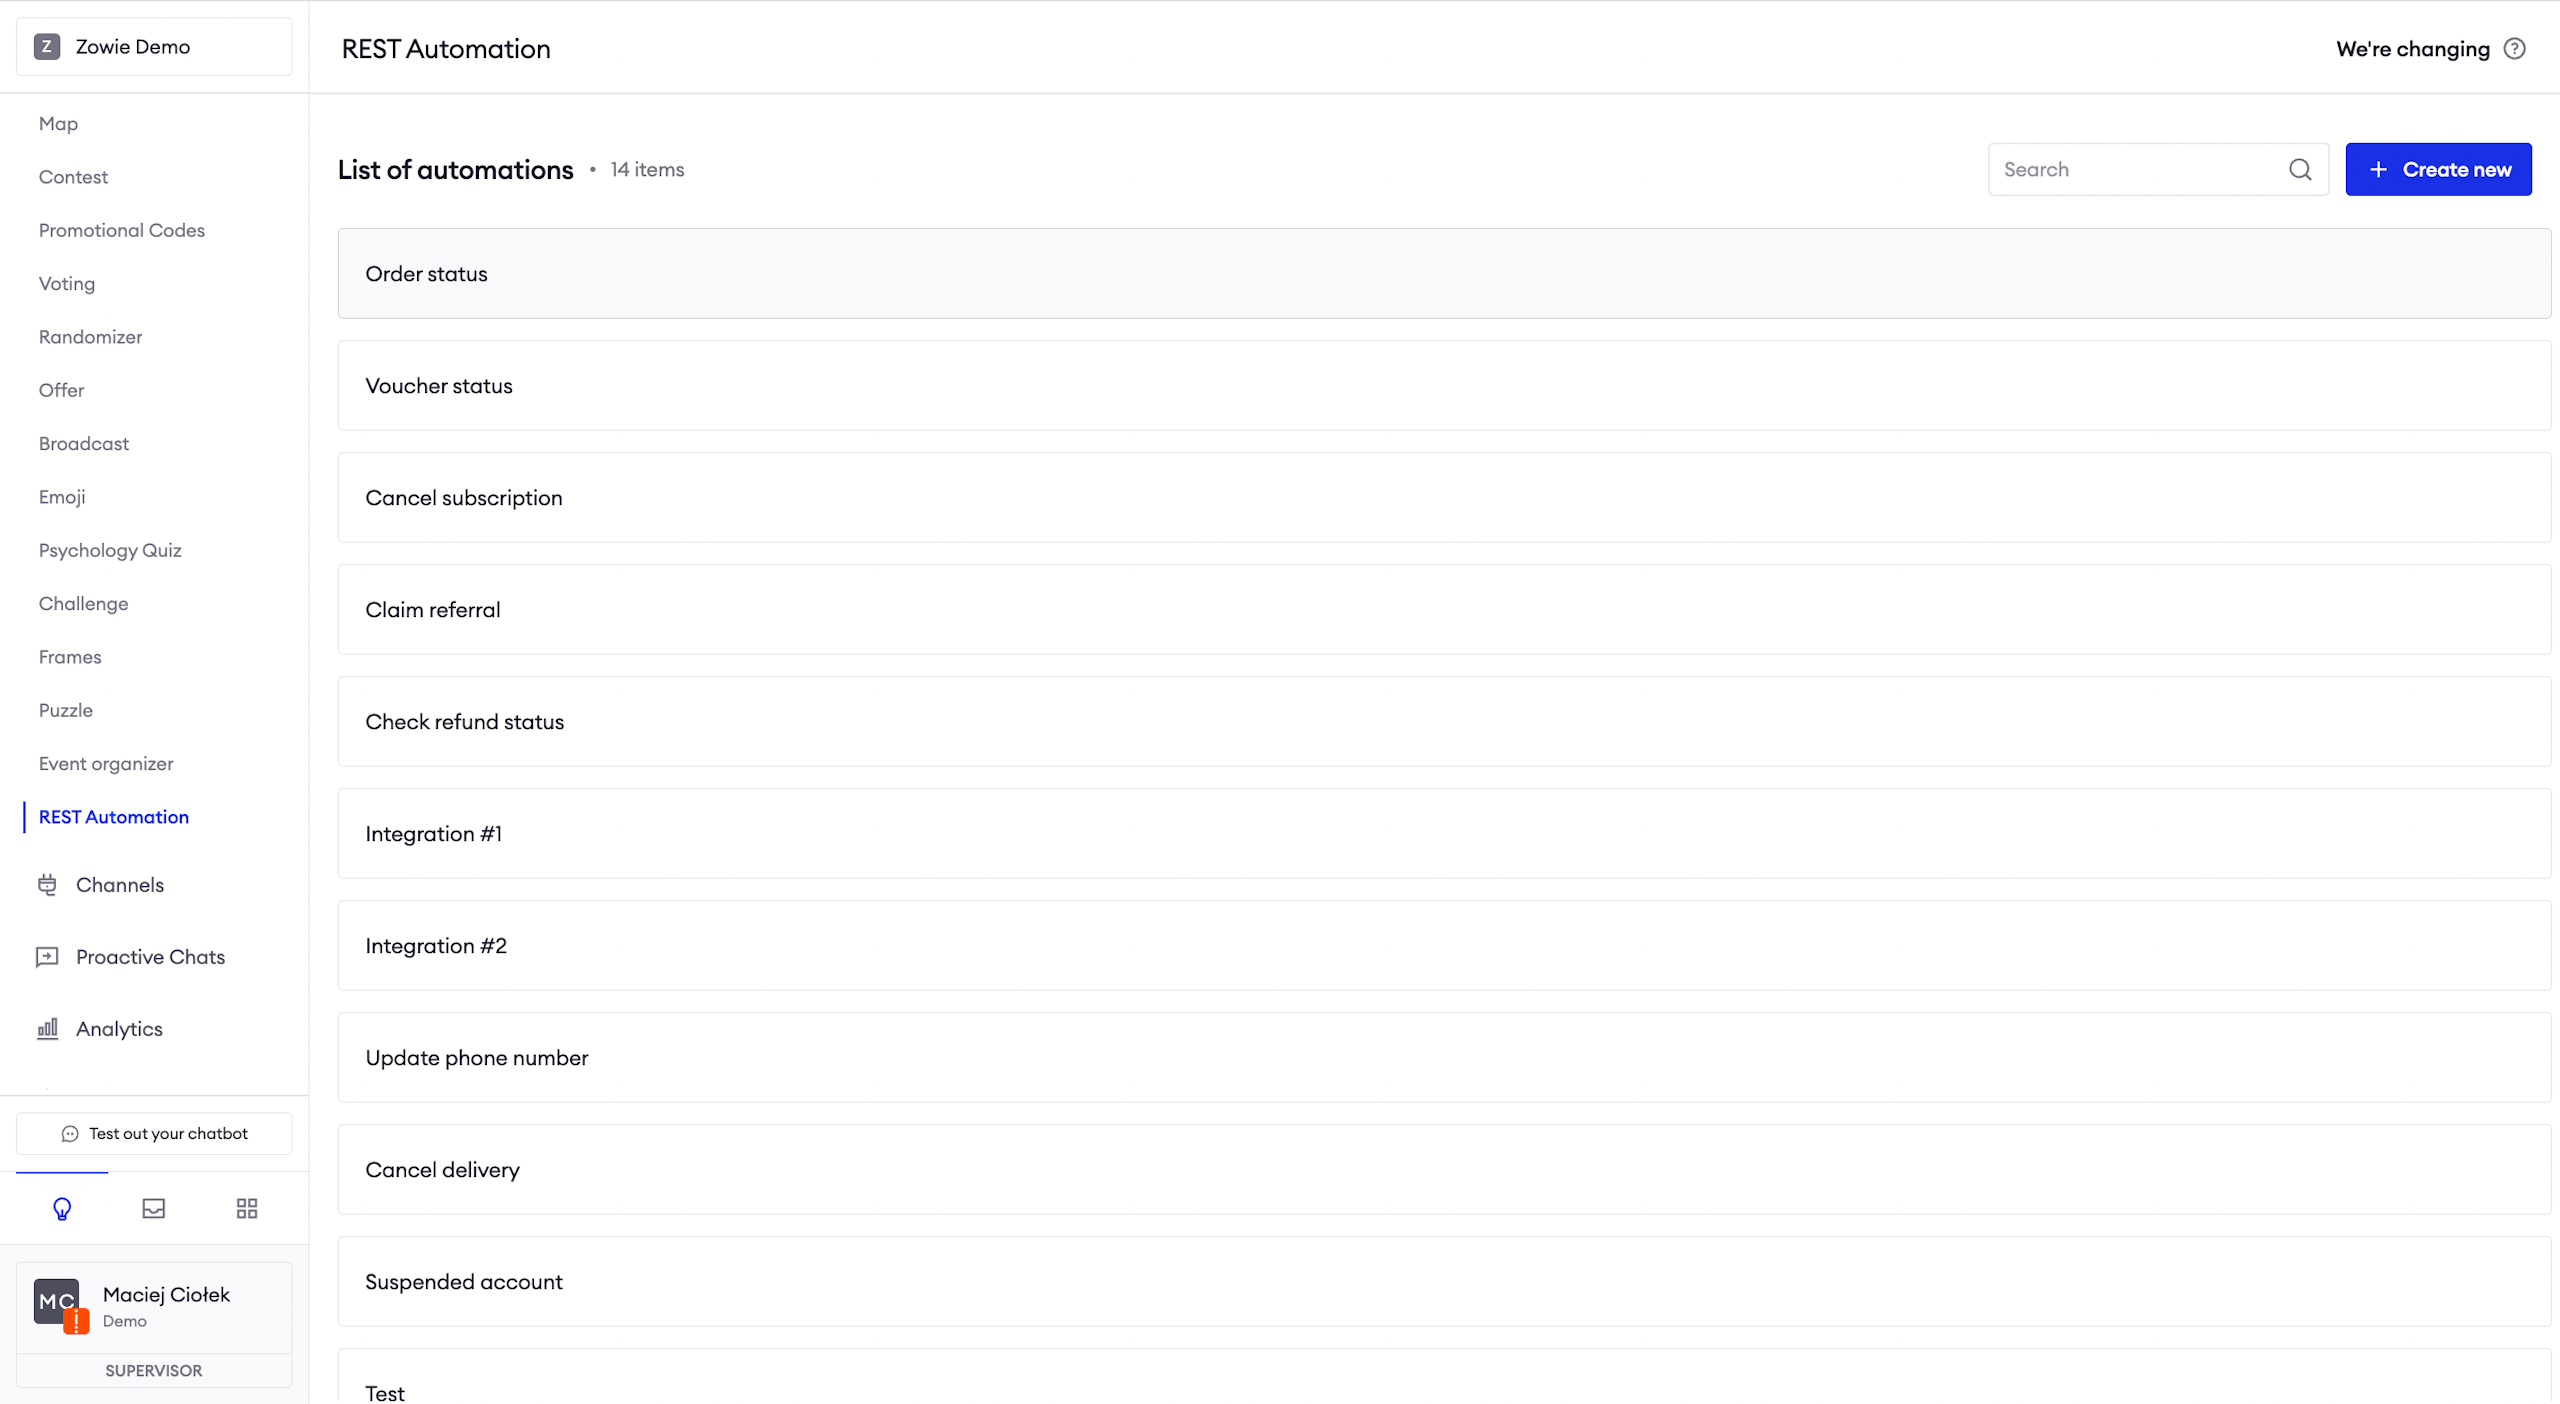
How to access REST Automation
To access the module, click Modules > REST Automation on Zowie's navigation bar.
Imagine you have a REST endpoint for checking order status. You expect it to be a GET request with the following body:
{
"orderNo": "${orderNumber}",

"email": "${email}",

...
}
The chatbot can easily send that request to the endpoint while filling the placeholders with data given by the customer.
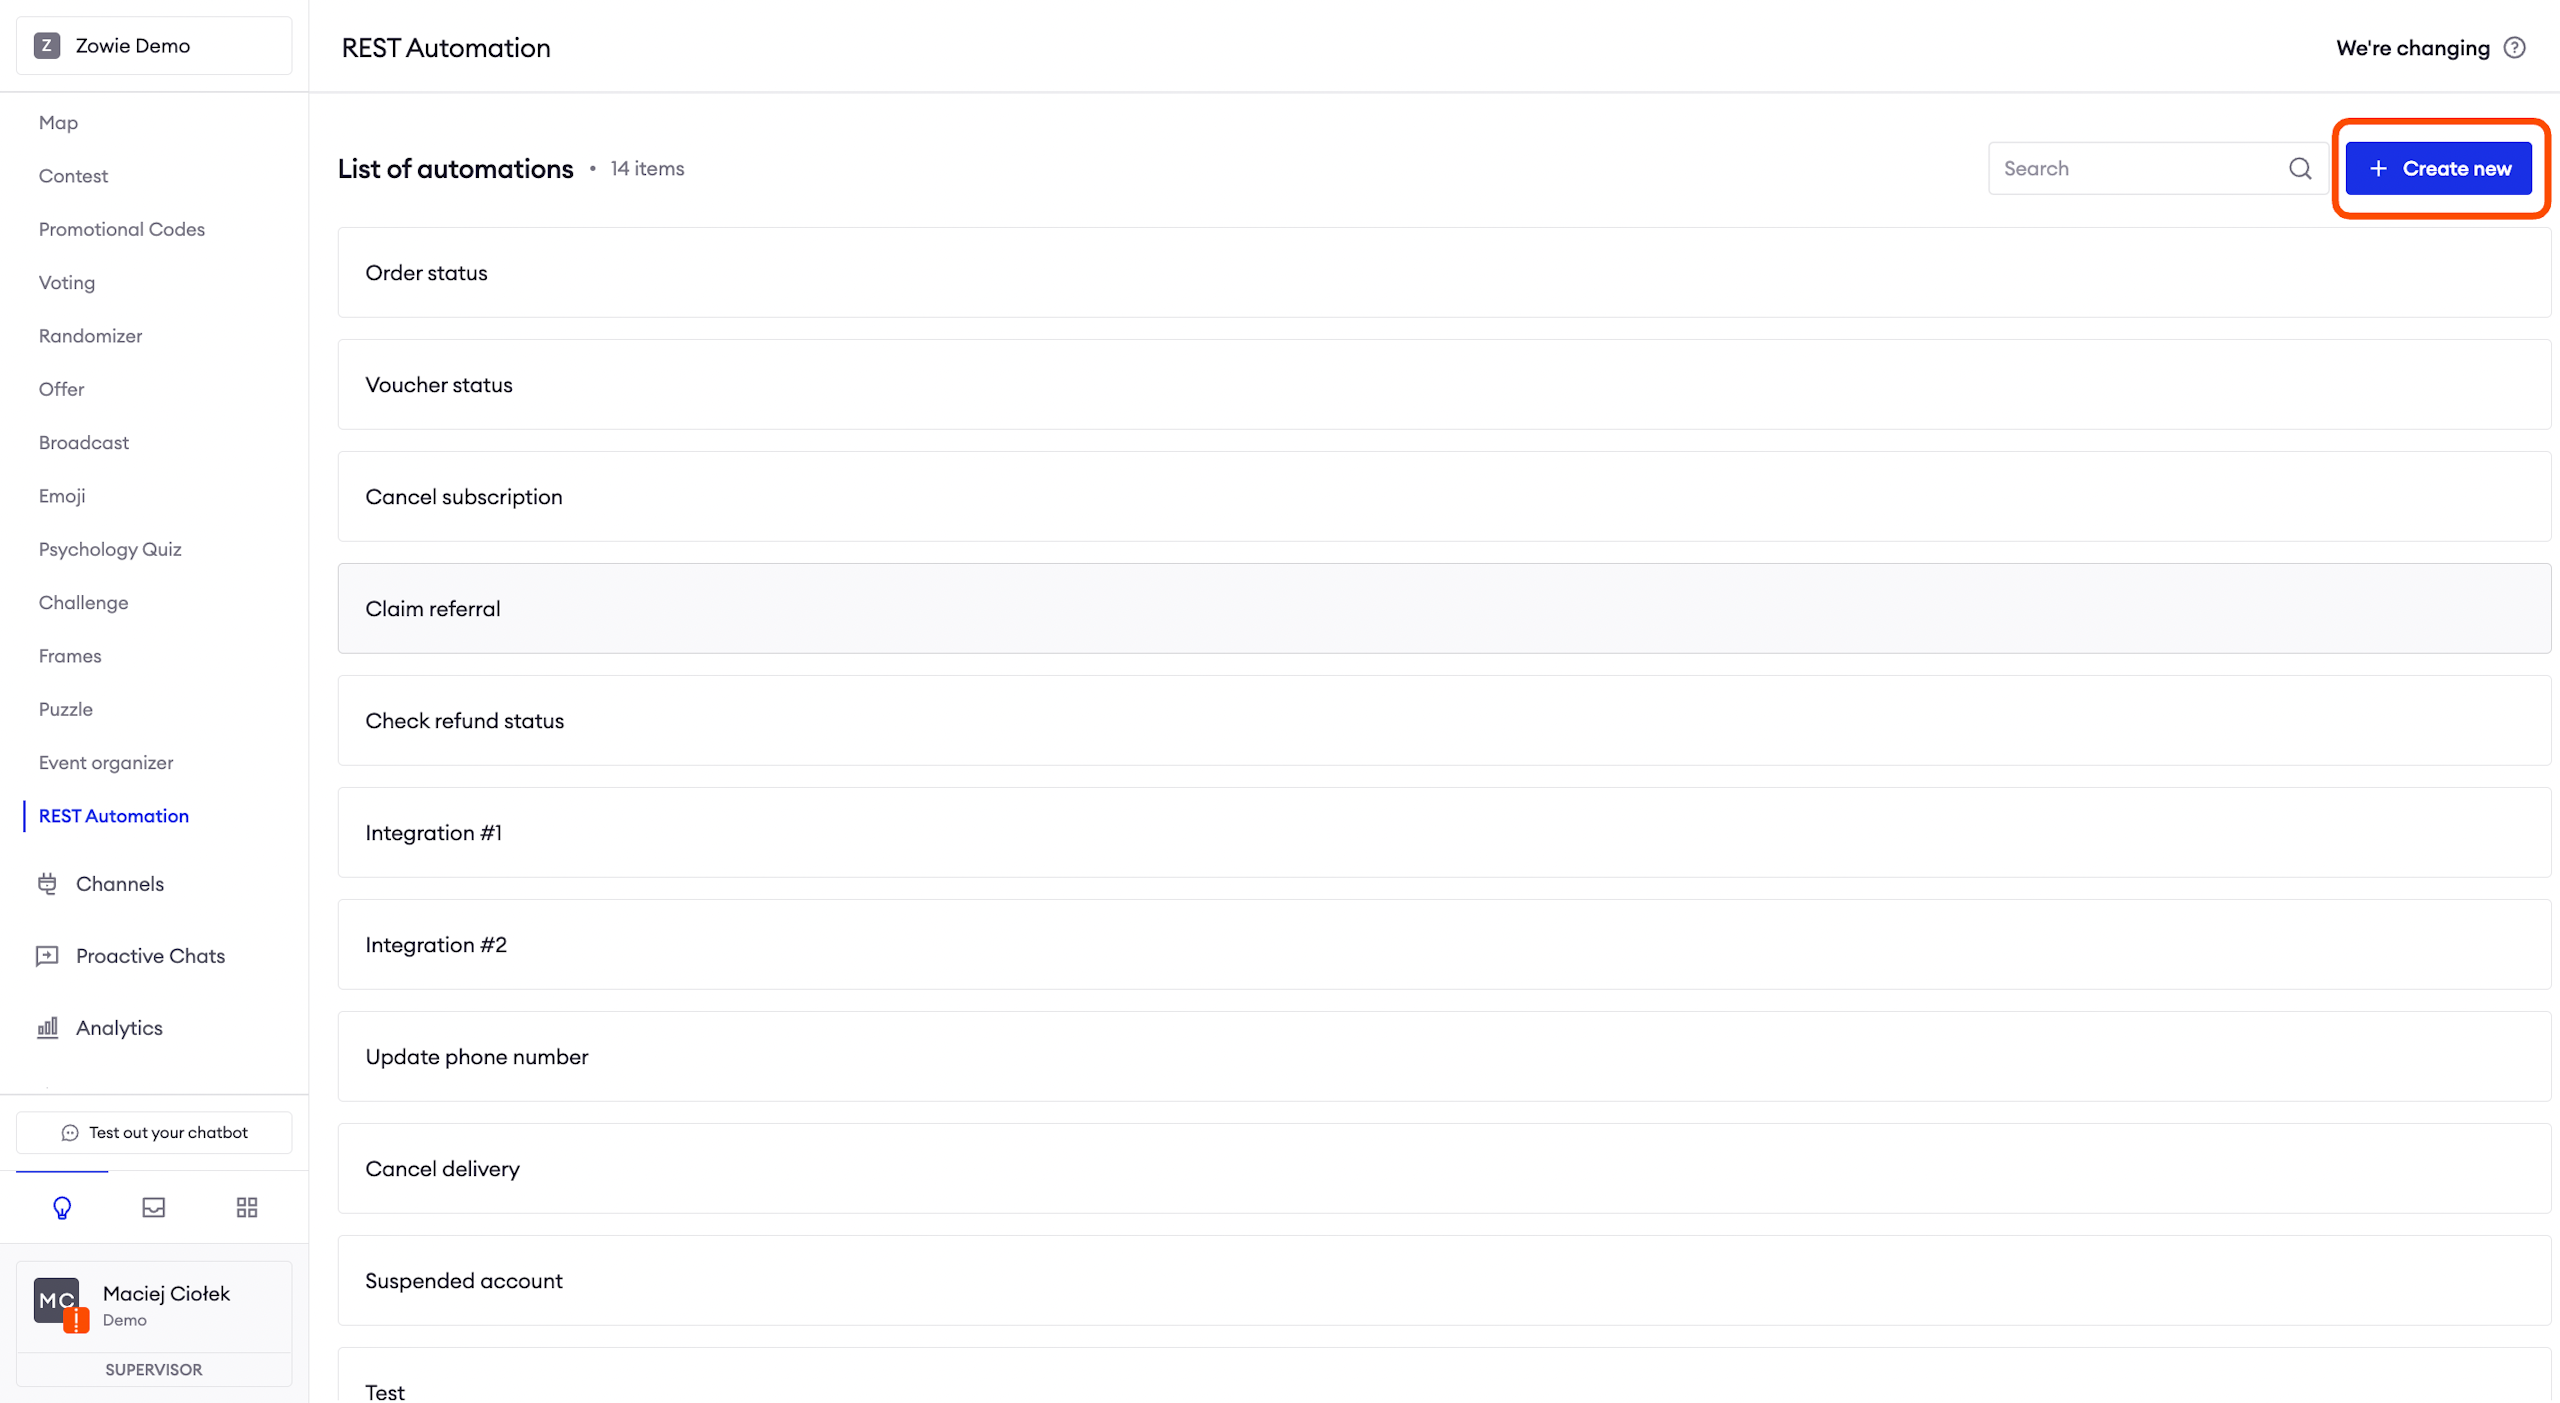
Configuring REST Automation
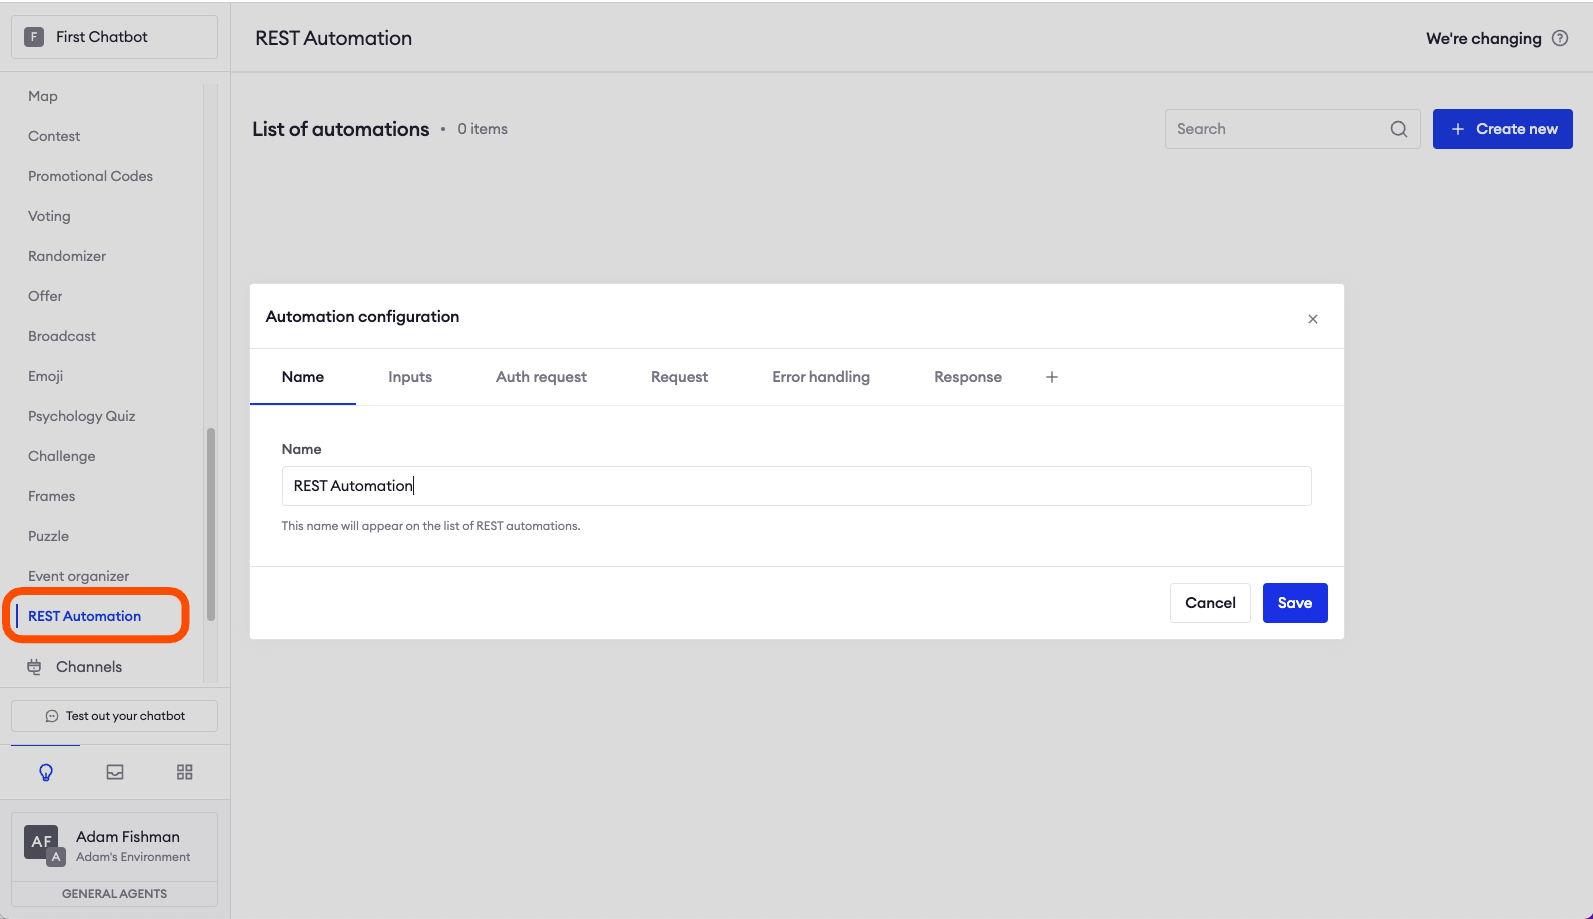
To start, click the "+ Create new" button in the top right corner.
Defining Name
The first section is to populate the Name of your REST Automation scenario.

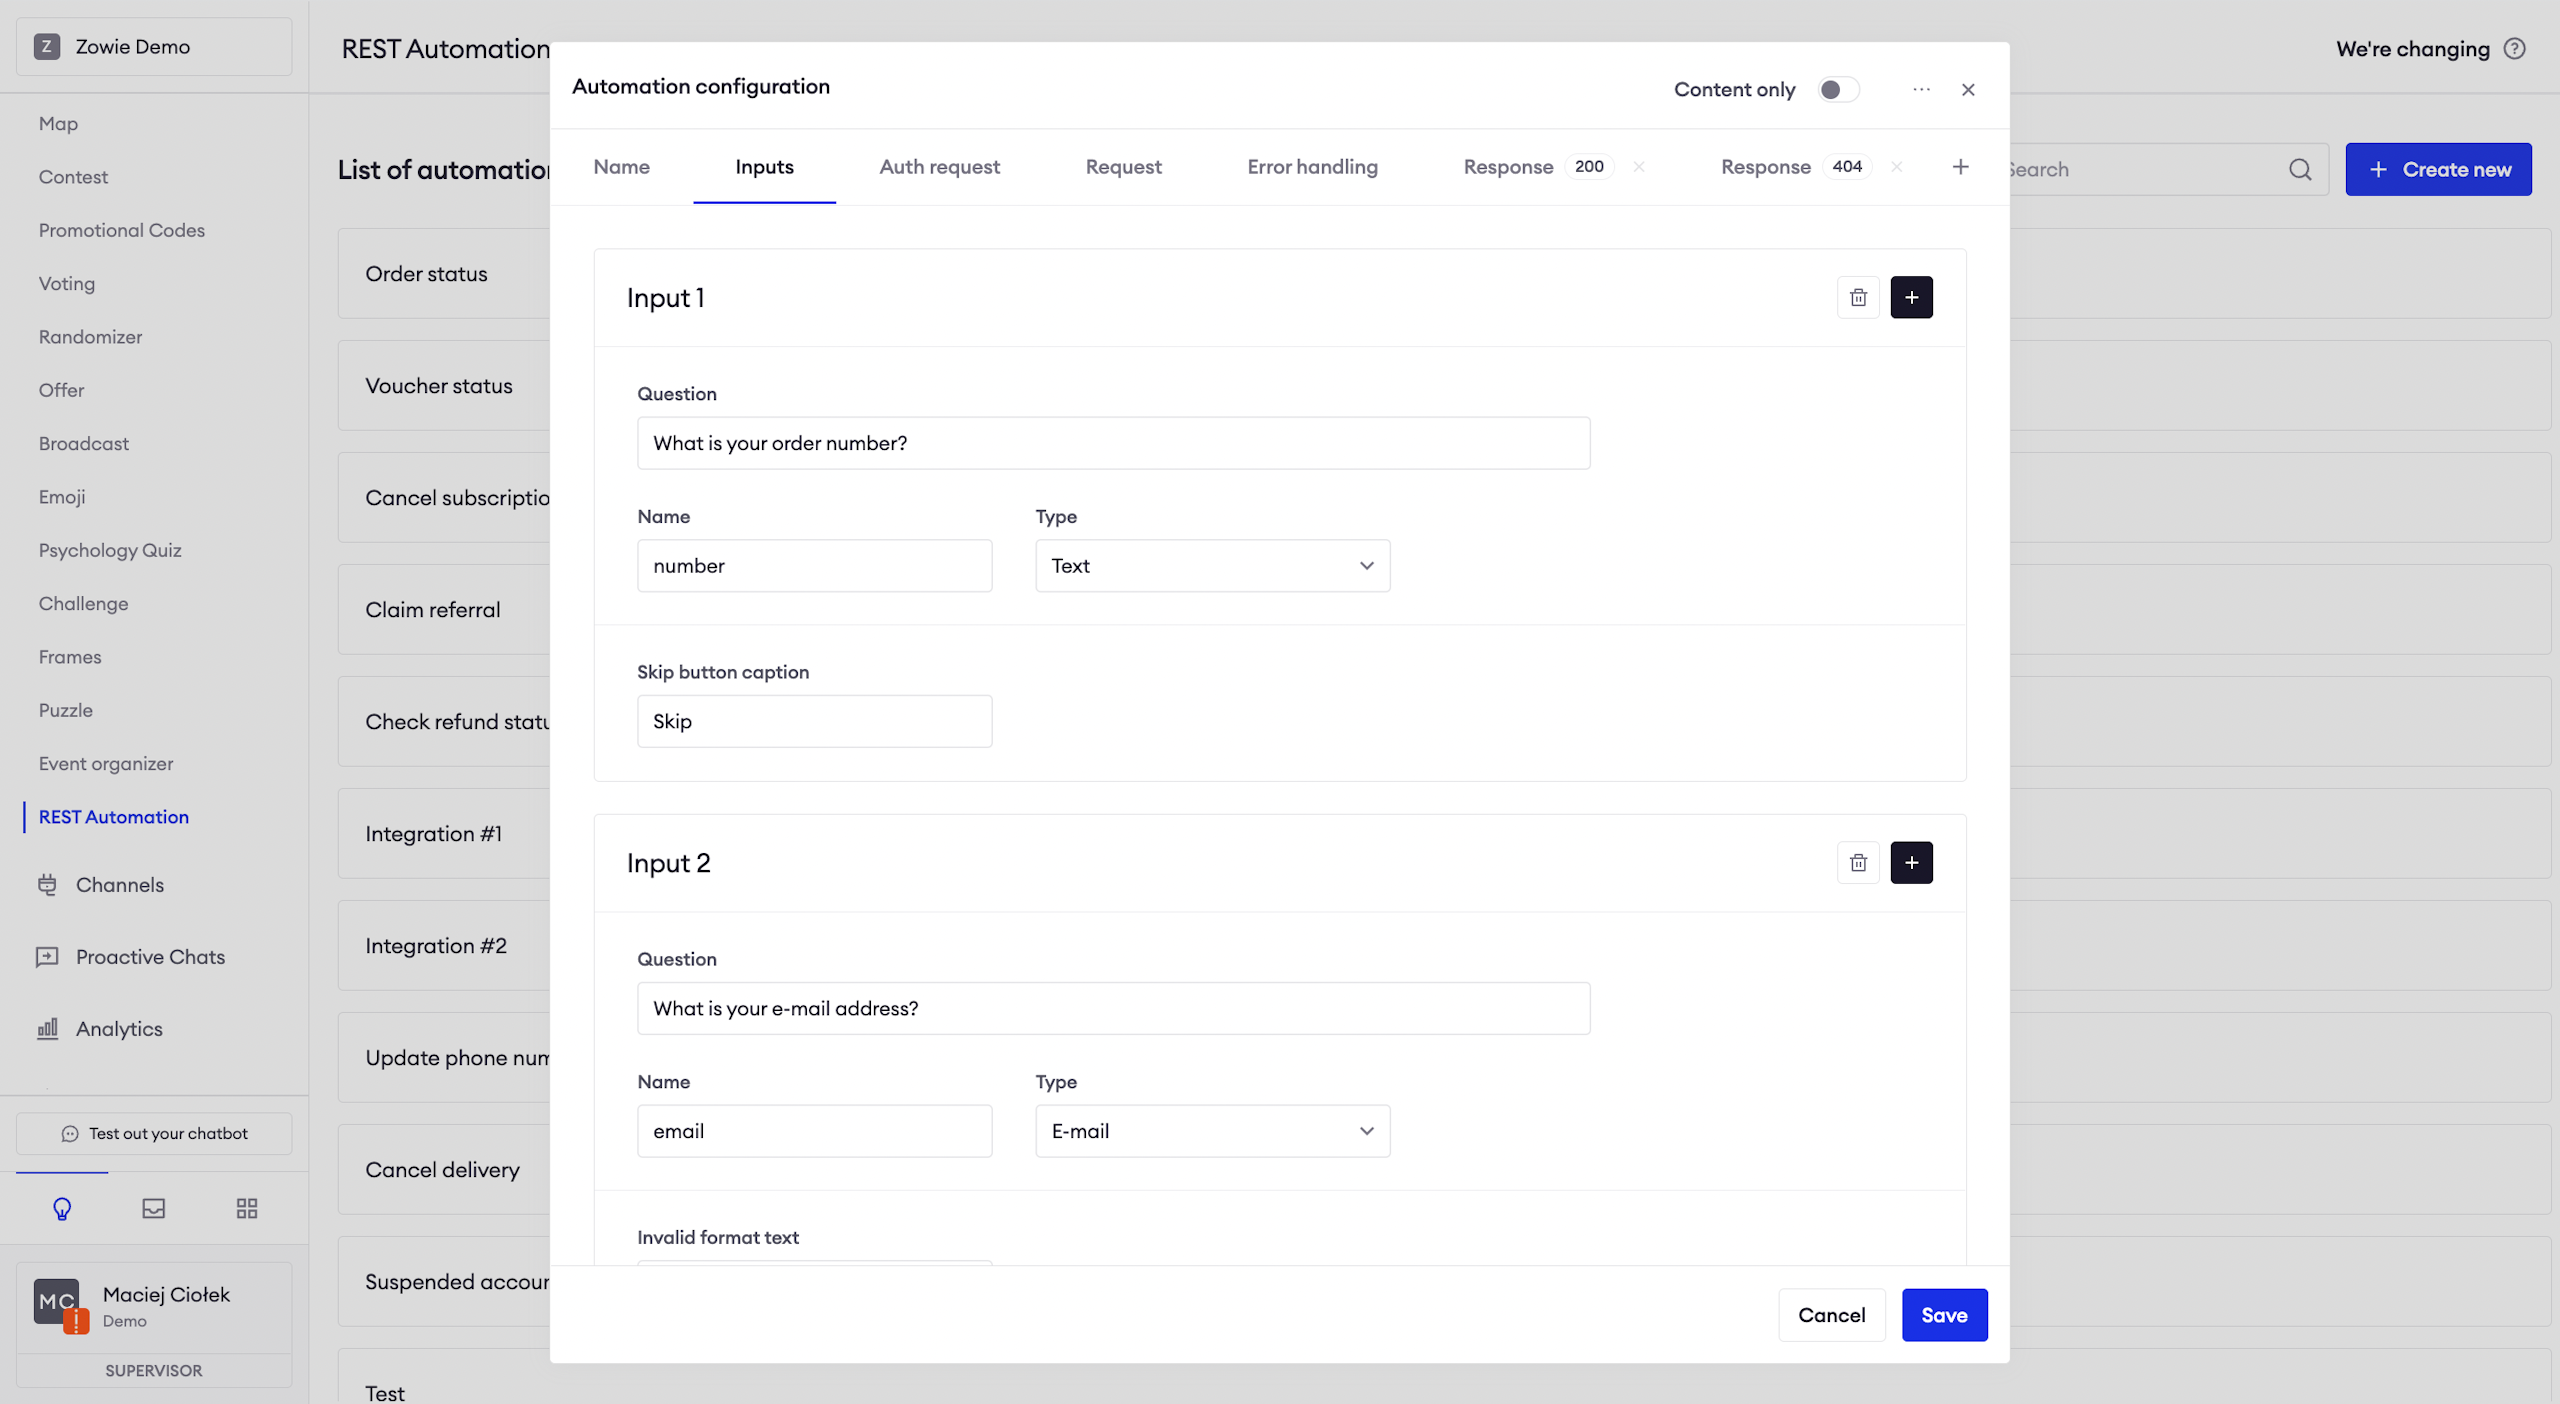
Configuring Inputs
Next, configure Inputs — the data that the user is expected to provide in order to send it in the request.
It can later be accessed in the body of the request or any of the Creators in this module using the ${variableName} notation.
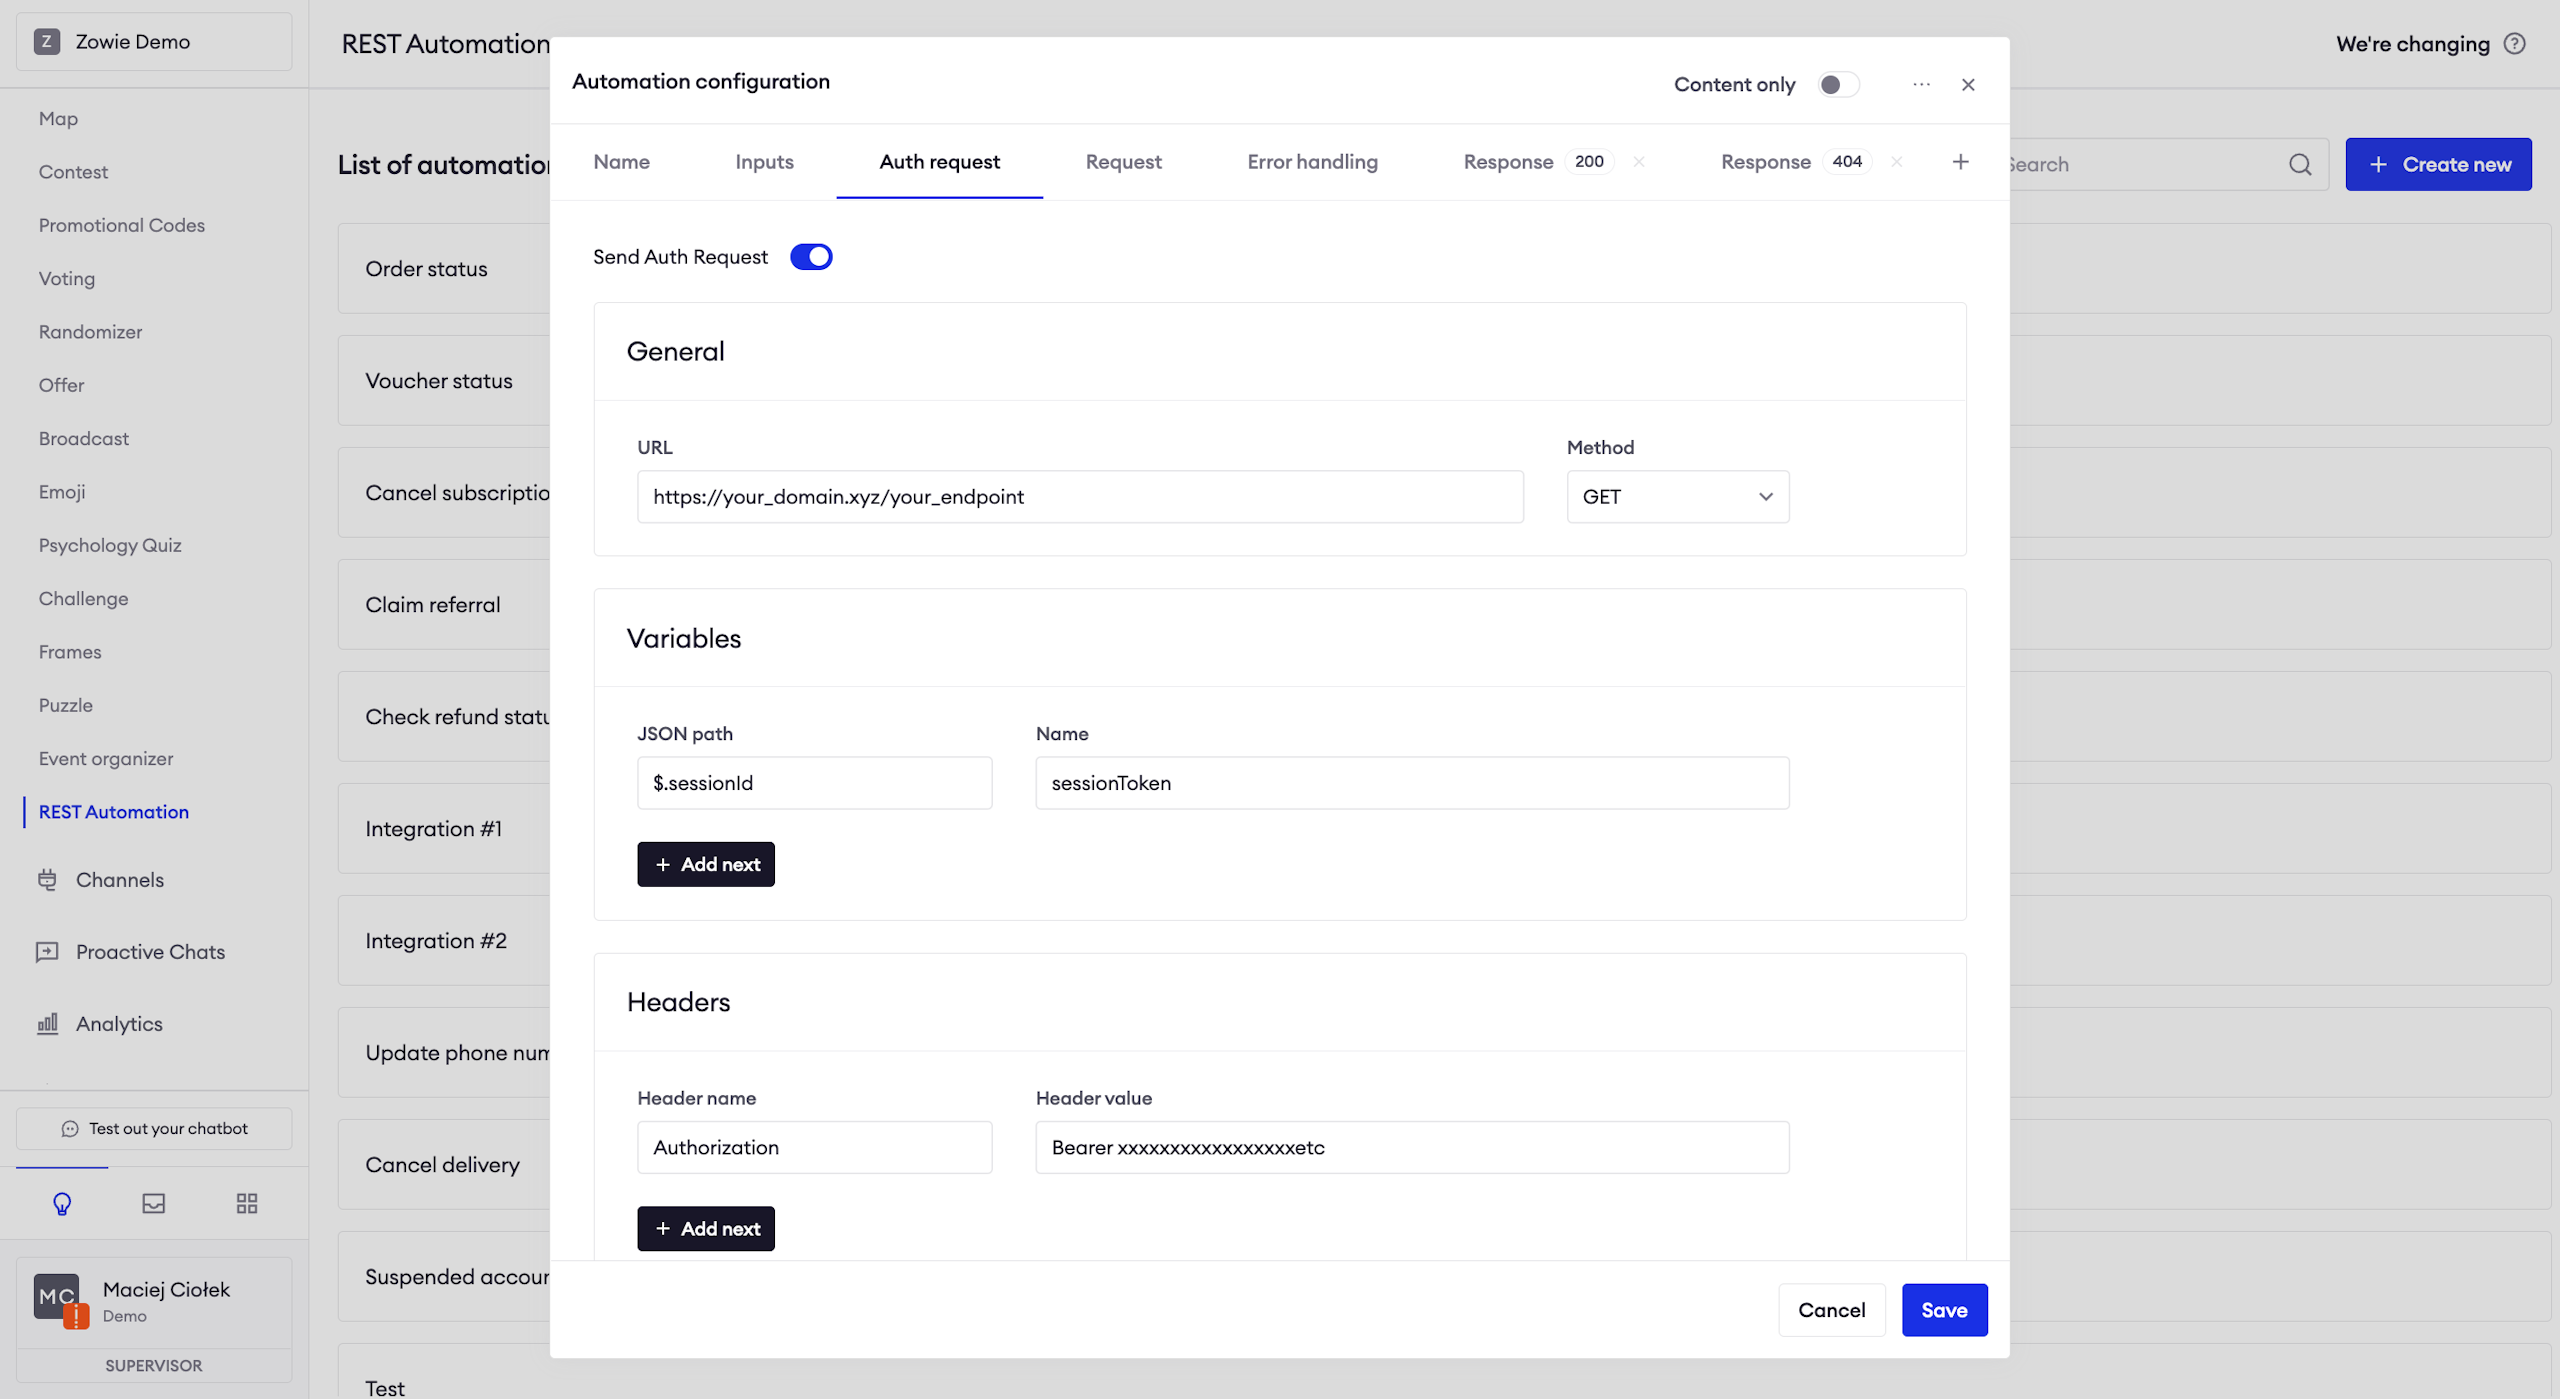
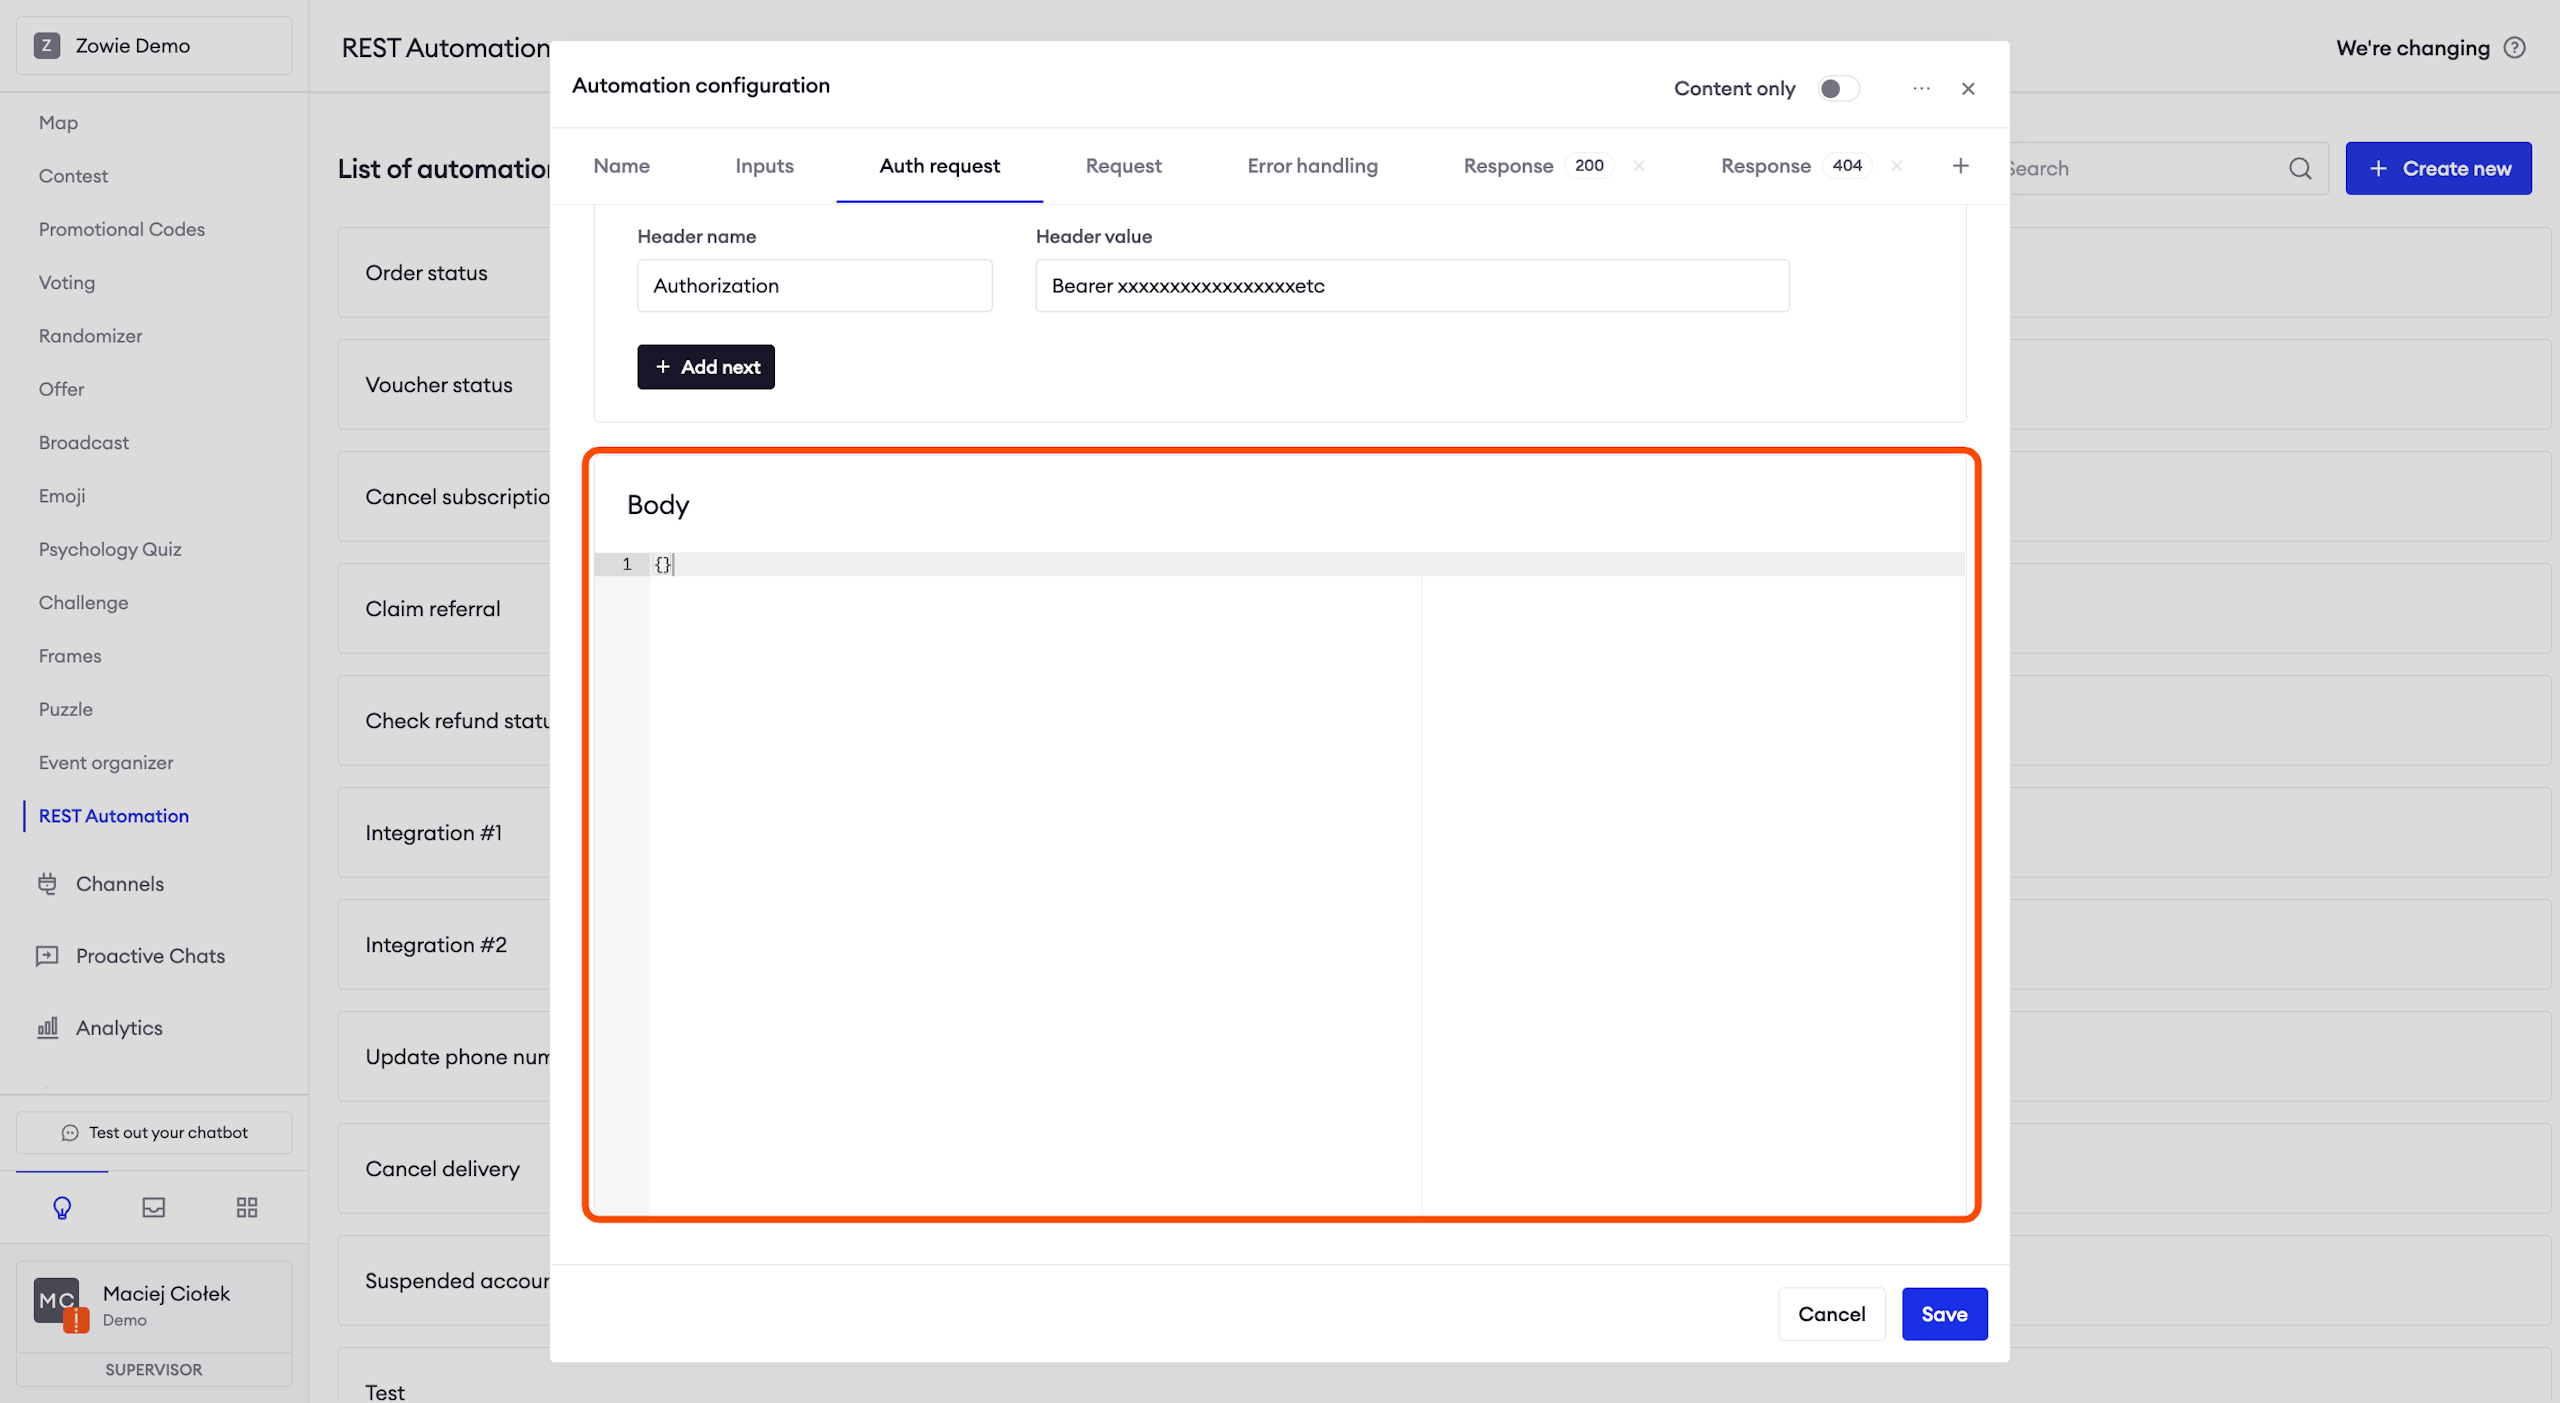
Sending Auth request
You can also send an Auth request, but it is not mandatory. You need to specify the URL to which the request should be sent and the request method. Headers are optional, but it is the place where you would specify Authorization type and values. Finally, you can create the body of the request.
AttentionThe variables section allows you to map values from the response sent by the API to variables that can be used in your request and/or content sent to the user (the Response tab.)
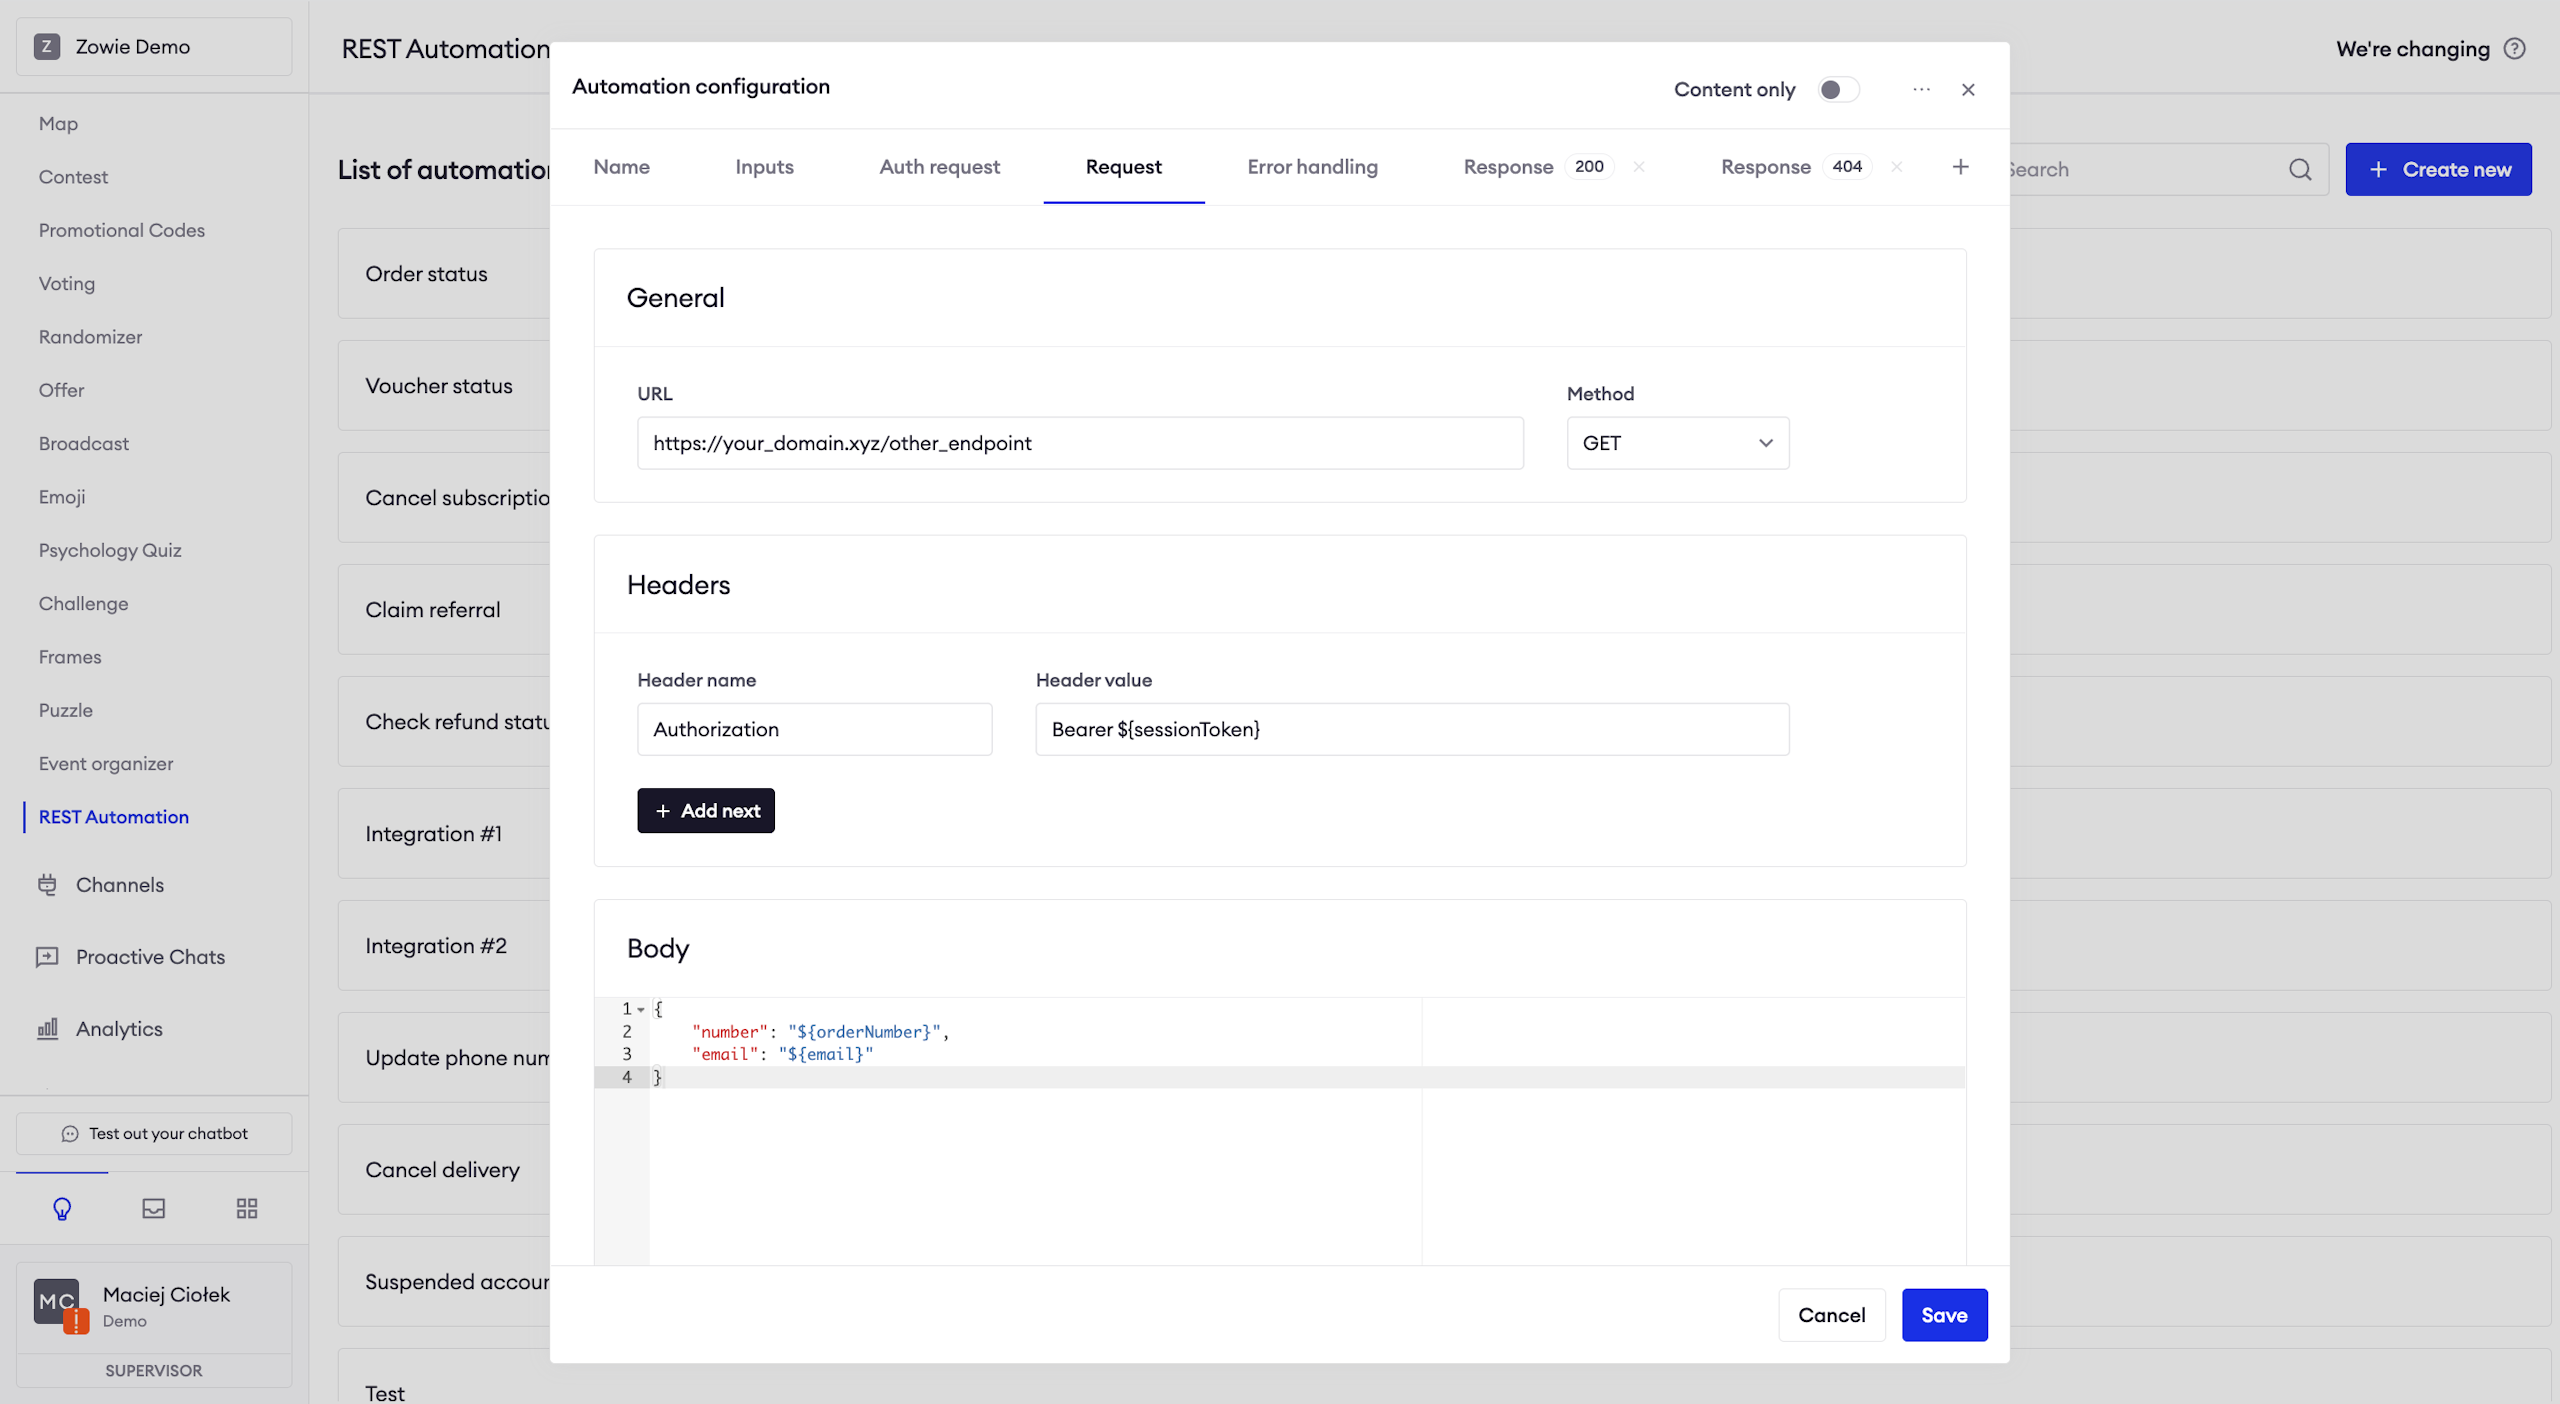
Creating Request
Finally, you can create your request that will be sent to the server. Provide the URL, the request method, all necessary headers and create your request's body.
AttentionRemember that you can use mapped variables using the
${variableName}notation.
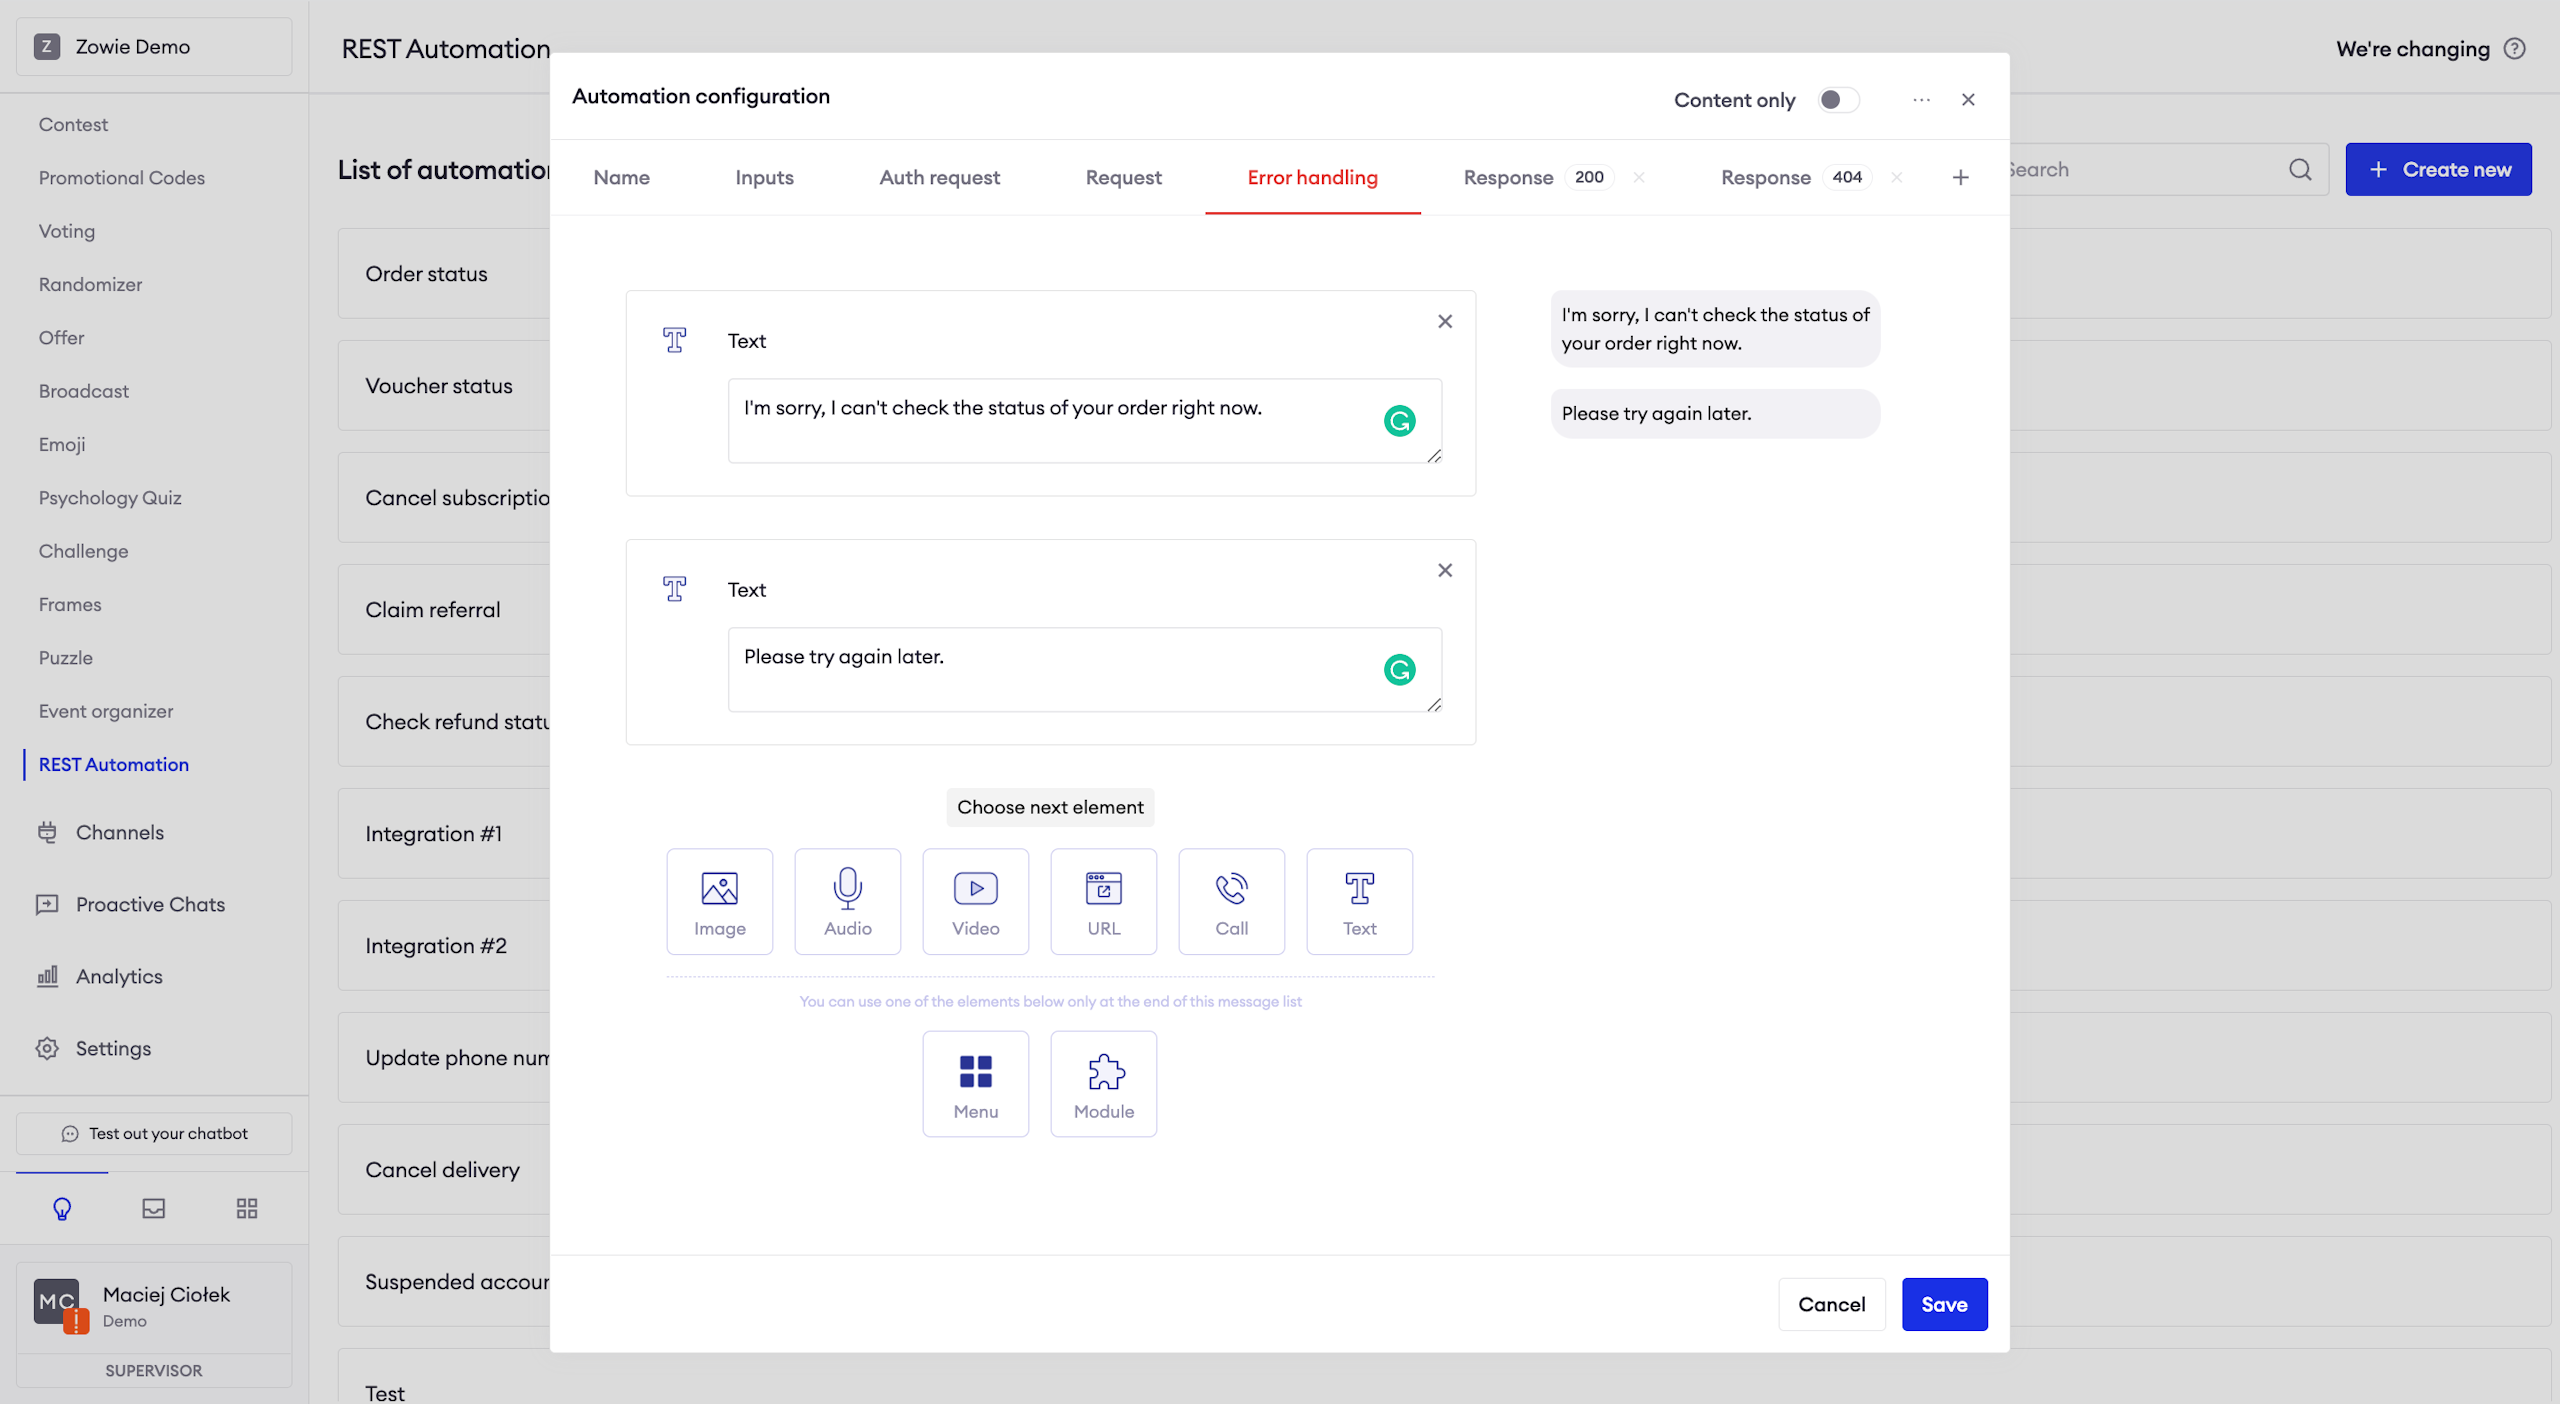
Providing messages for Error handling
Here you need to provide a message / a list of messages that will be sent to the user if the chatbot encounters an error while making the request.
Creating Response
Finally, it is time to create a message/list of messages that will be sent to the user using the data from your API.
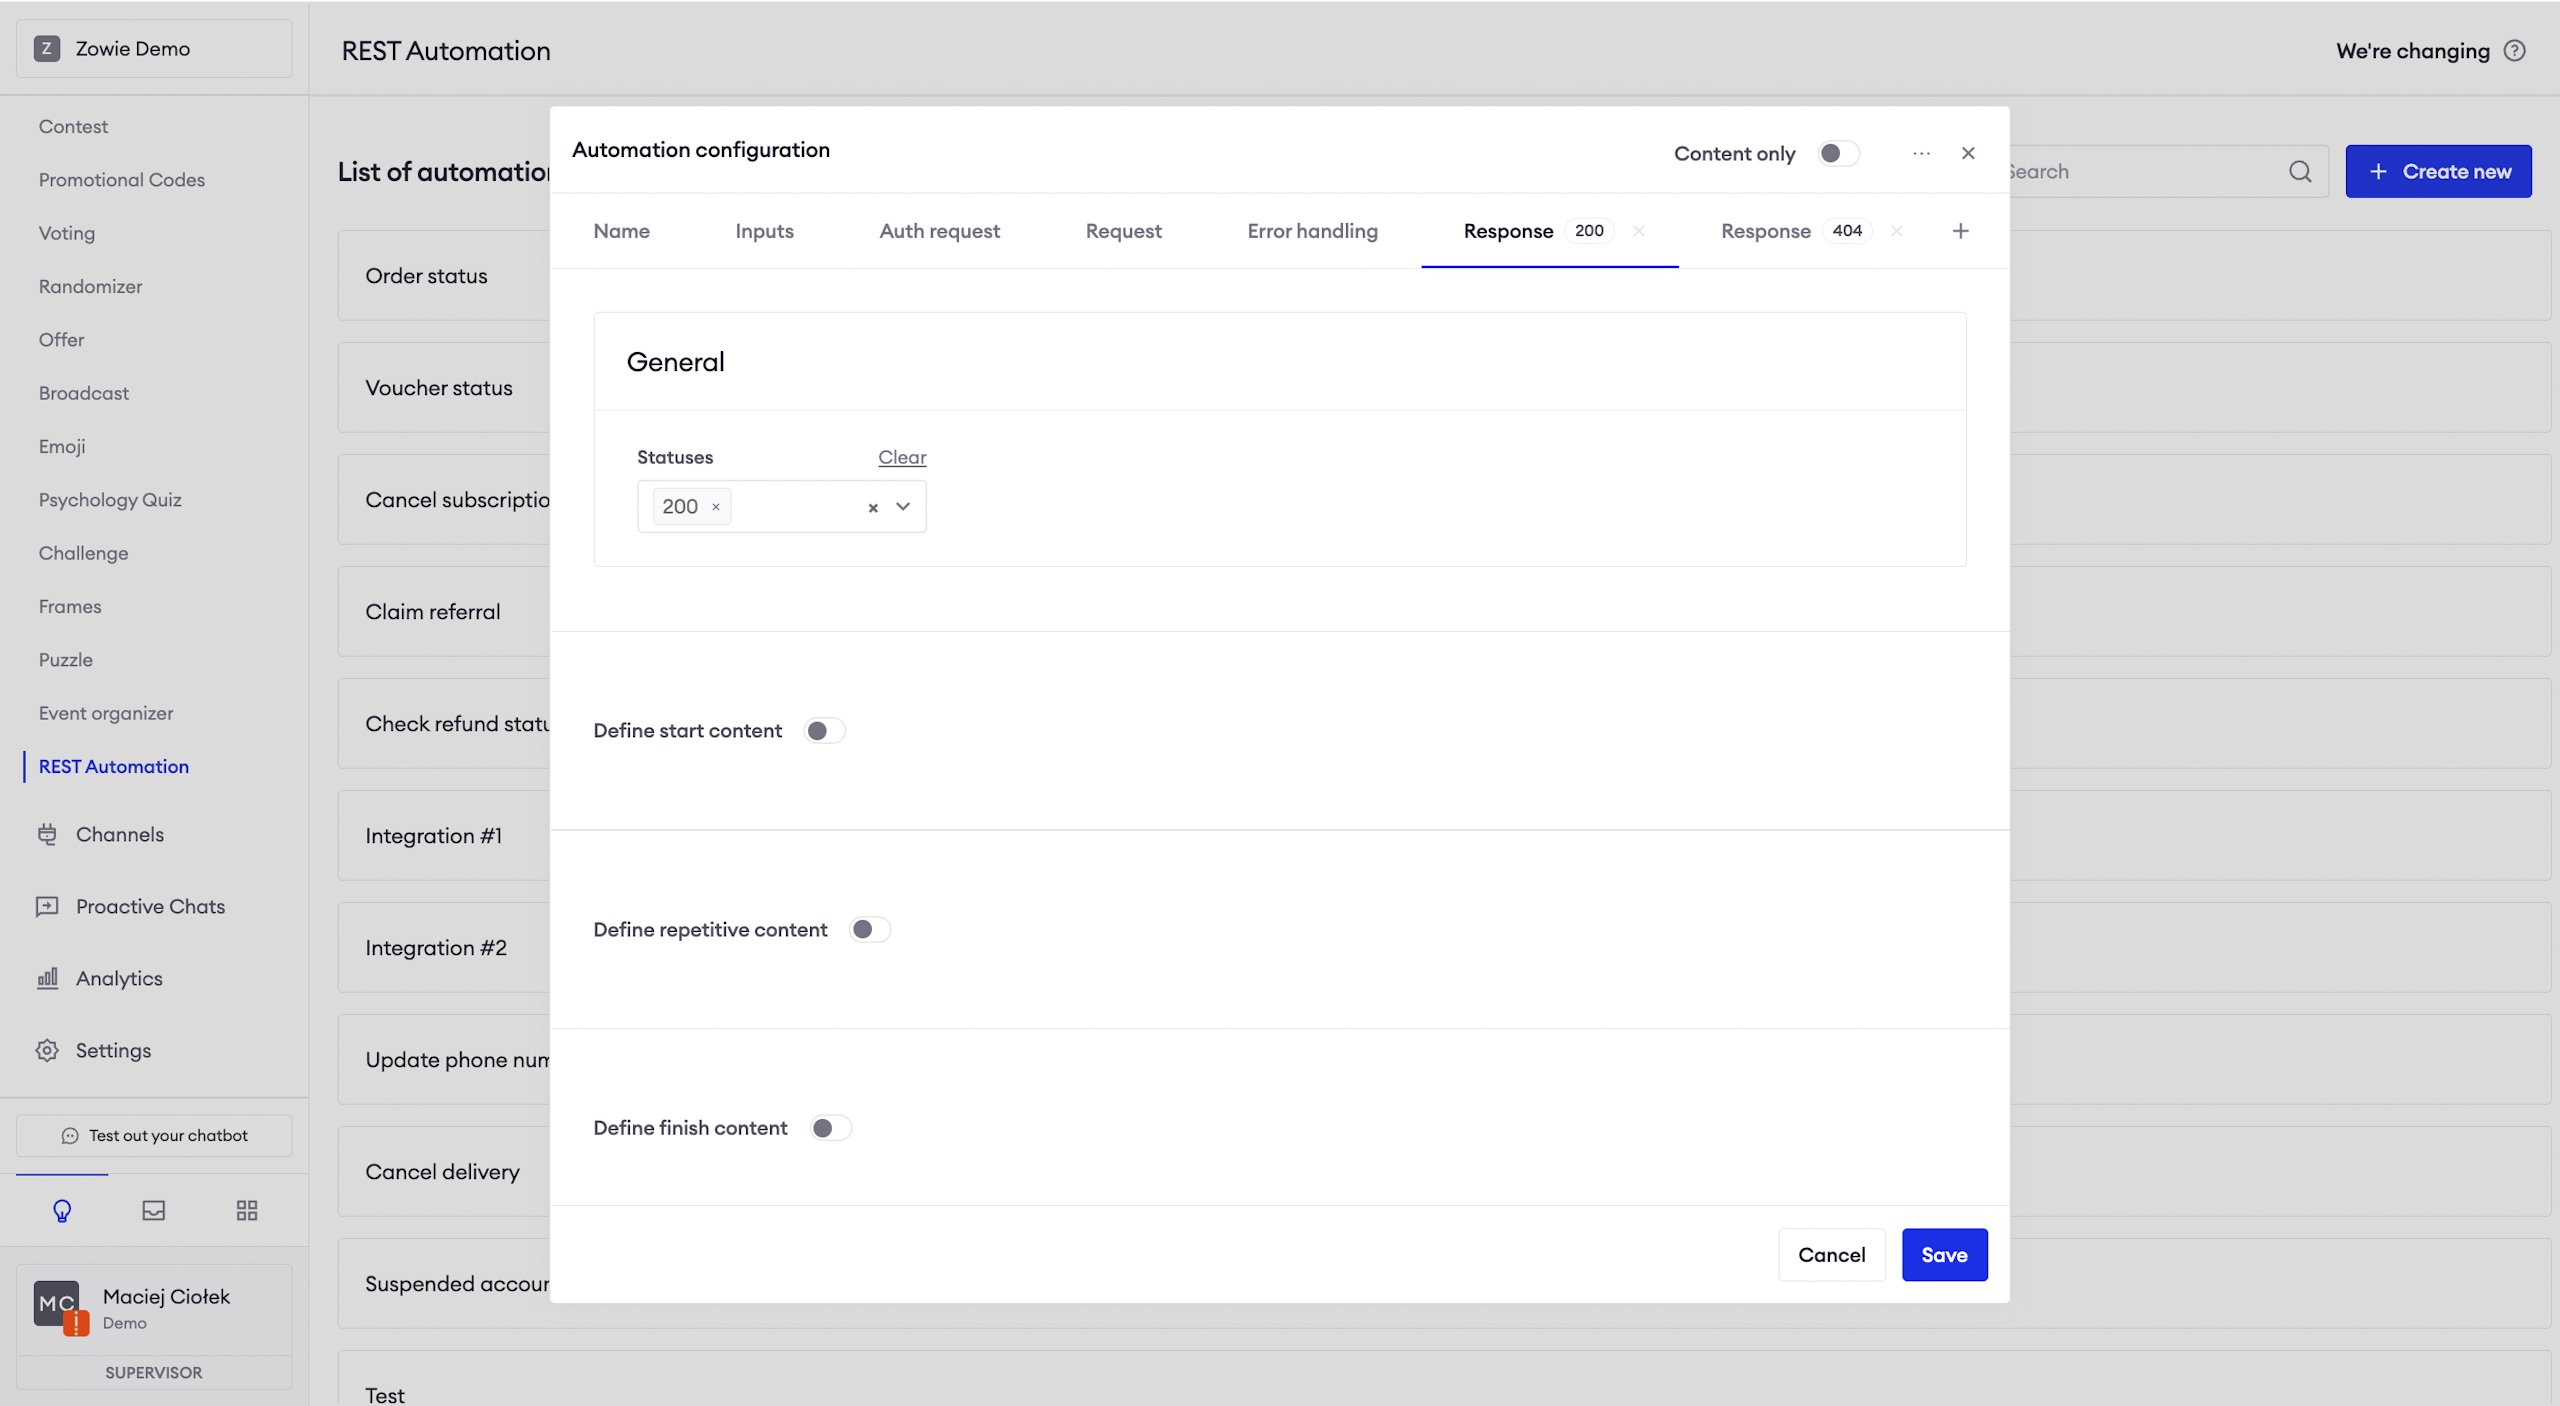
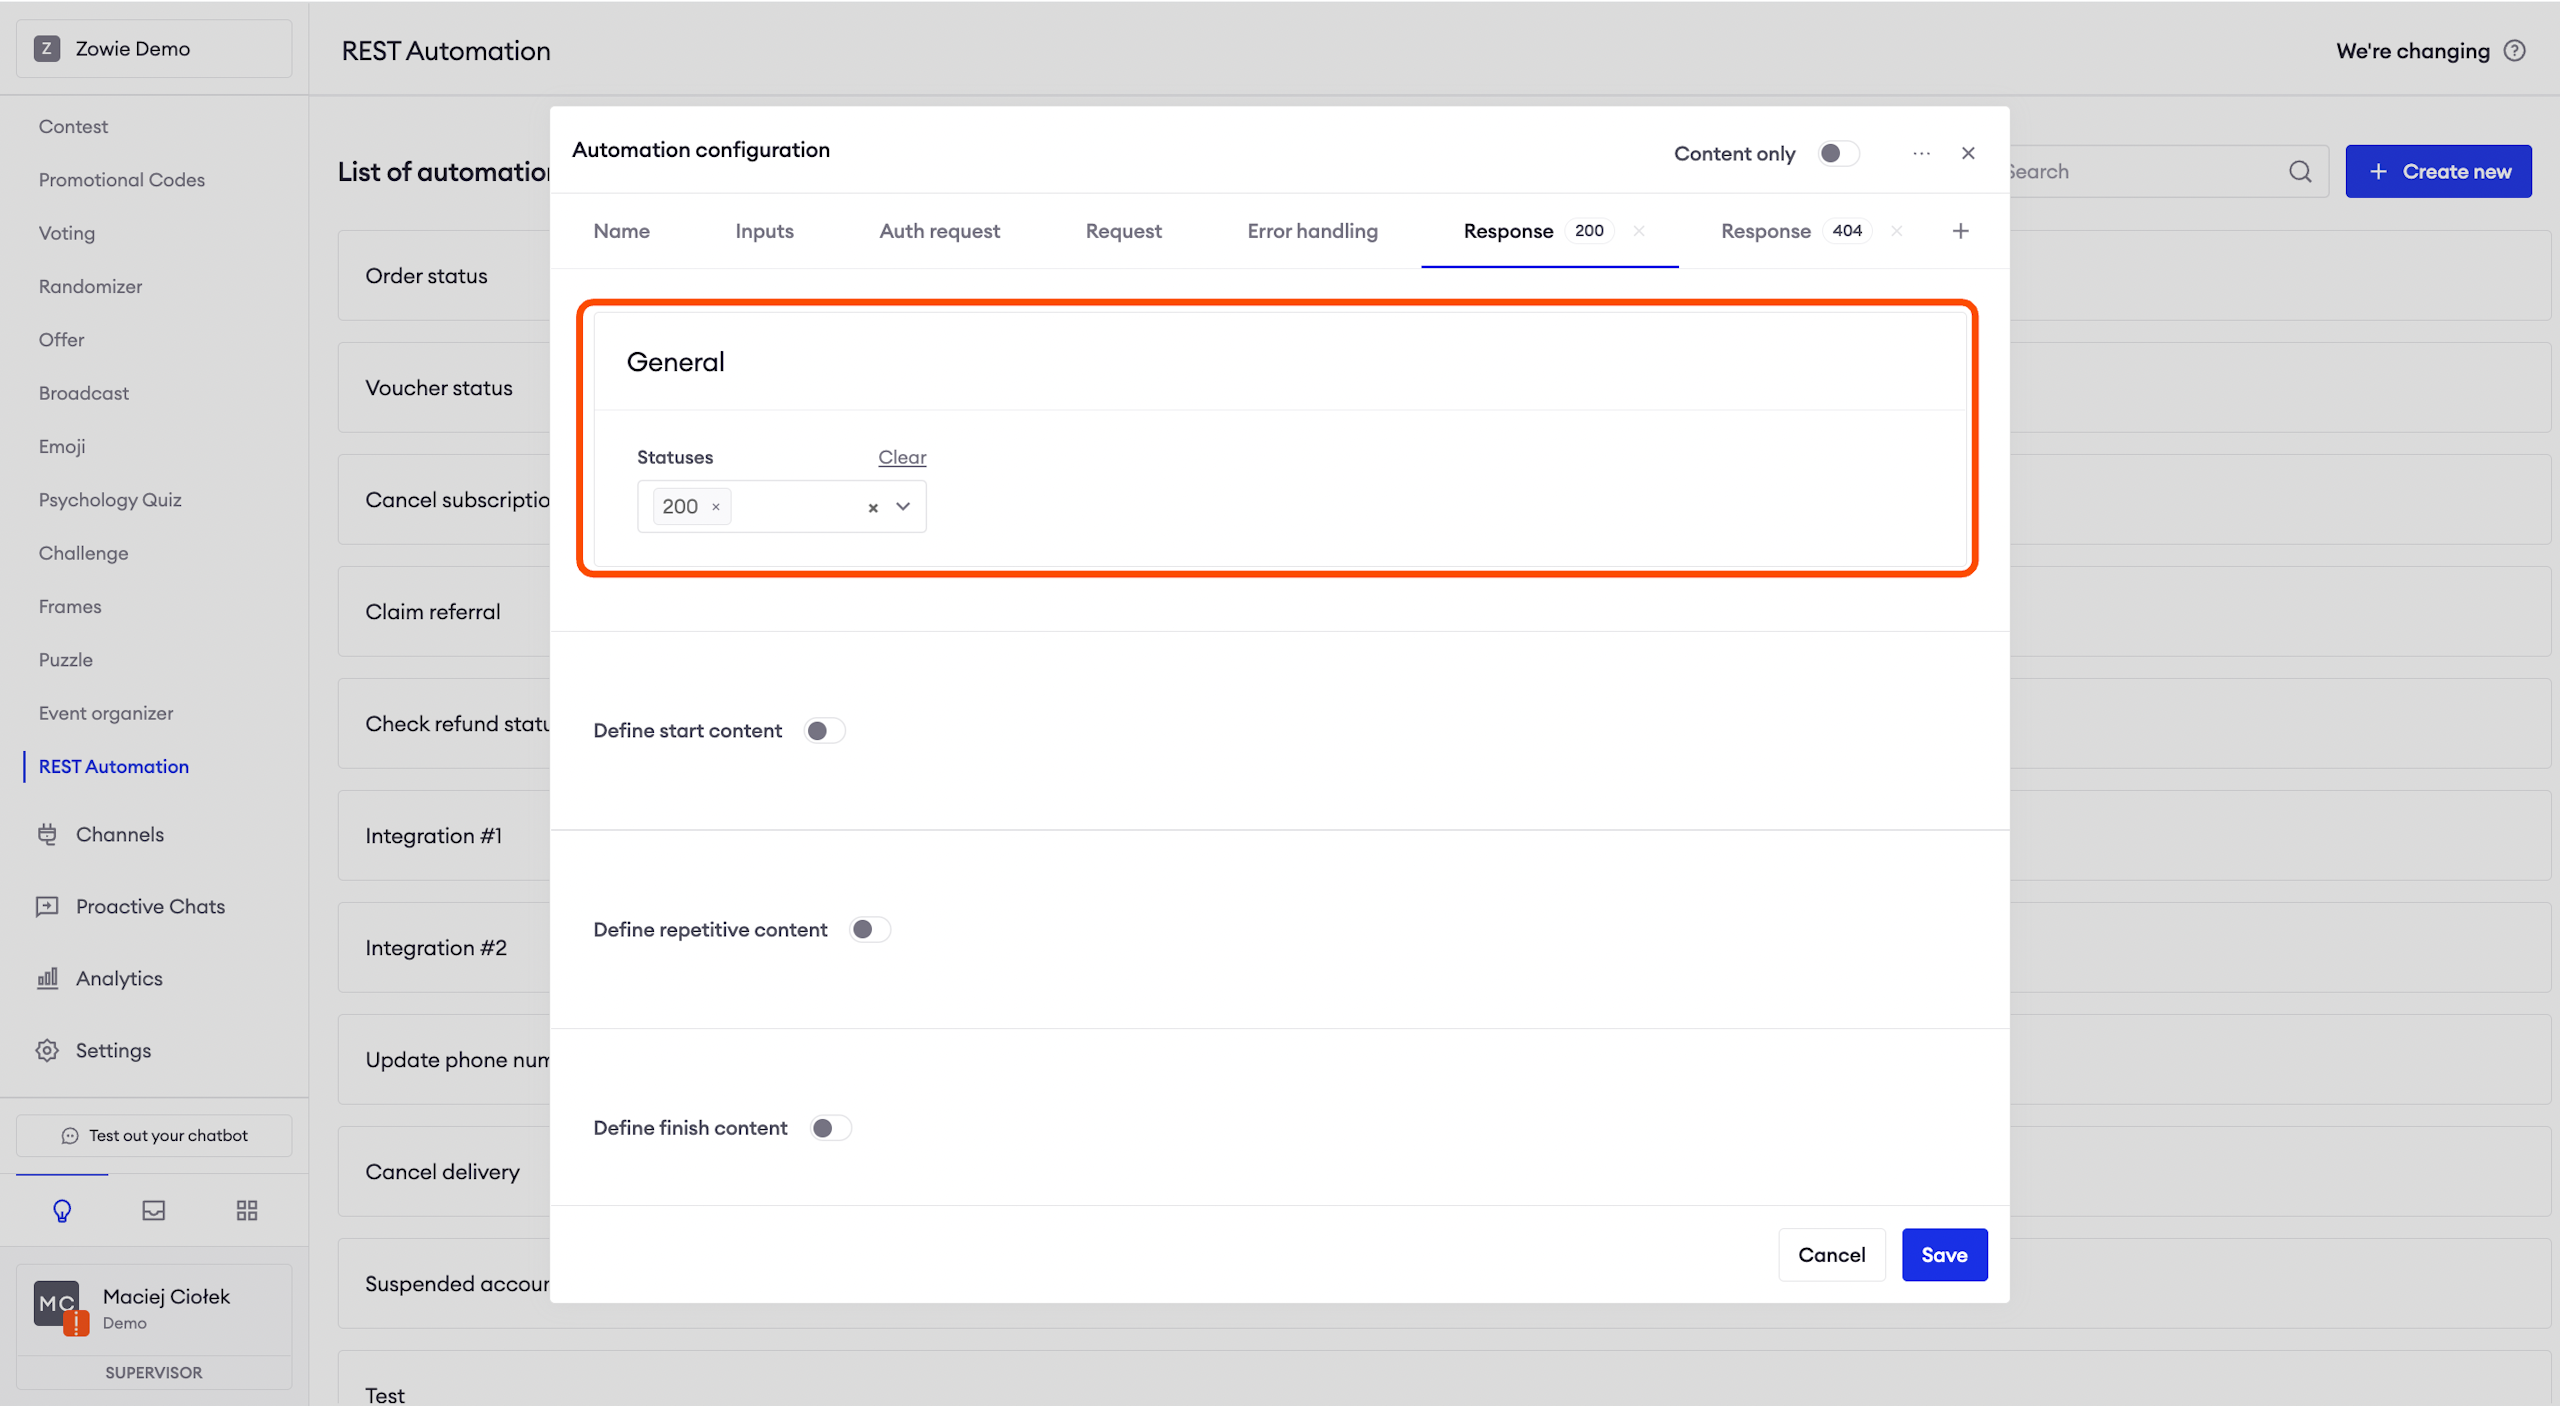
Mapping status
You can enter the status codes in the Status section. Once entered, you will be able to configure the content depending on the status code returned by the API.
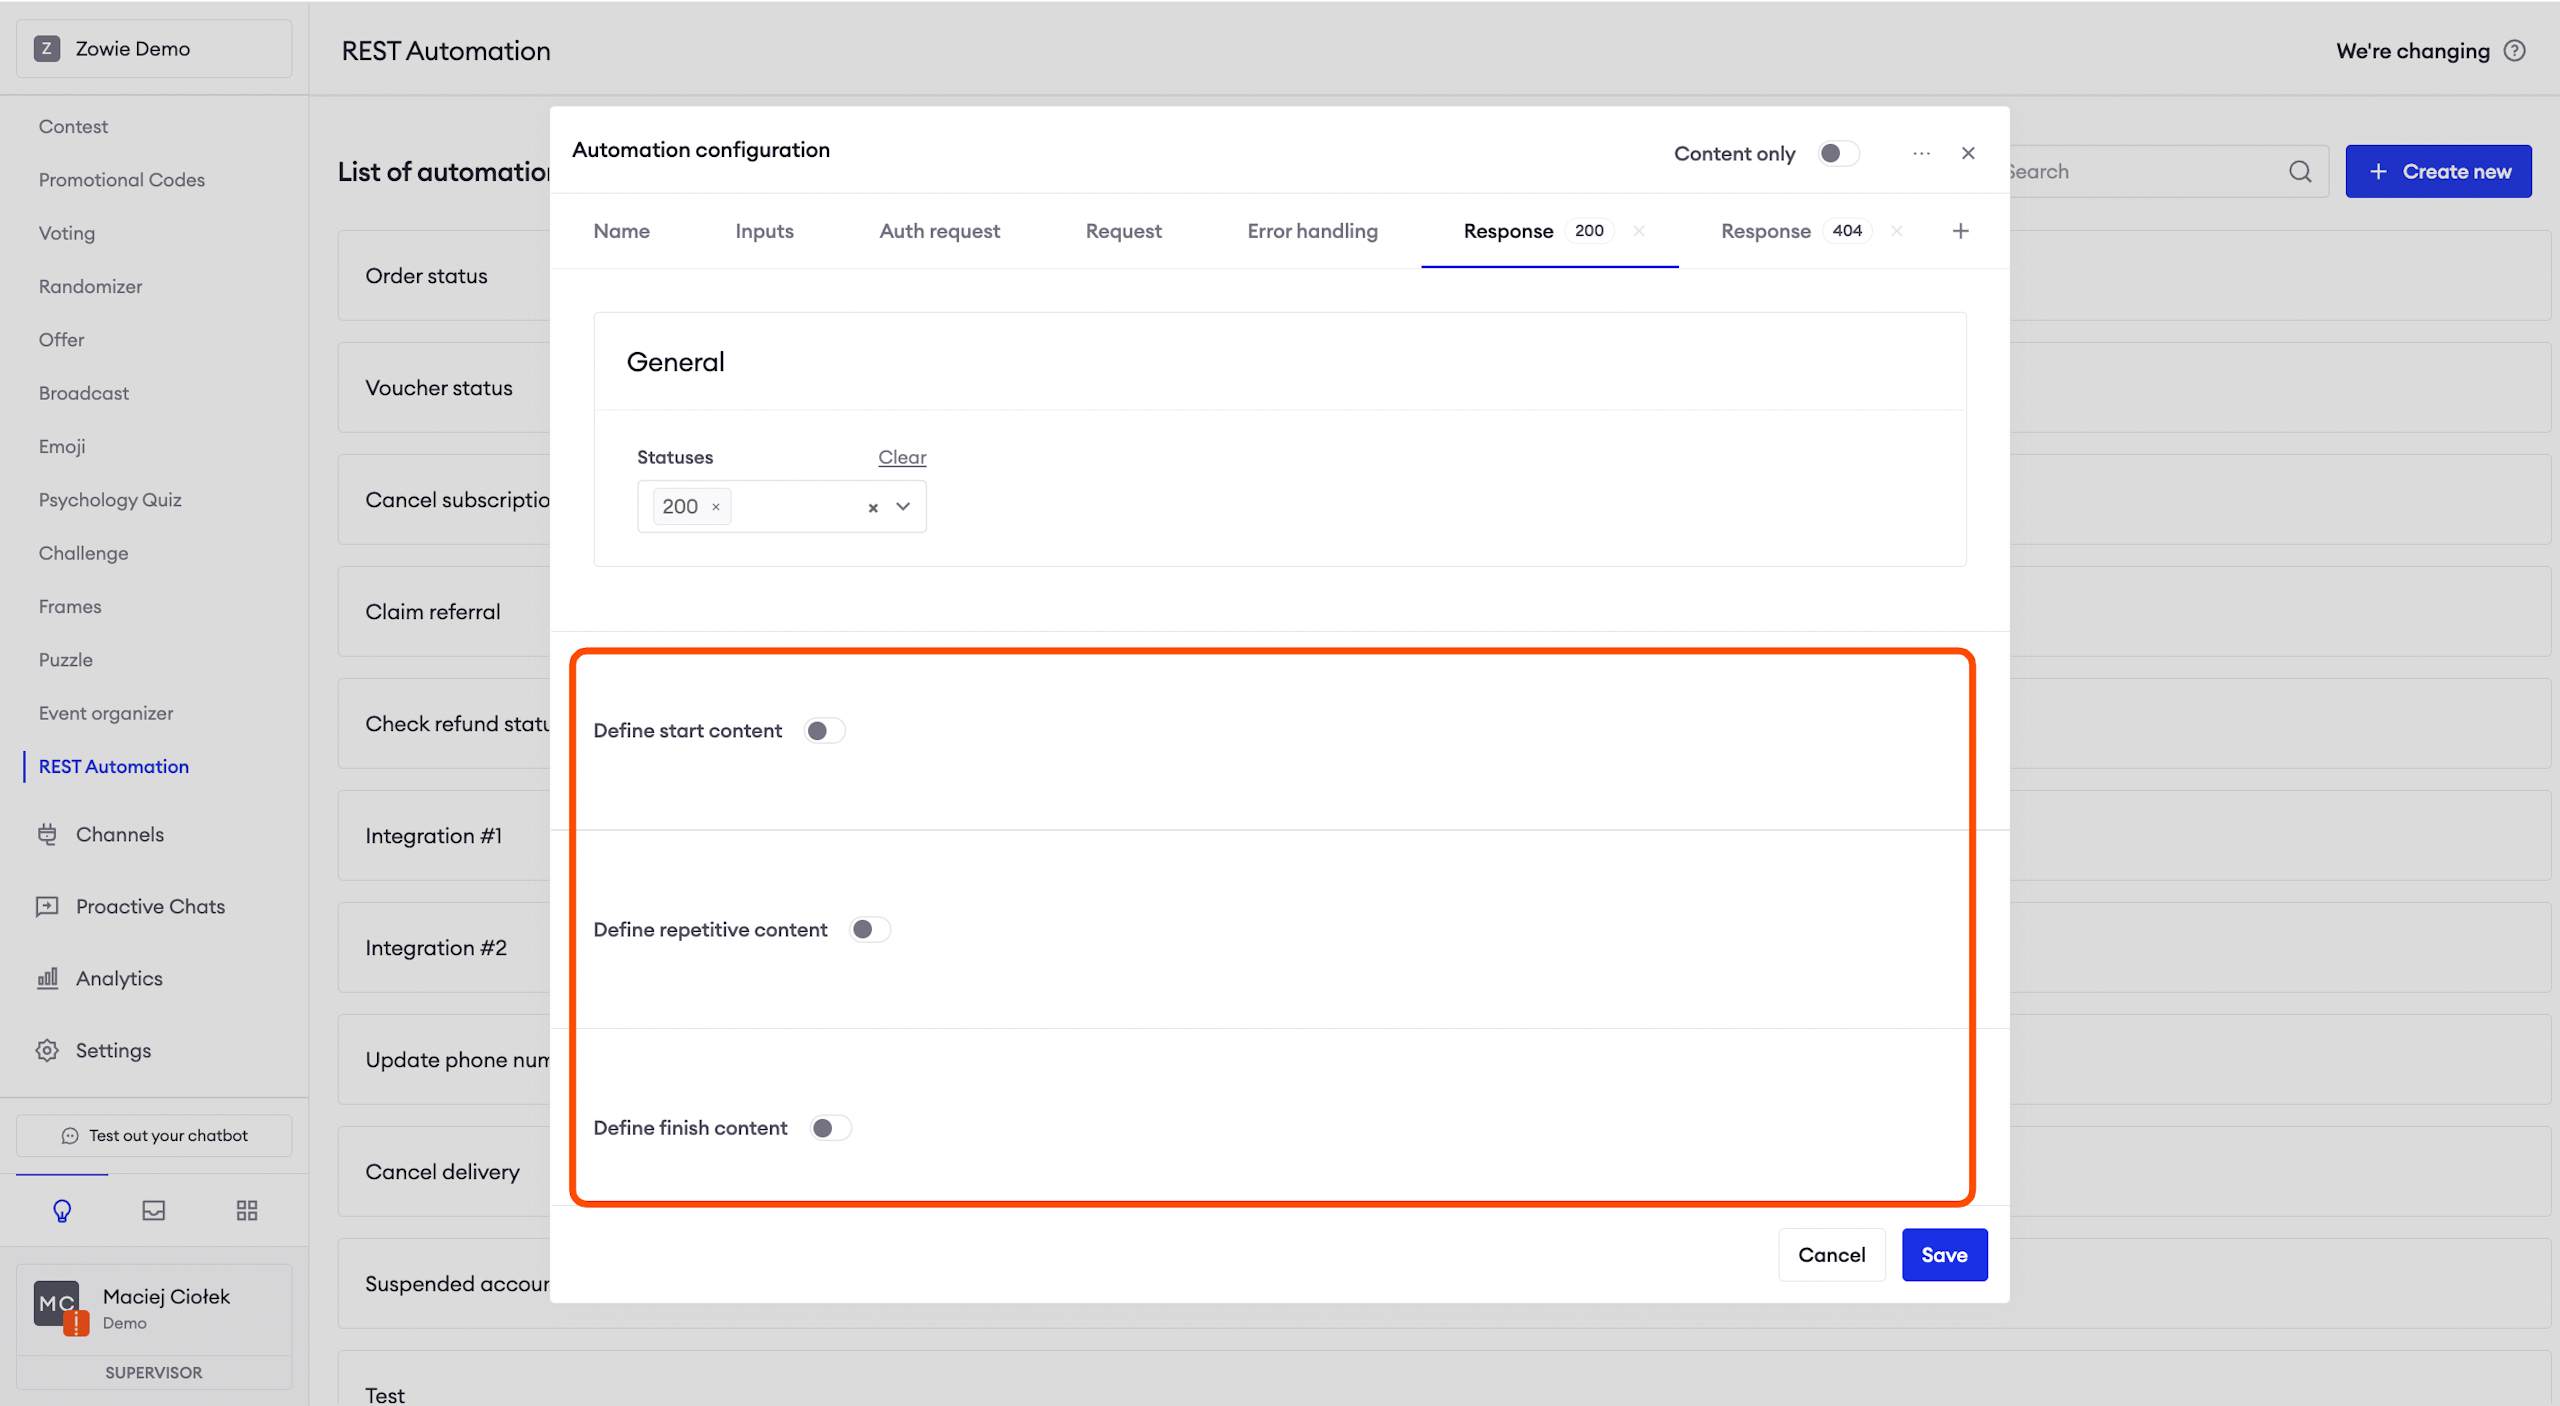
Content options
Content can be defined in three different sections:
- Start content: allows you to define the first message which will be sent by a chatbot;
- Repetitive content: allows you to define repetitive content which will be built based on an array of objects in your API response (Zowie will iterate over the array and map each object to the expected response);
- Finish content: allows you to define the last message which will be sent by a chatbot.
With these three sections, you can build a fully personalized experience.
With Start content, you can provide general insights into customers' orders. Then you can use Repetitive content to list the status for each of the fulfillments/deliveries (if an order is split into multiple parts). Using Finish content you may summarize options for returns based on the current status of an order.
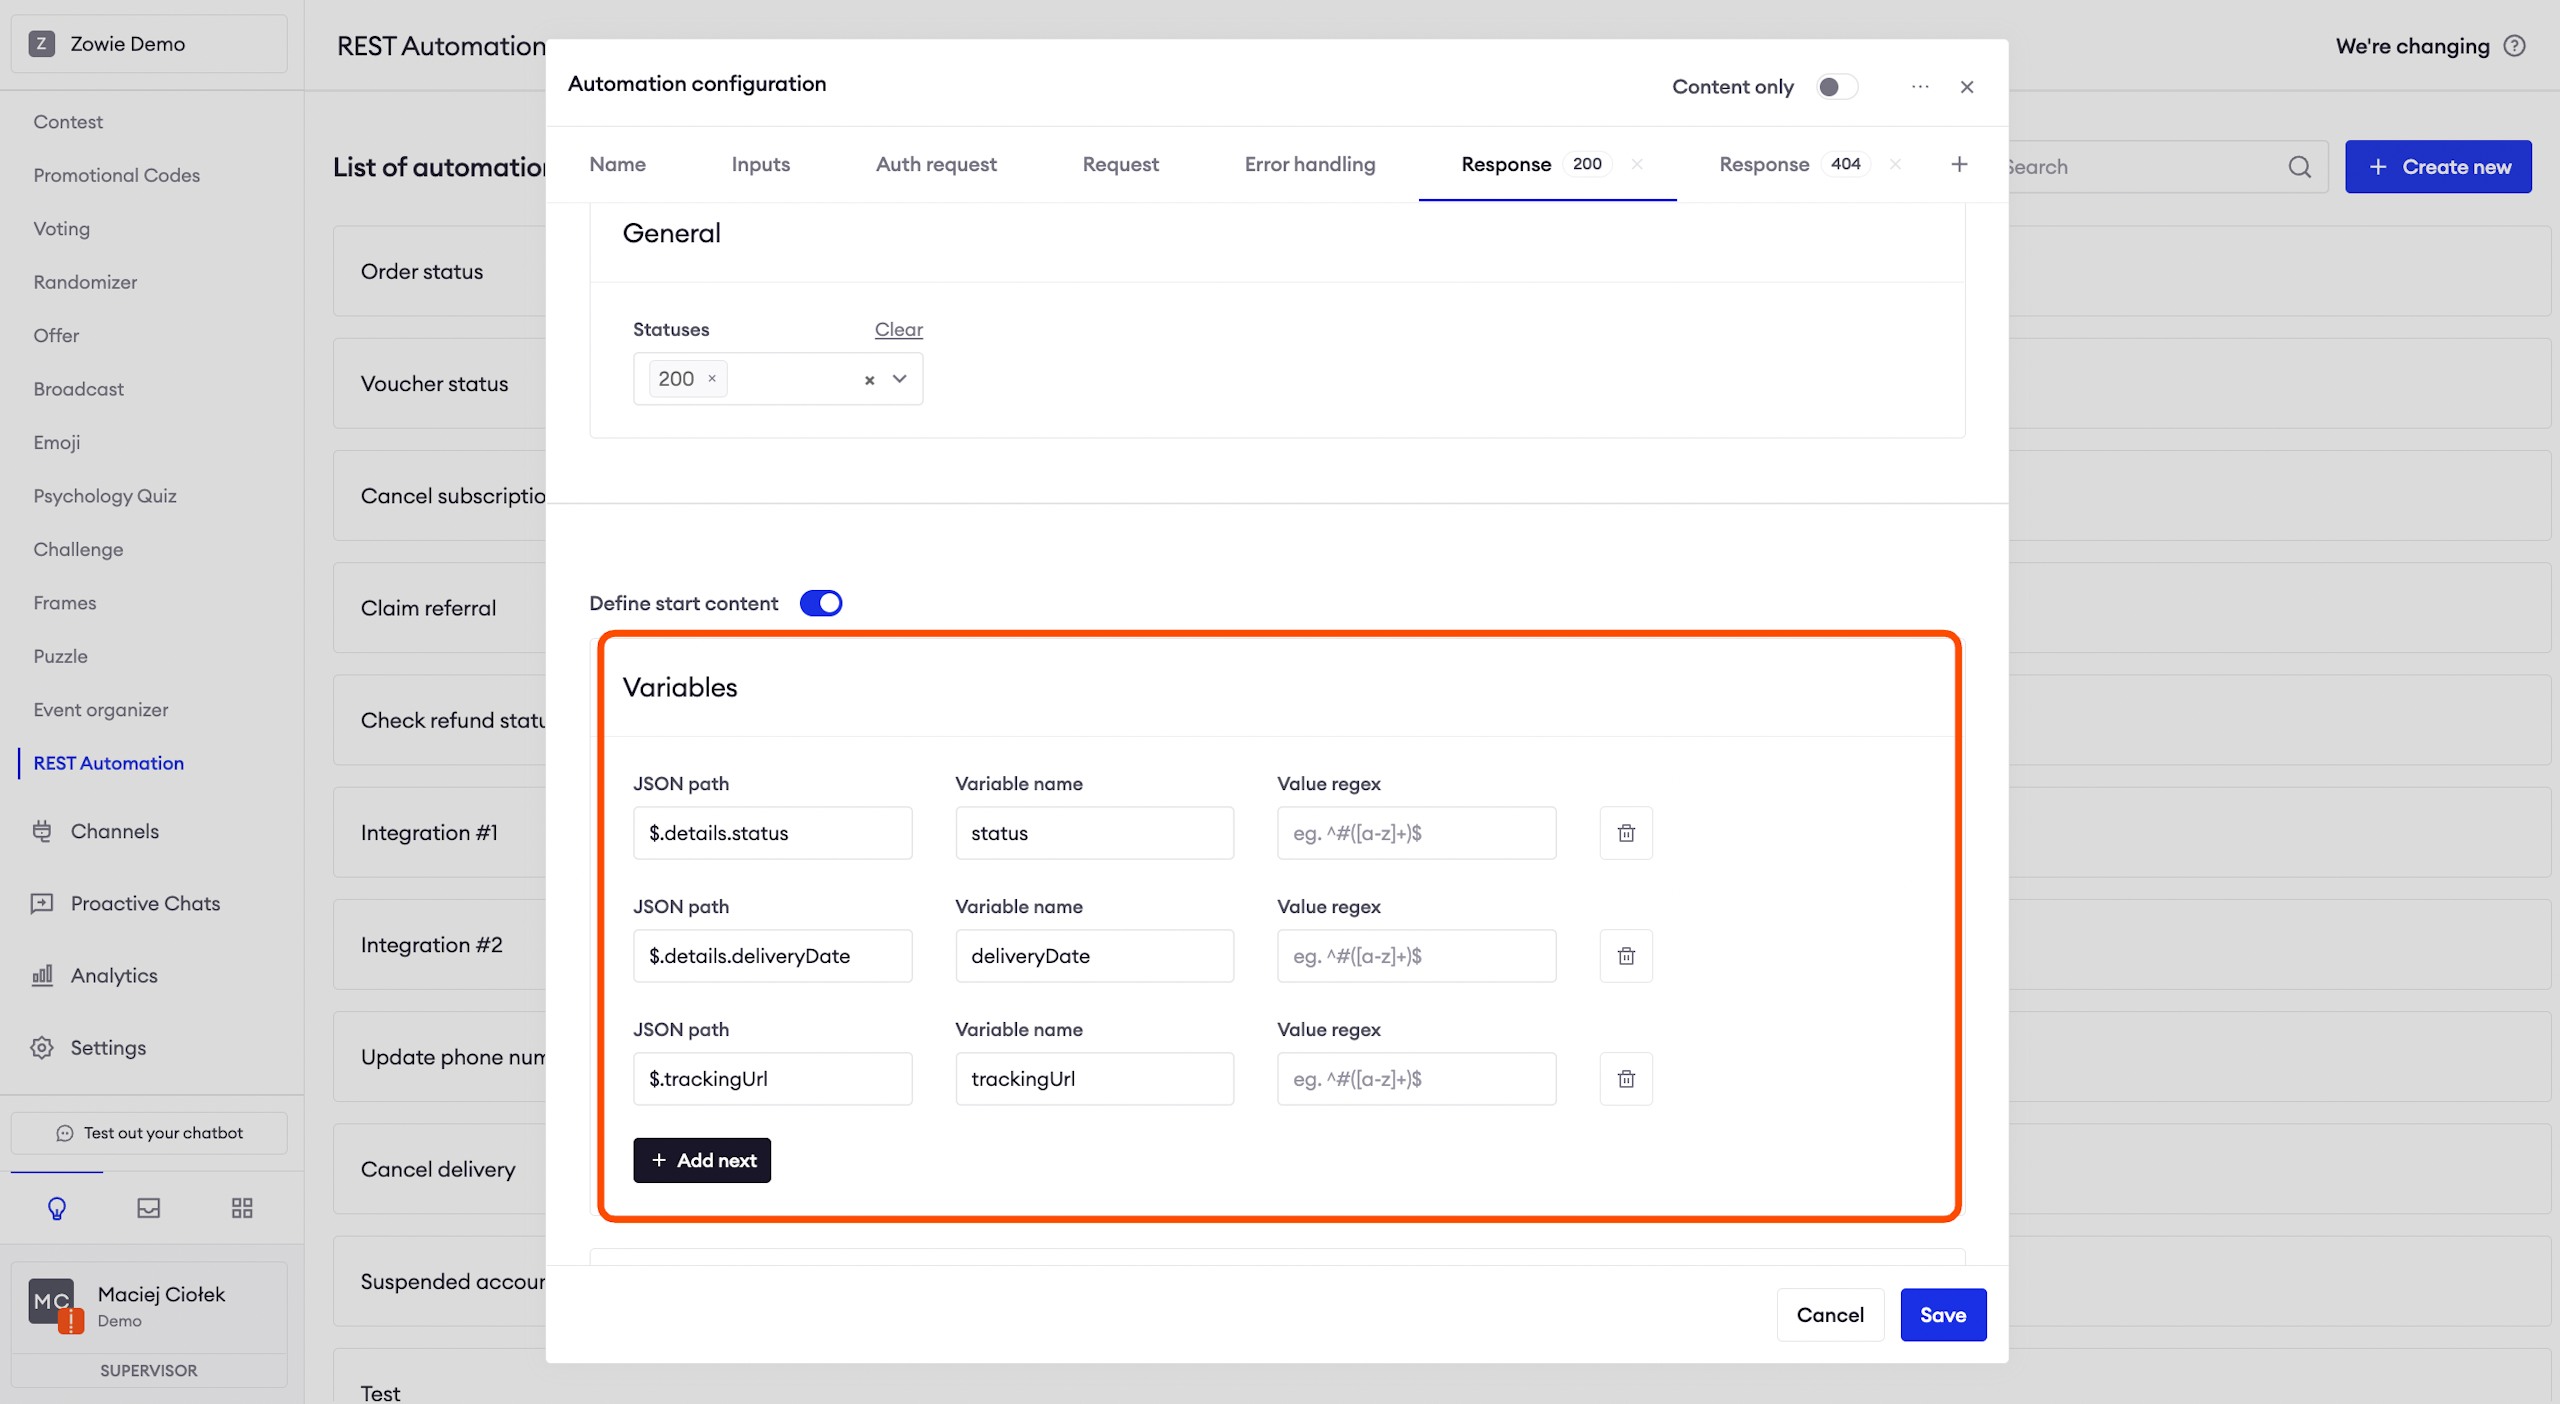
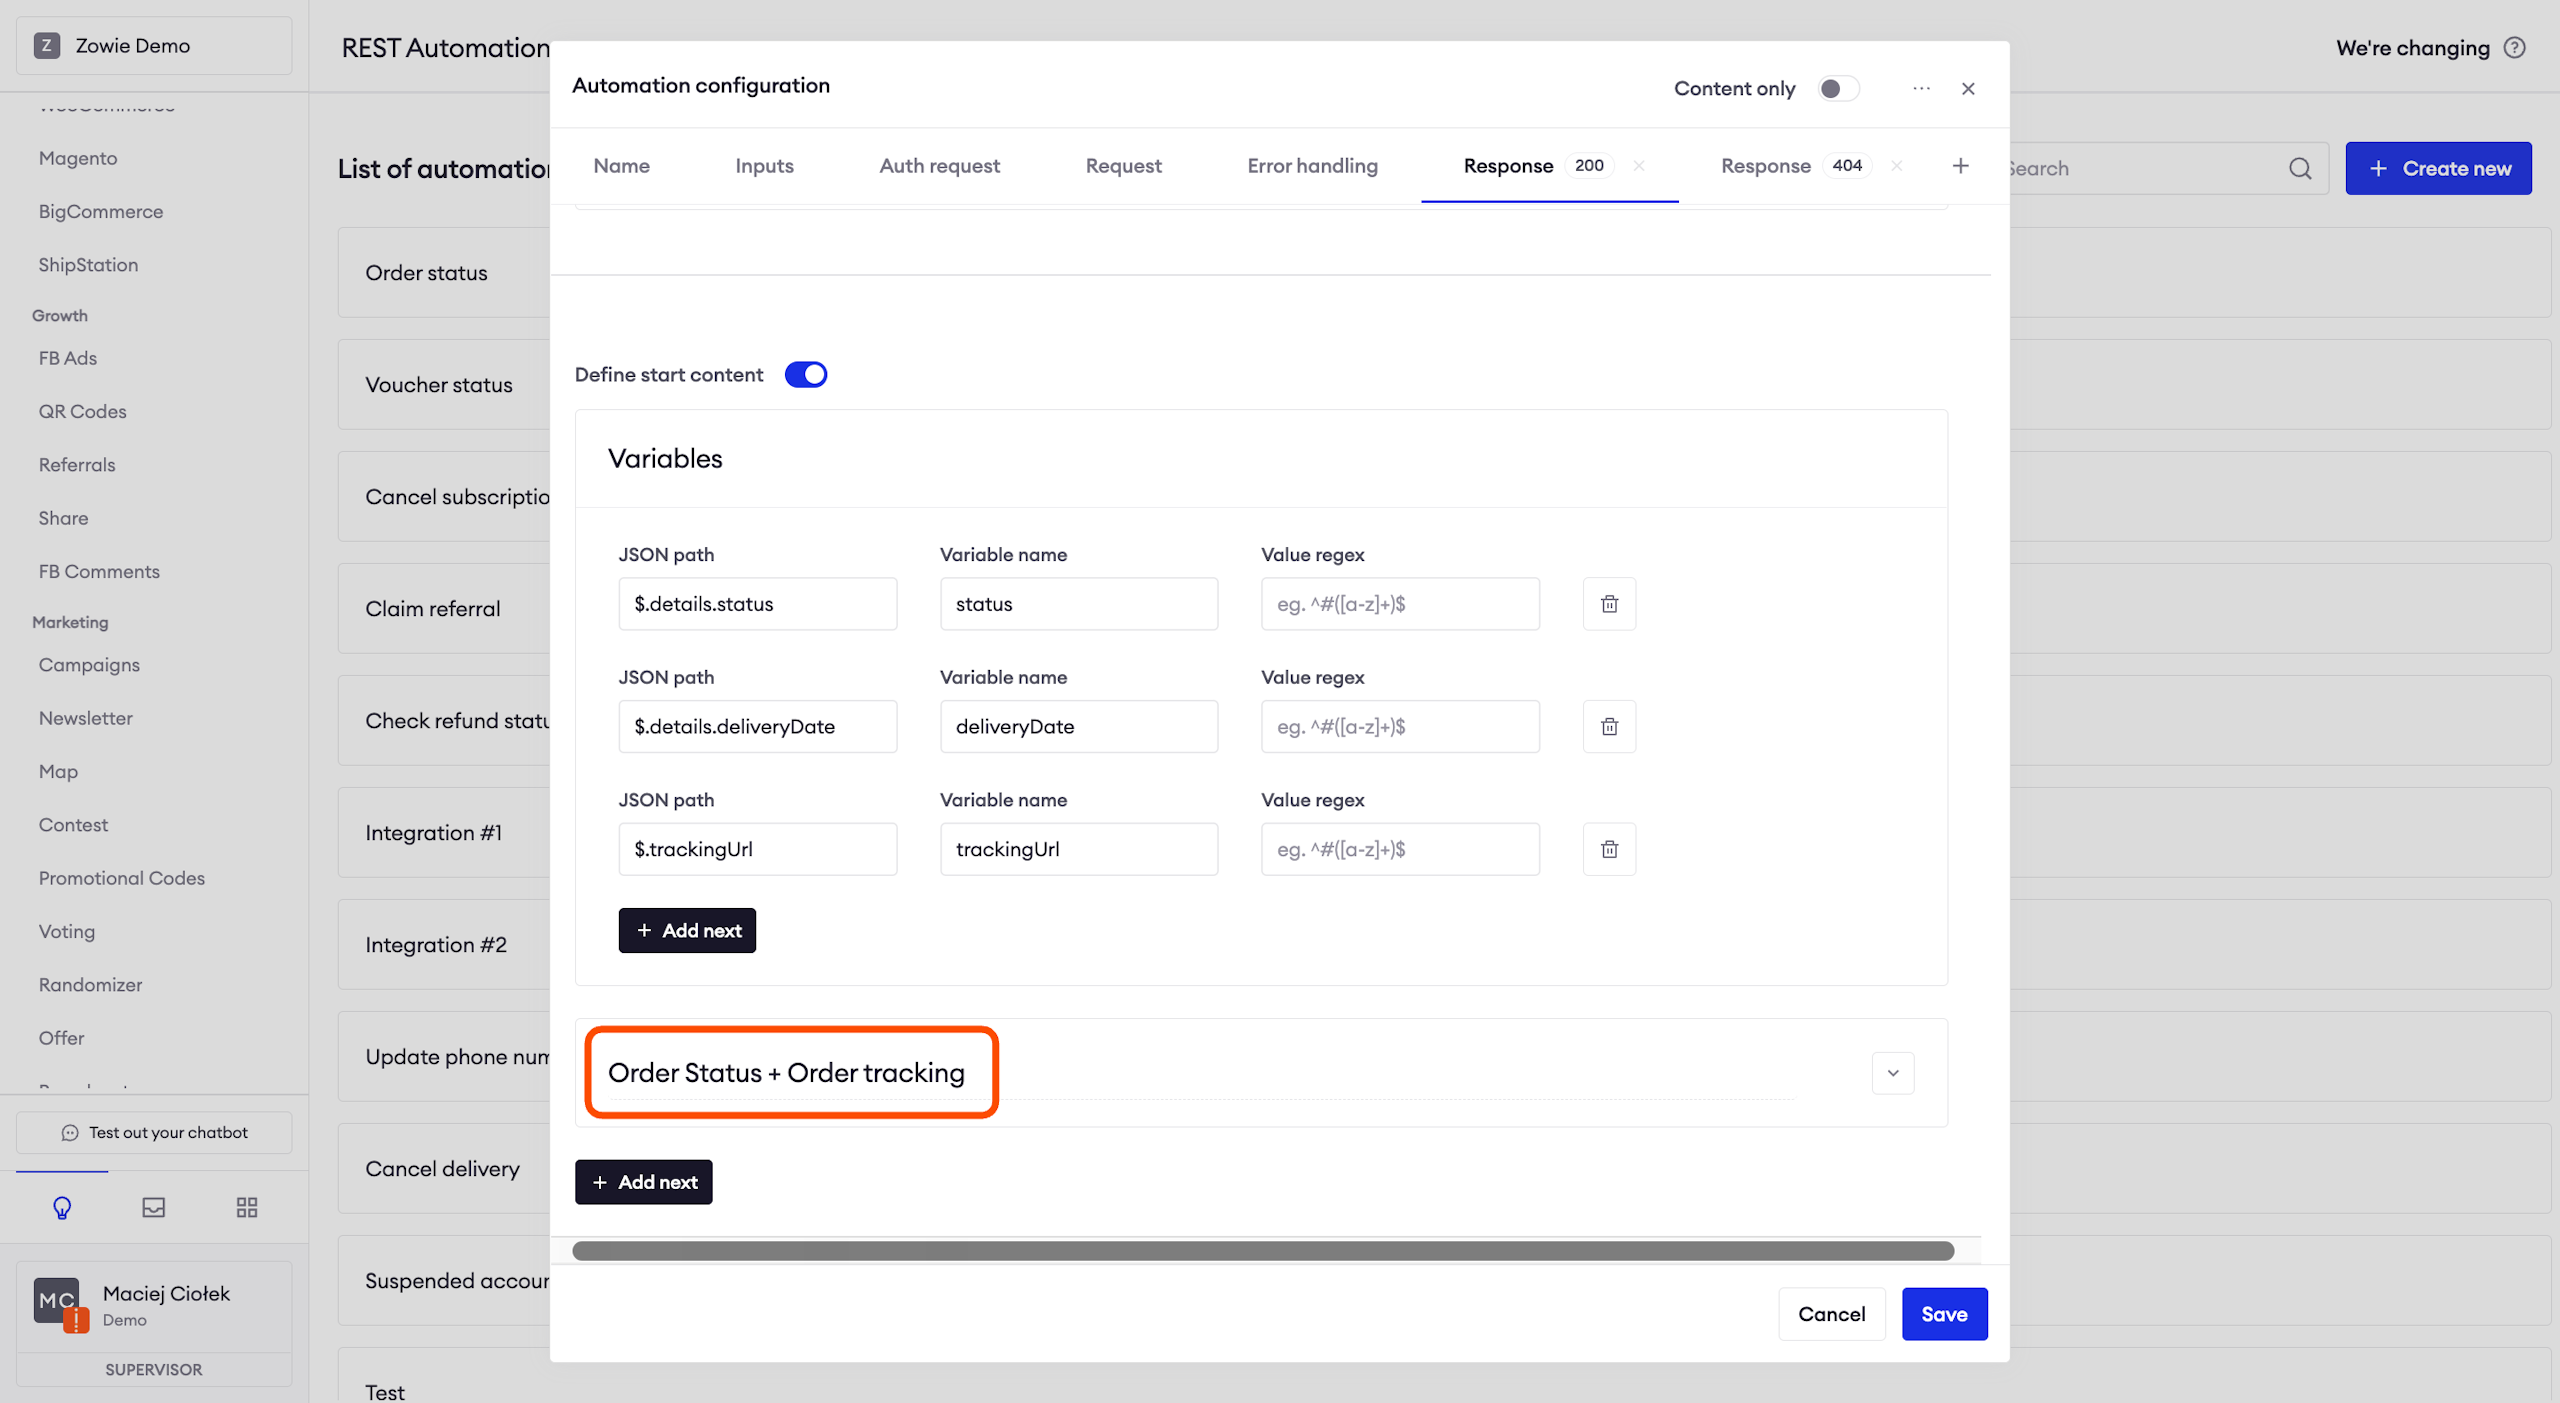
Building a response
In the Variables section, you can map the values from the request to variables that can be used in the Creator.
You can use JSON Path notation that is documented here. To help you provide more tailored experience we introduced the additional functions you may use in your setup:
| Function | Description |
|---|---|
| .mapValue({"searchA": "replacementA", "searchB": "replacementB"}) | Searchs "searchA" or "searchB" in string and replaces with "replacementA" or "replacementB" value. |
| .mkStringWithEnters() | Maps array of strings into a string where elements are separated with enter value. |
| .mkStringWithCommas() | Maps array of strings into a string where elements are separated with comma value. |
| .mkStringWithBullets() | Maps array of strings into a string where elements are separated with bullet value. |
| .first() | Gets first element from array. |
| .last() | Gets last element from array. |
| .normalDaysFromNowFloor() | Counts normal days from now till date that it's applied for. Rounds top for any hours, etc. It expects field to be ISO-8601 format. |
| .normalDaysFromNowCeil() | Counts normal days from now till date that it's applied for. Rounds down for any hours, etc. It expects field to be ISO-8601 format. |
| .workingDaysFromNowFloor() | Counts working days from now till date that it's applied for. Rounds top for any hours, etc. It expects field to be ISO-8601 format. |
| .workingDaysFromNowCeil() | Counts working days from now till date that it's applied for. Rounds down for any hours, etc. It expects field to be ISO-8601 format. |
| .toLowerCase() | Makes string lower-case. |
| .toUpperCase() | Makes string upper-case. |
| .sortByTimeAsc("date_field") | Sorts array by time ASC using field "date_field". It expects date_field to be ISO-8601 format. |
| .sortByTimeDesc("date_field") | Sorts array by time DESC using field "date_field". It expects date_field to be ISO-8601 format. |
| .sortByAsc("field") | Sorts array ASC using field "field". It's recommended "field" to be string or number. |
| .sortByDesc("field") | Sorts array DESC using field "field". It's recommended "field" to be string or number. |
Creating the Conditional response
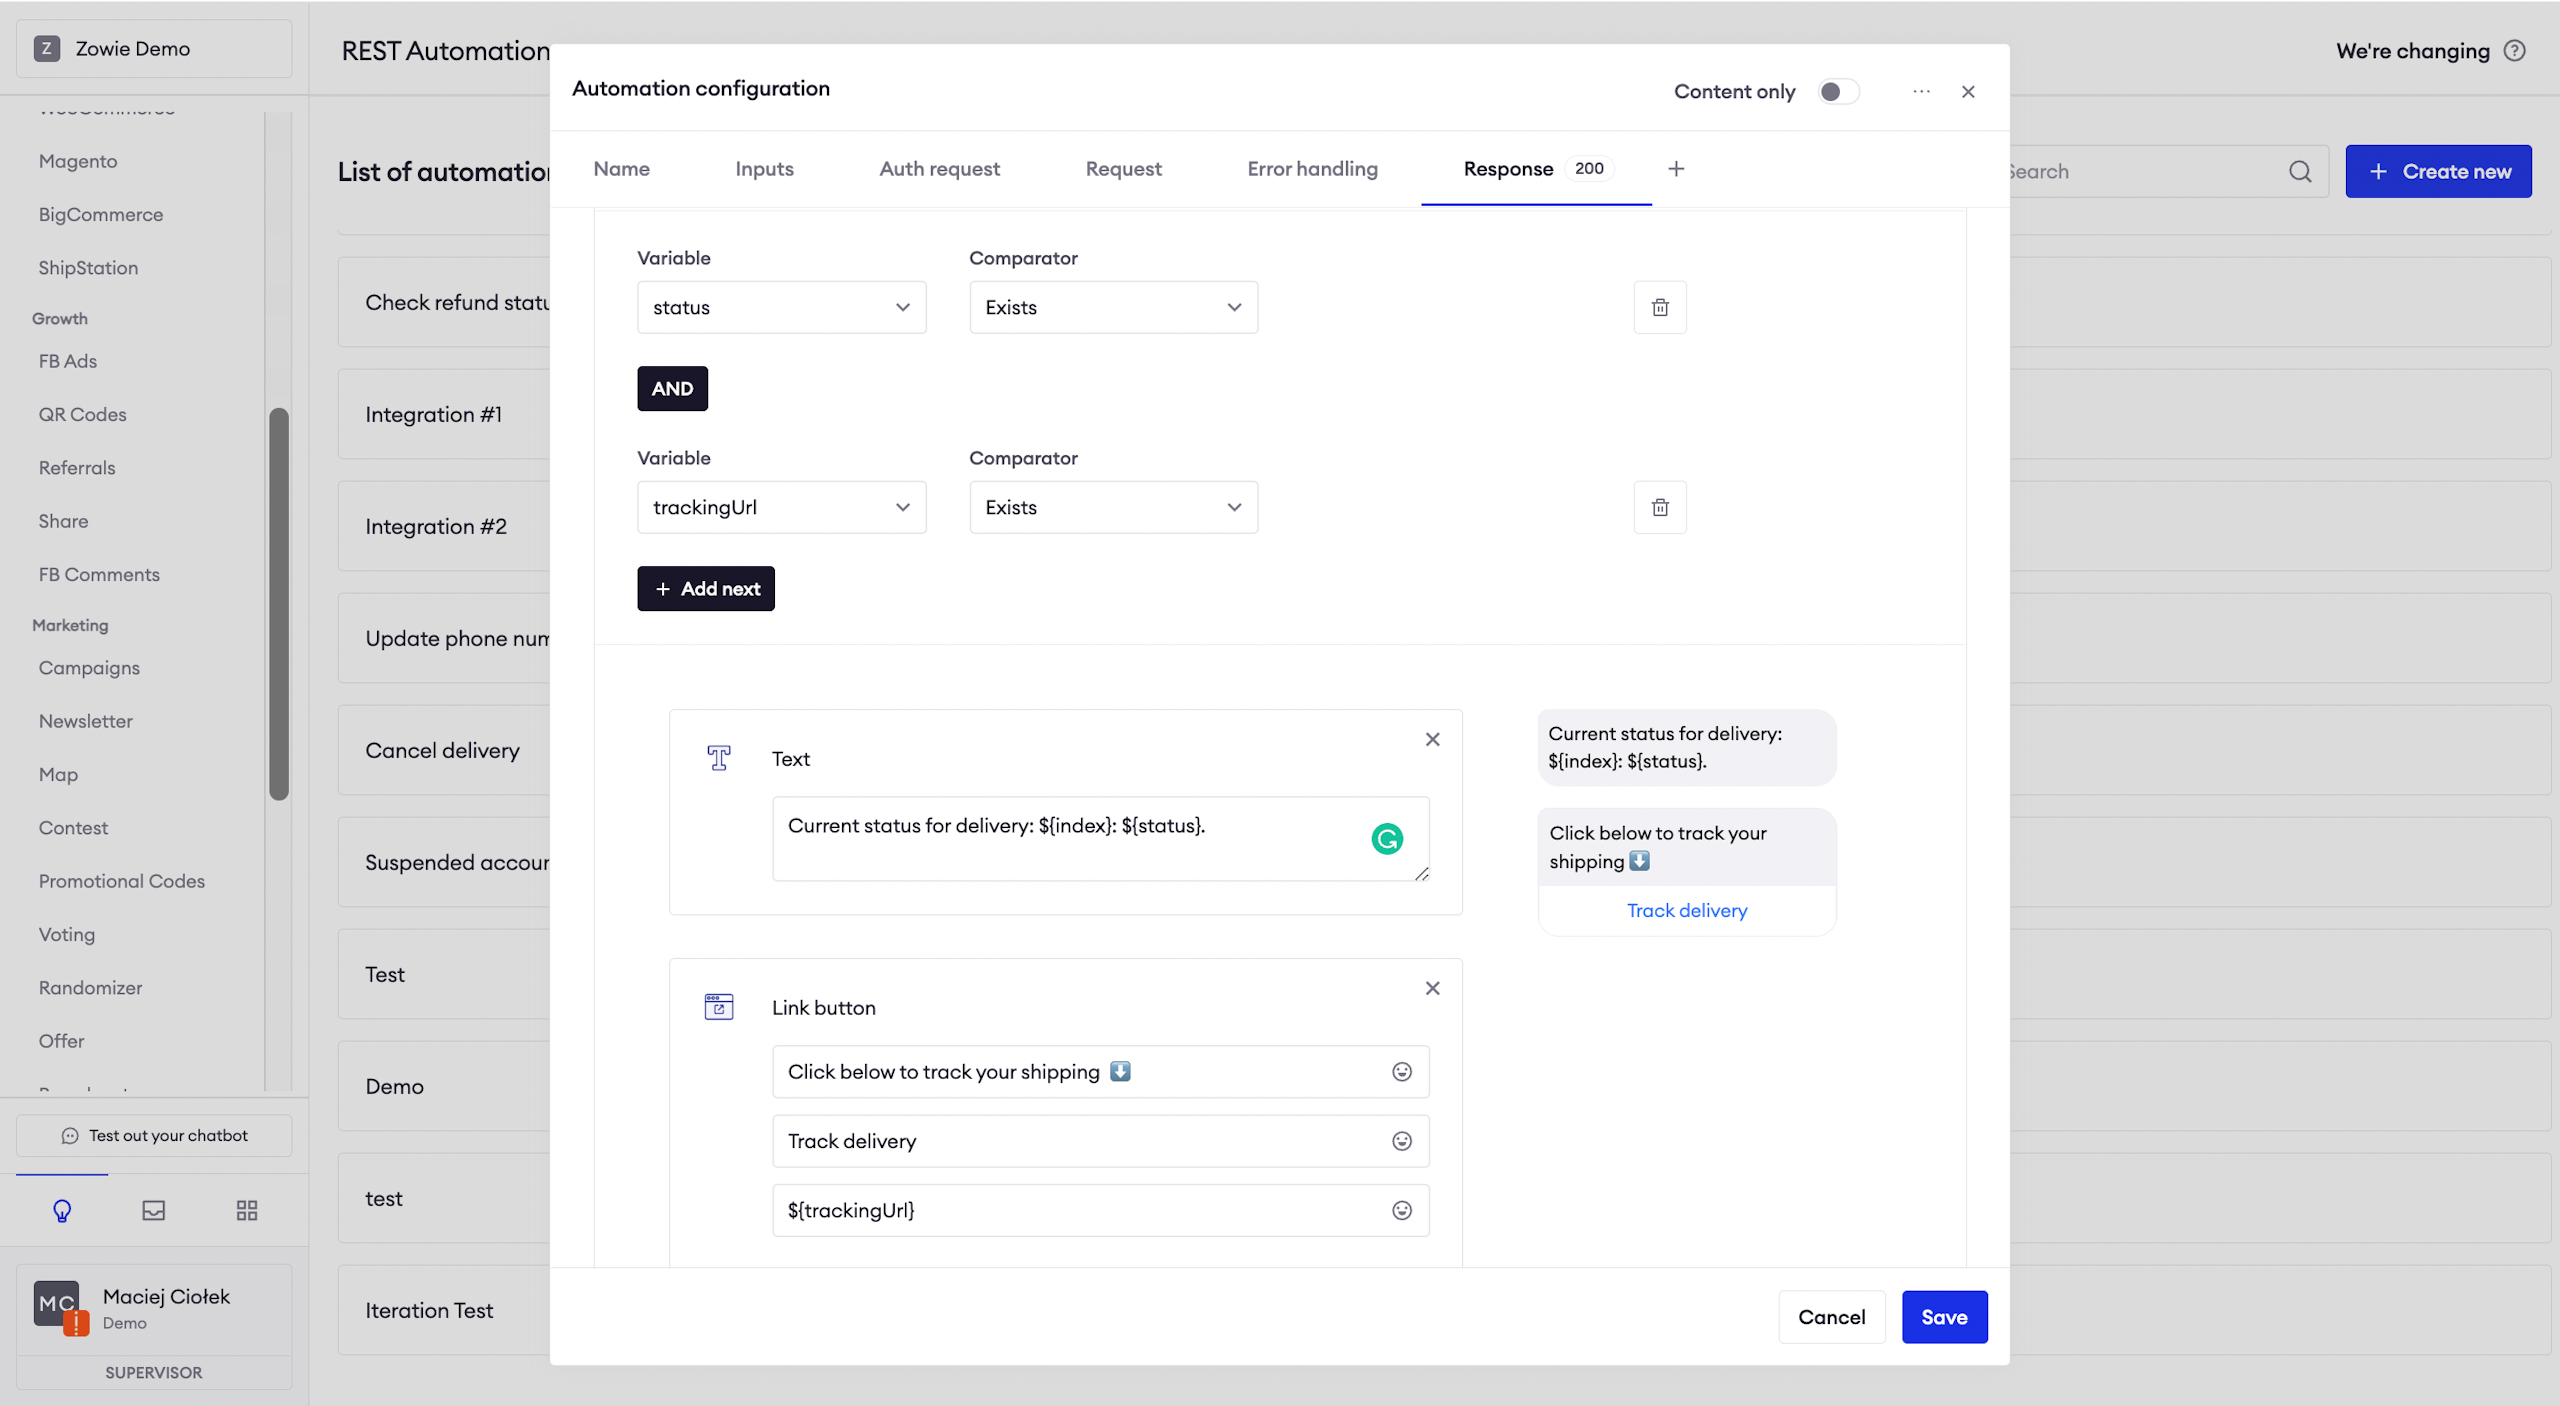
You can easily change the title of the _Conditional response _by clicking on it. Next, click on the arrow on the right to expand this field and select Variableand Comparator
Click the "AND" button to switch it to the "OR" condition.

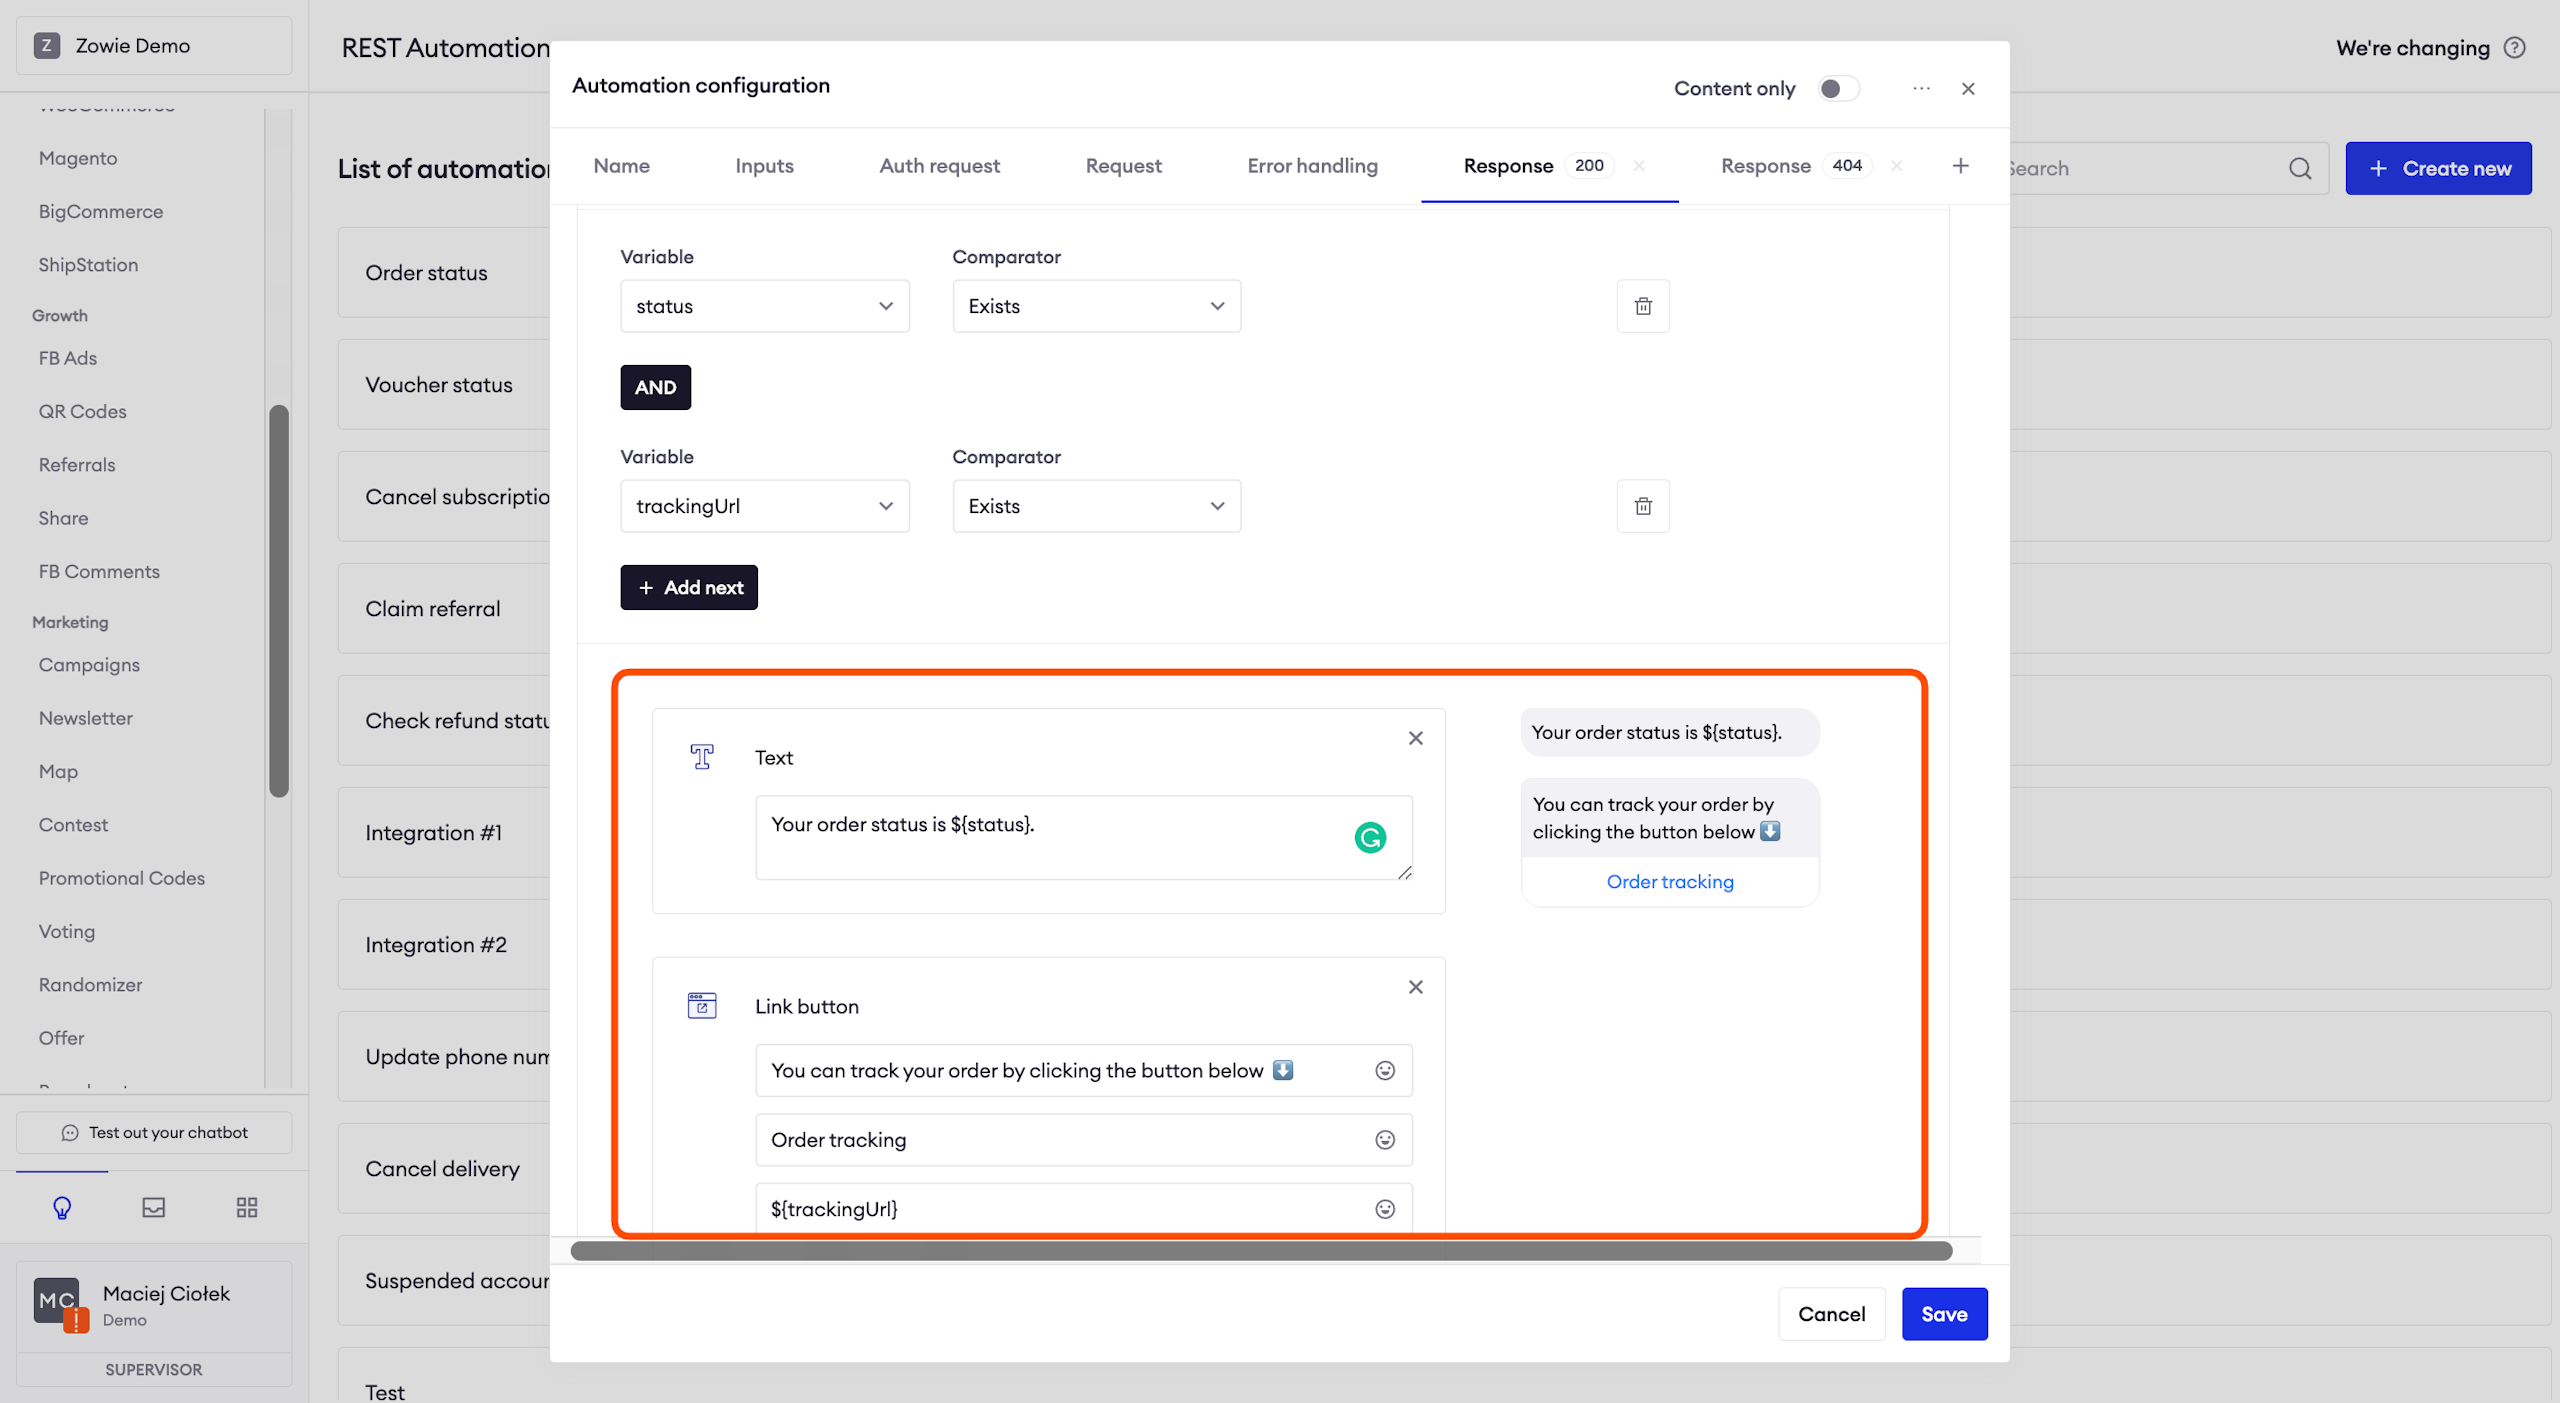
The last step is as simple as creating the response itself!
For example, let's say you want to create a response for which the API returns the order status and the tracking link.
As you can see, the Rest Automation module is checking whether the API returned anything mapped to the status variable, as well as the trackingUrl variable. If so, then the chatbot will send the content configured under this section.
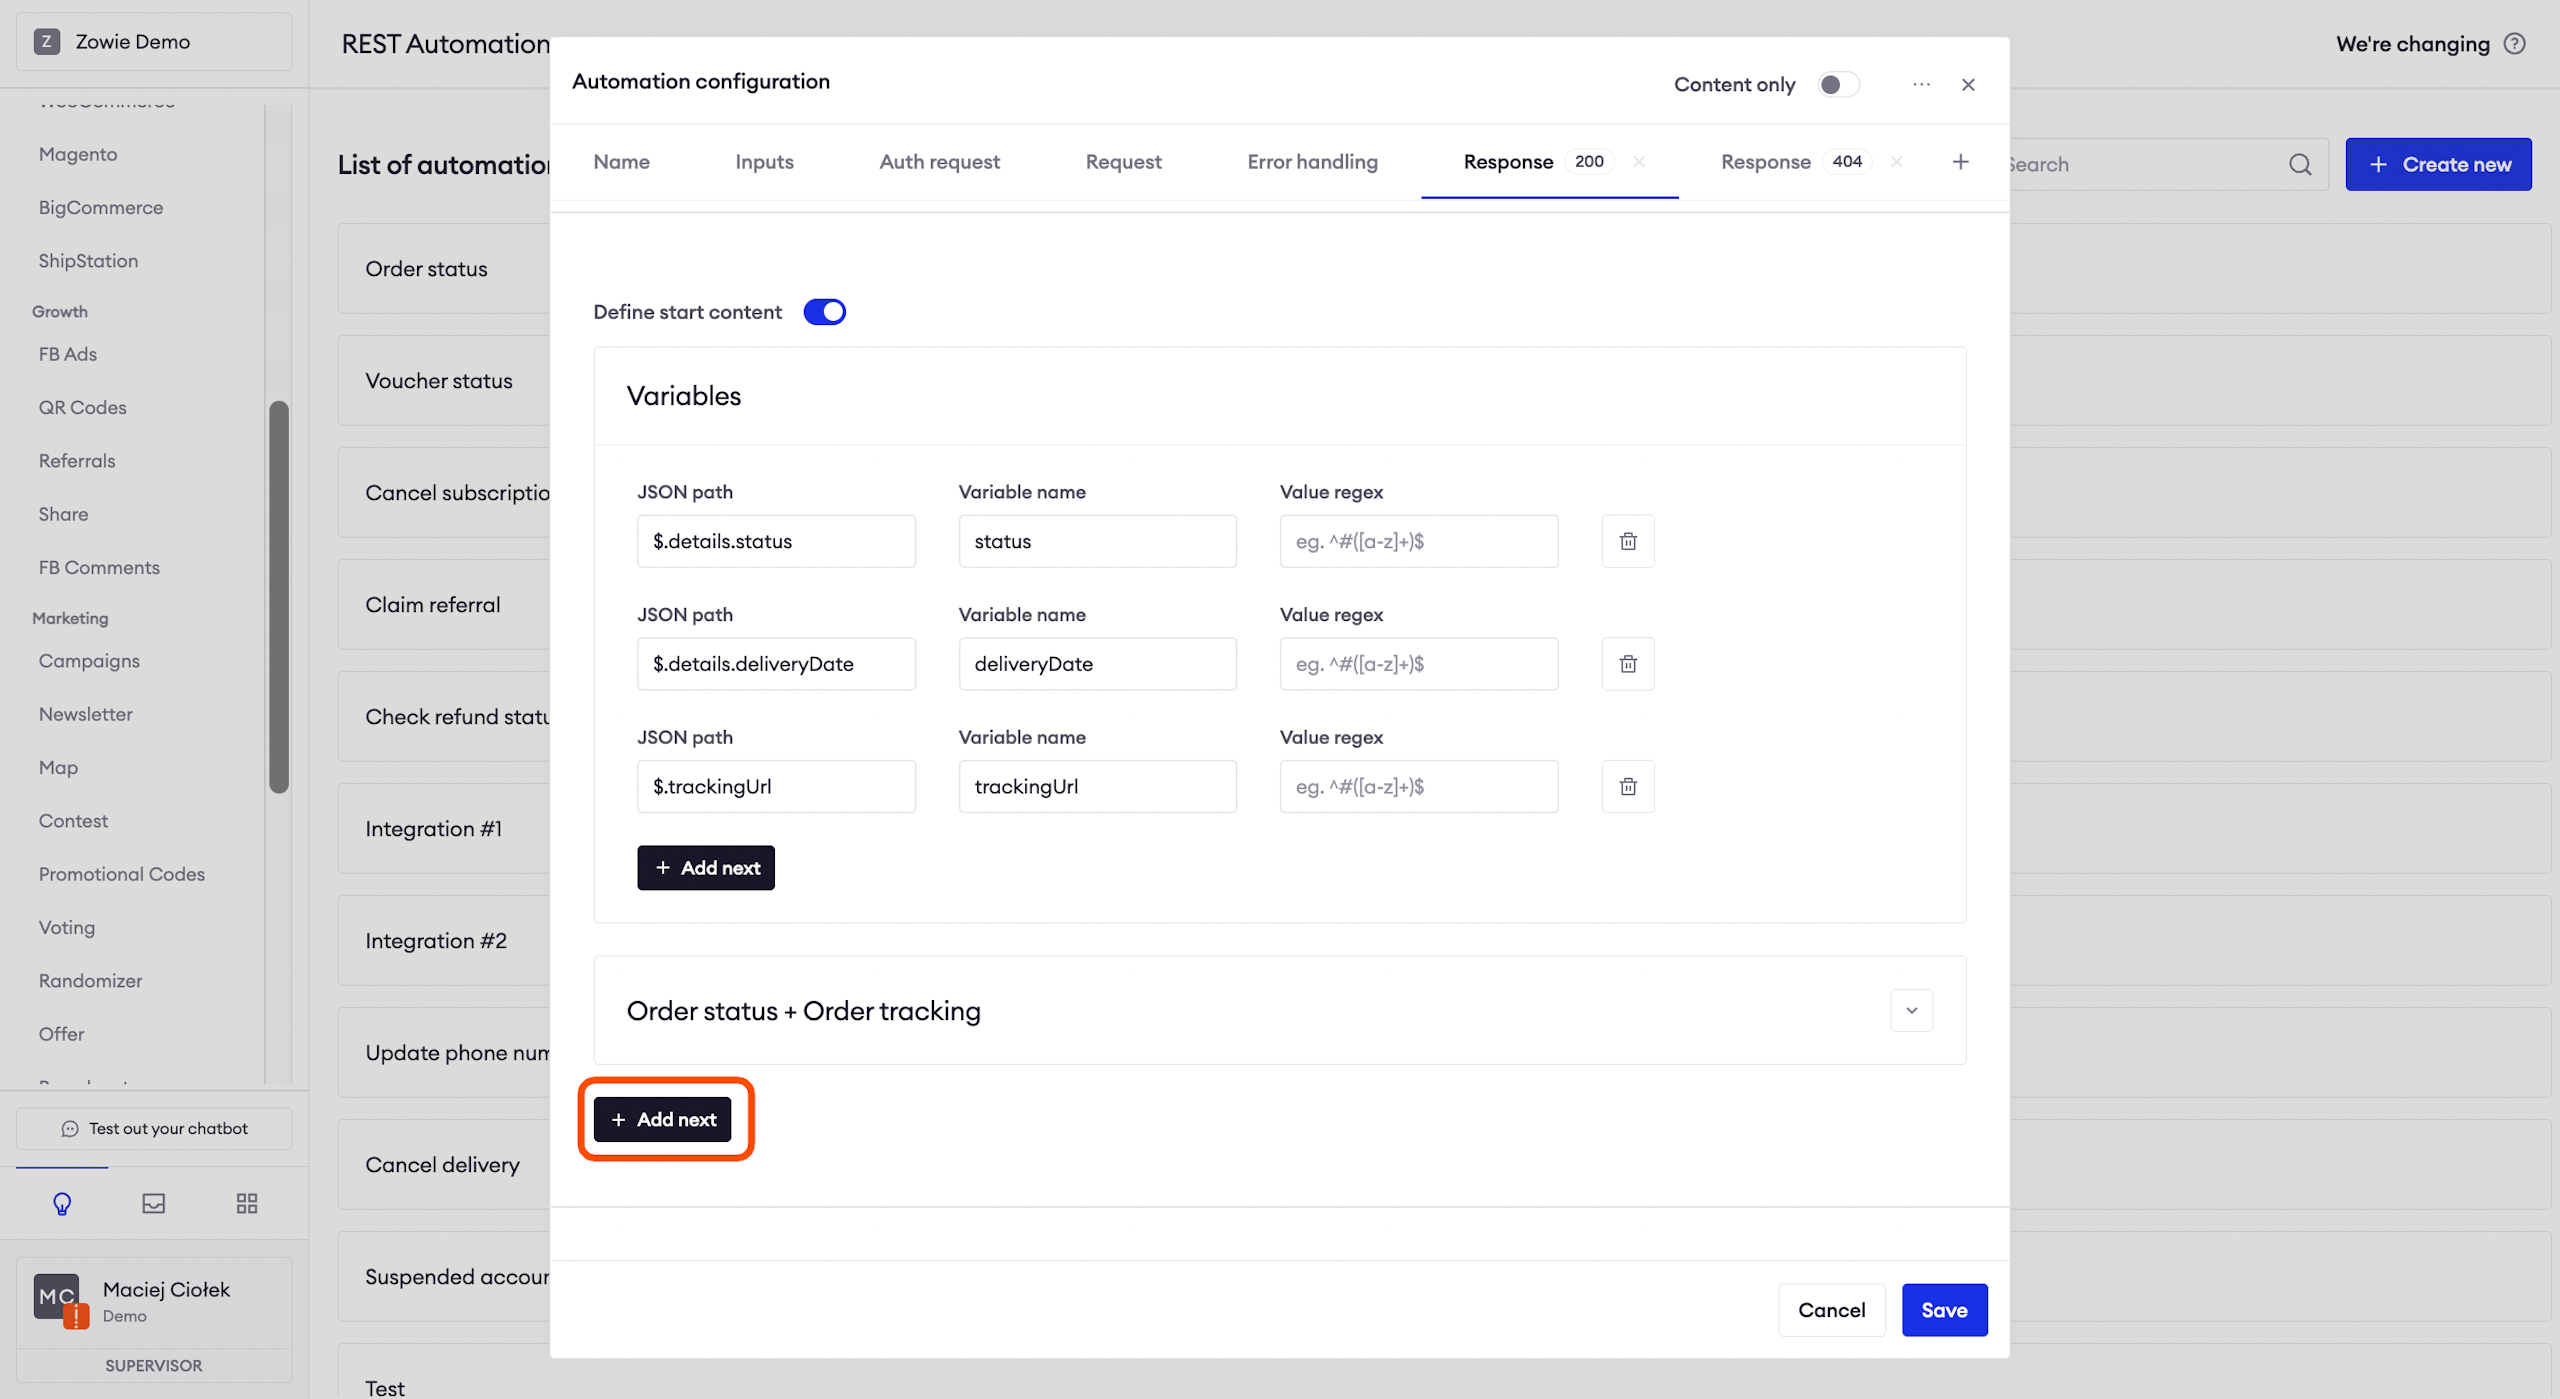
You can create multiple Conditional responses, simply click "Add next" button.
Here we can see the configuration for when the API returns something for the variable mapped to the status, but nothing for the trackingUrl. In that case, the chatbot will send the content configured under this section.

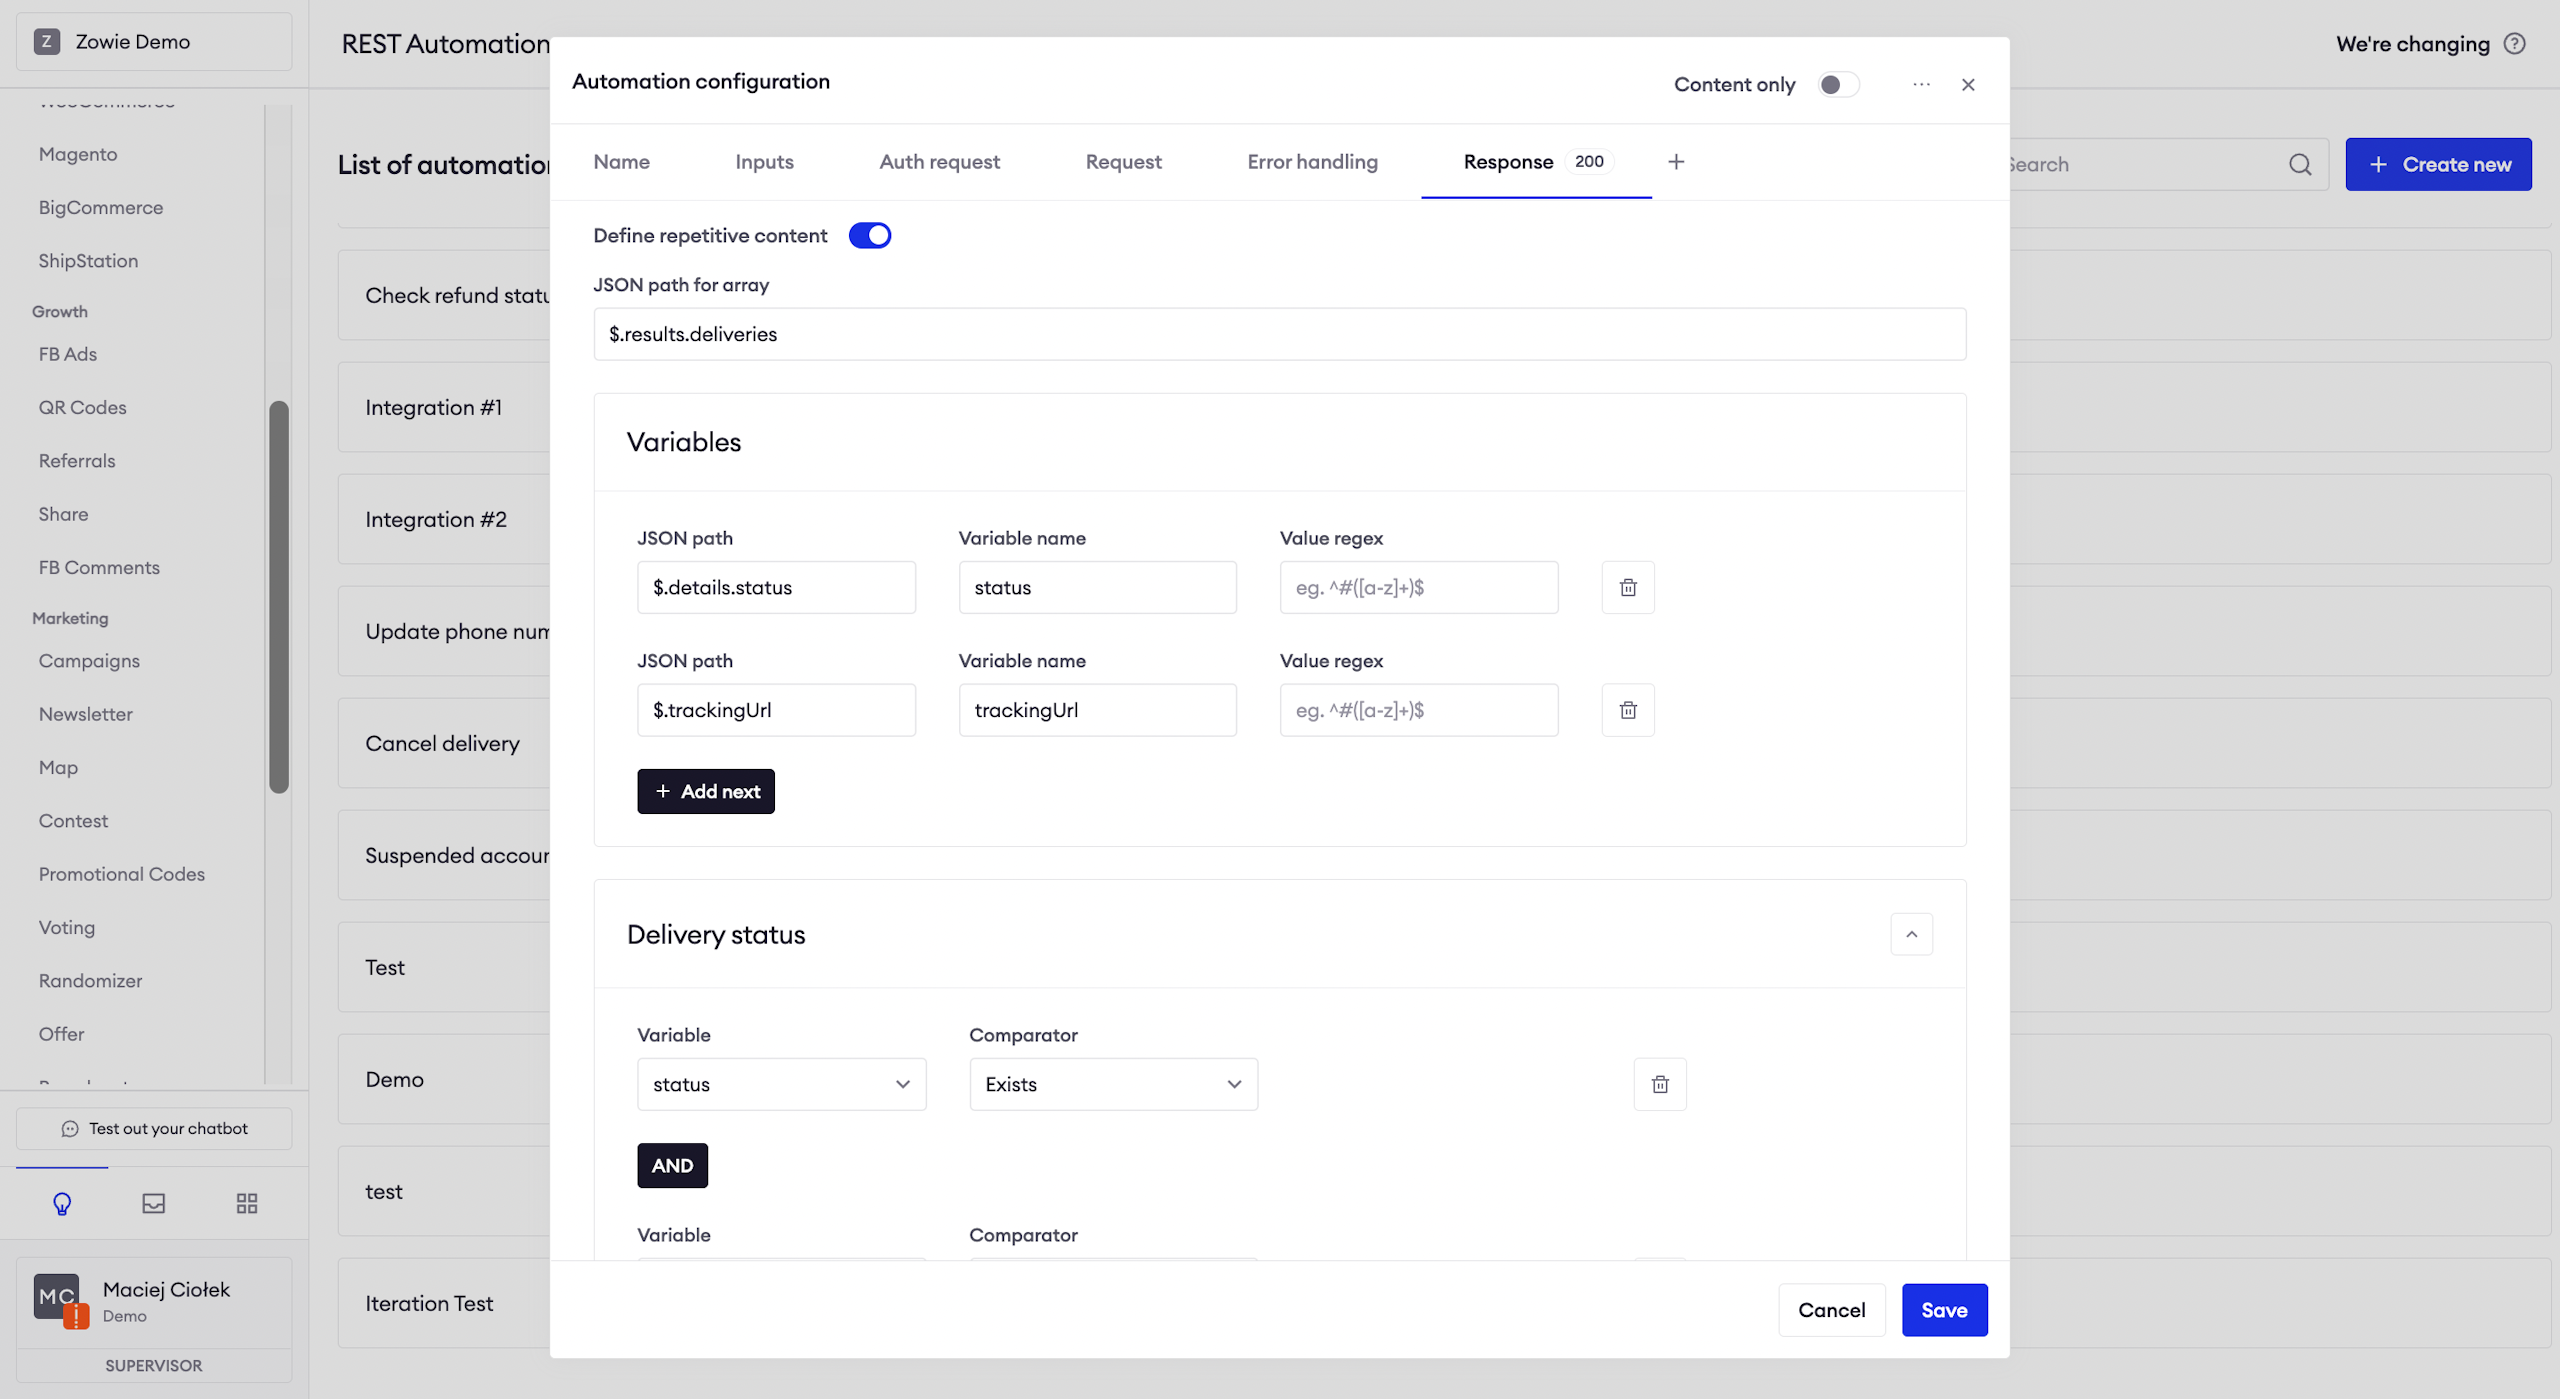
Mapping array within repetitive content
Let's assume that your order doesn't contain single tracking information, but it's split into multiple deliveries. Then we presume that in the API response there is an array of deliveries which contains status and trackingUrl for each of them.
You can use the Repetitive content option to map them into multiple messages.
By providing a JSON path for the array you instruct Zowie where is the array over each it will iterate. Then you can use Variables to map the specific fields of the iterated element - please note that $ refers here to the iterated element within an array, not the root of the whole response. You can also use $index the Variable available in response, which will be replaced with the index of elements in array starting from 1.
If you need access any value from the root of the response, simply use $.root in the Variables section.
ImportantPlease note that we support up to 50 elements in the array to be processed and displayed.
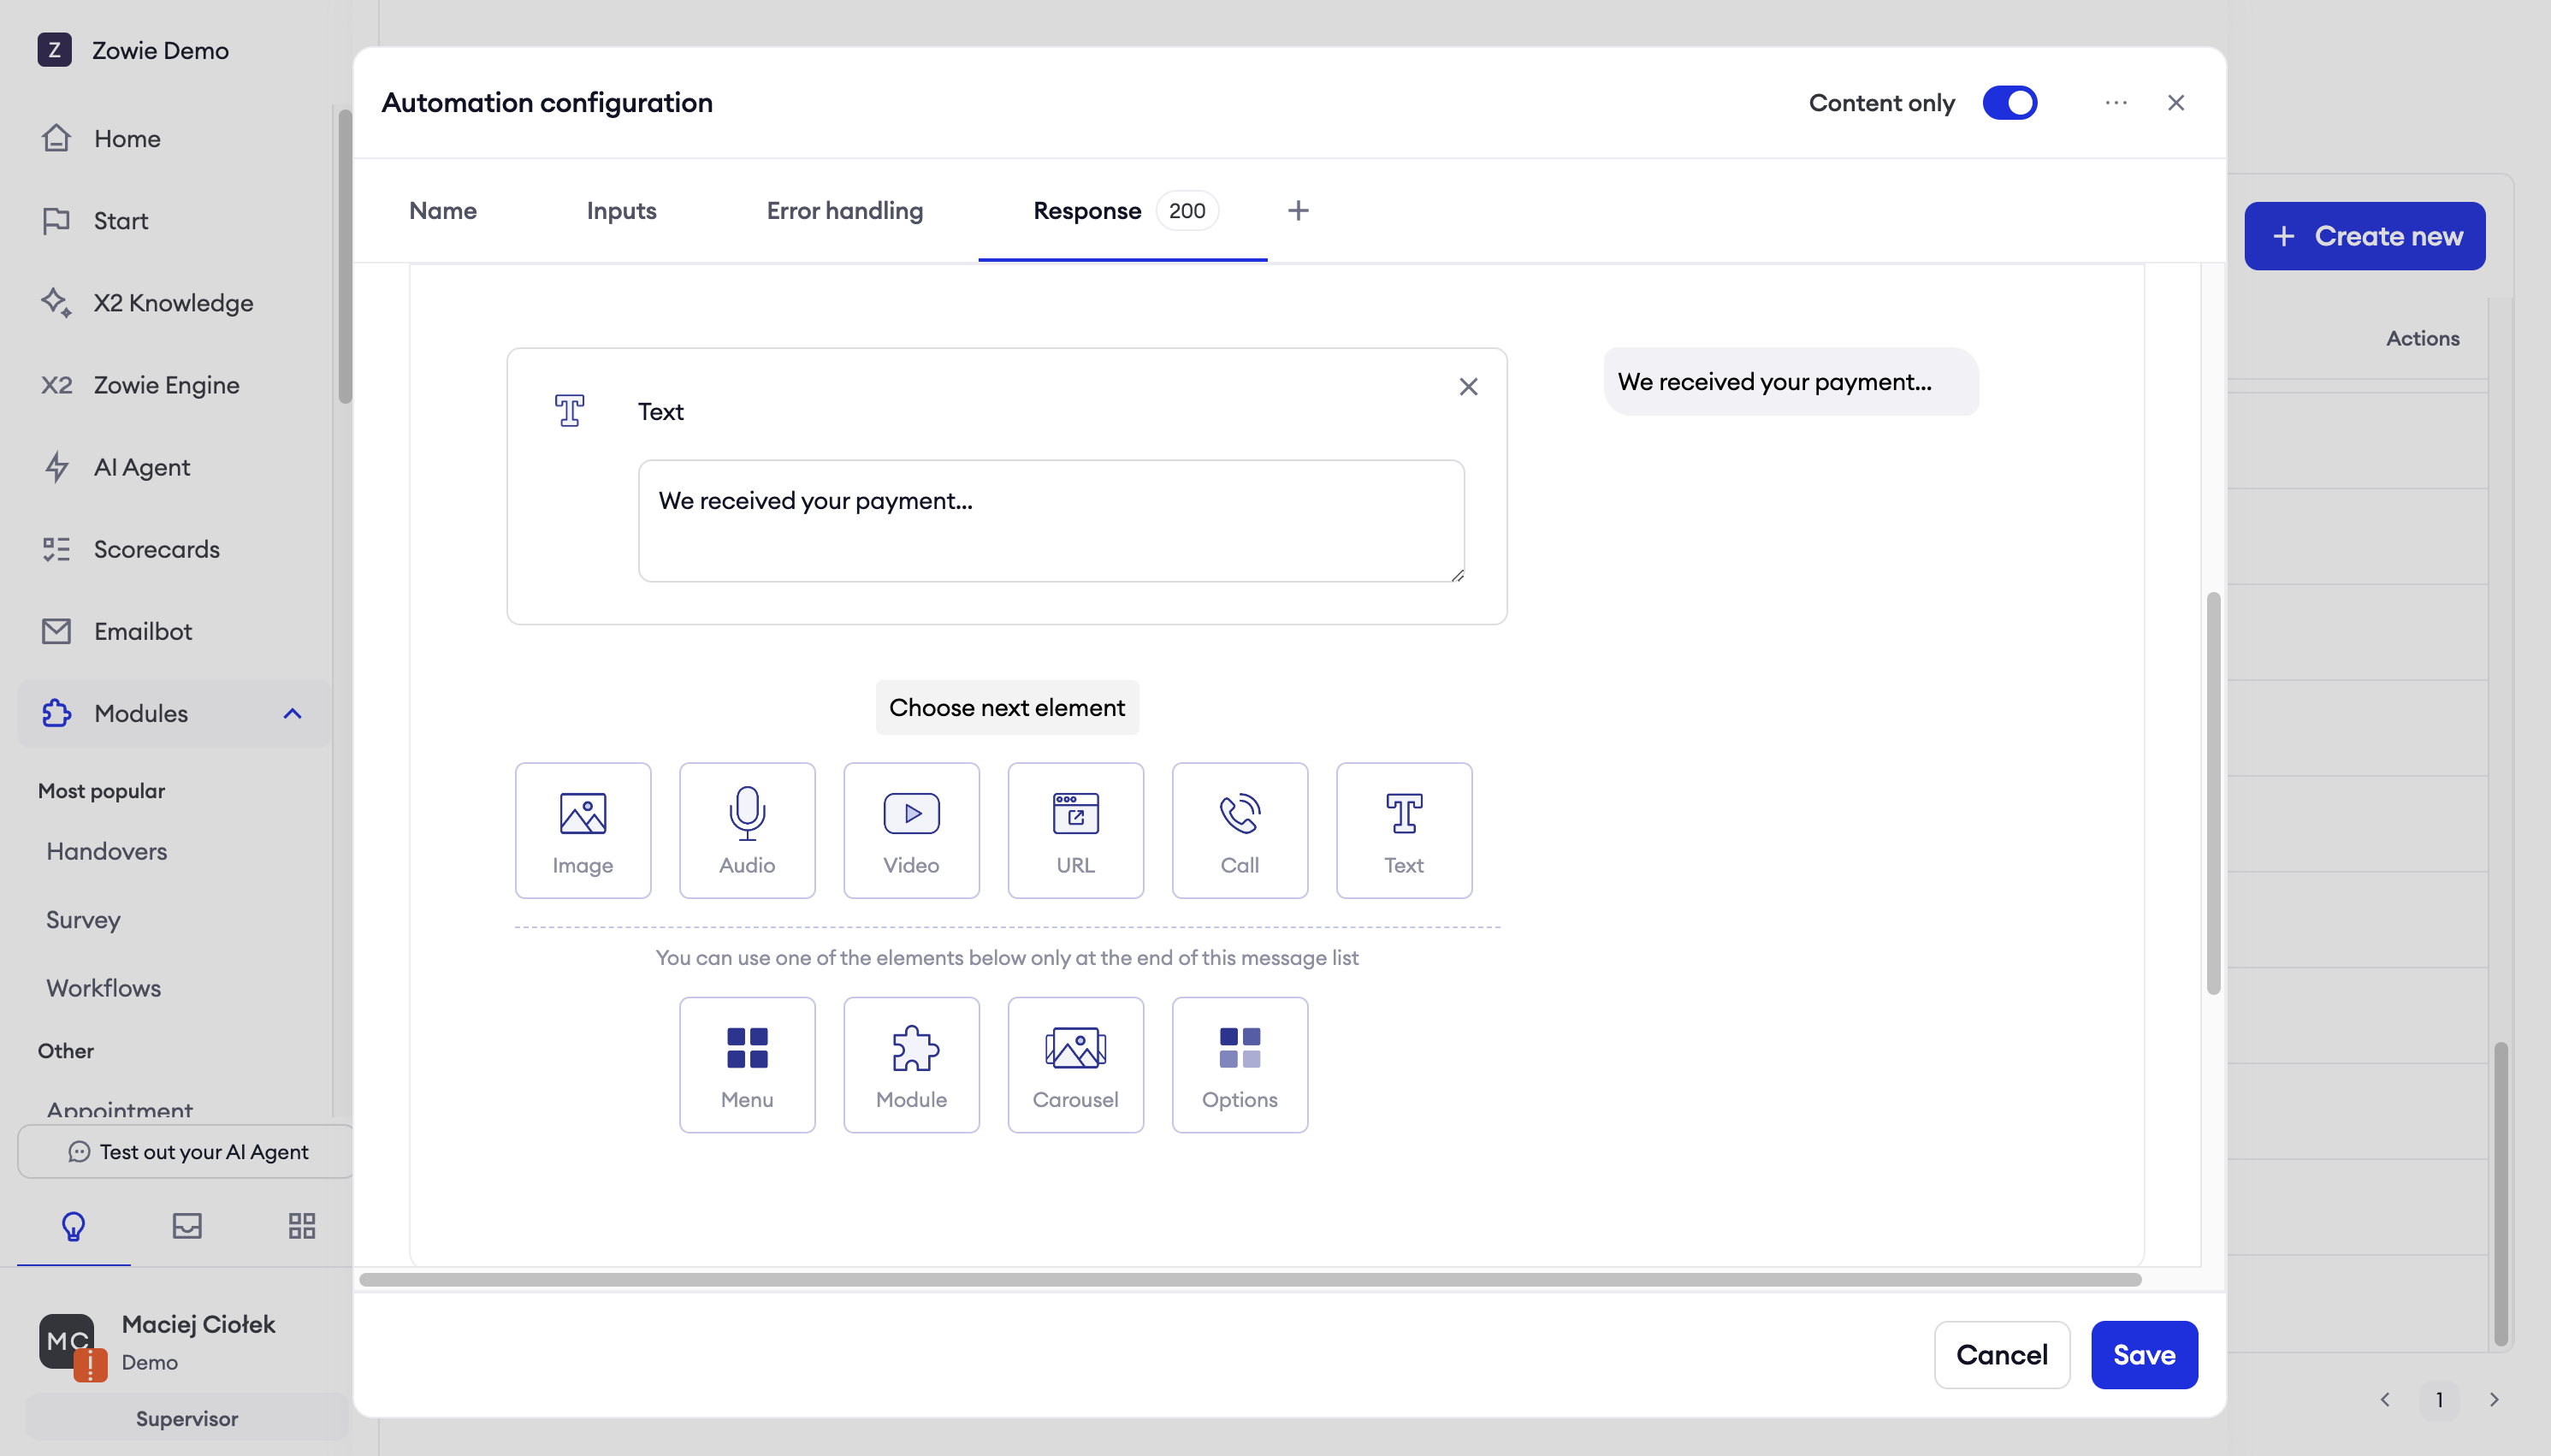
Dynamic Messages
REST Automation offers two dynamic messages - Carousel and Options.
Carousel
Carousel is a dynamic message that will render a carousel of elements with buttons.
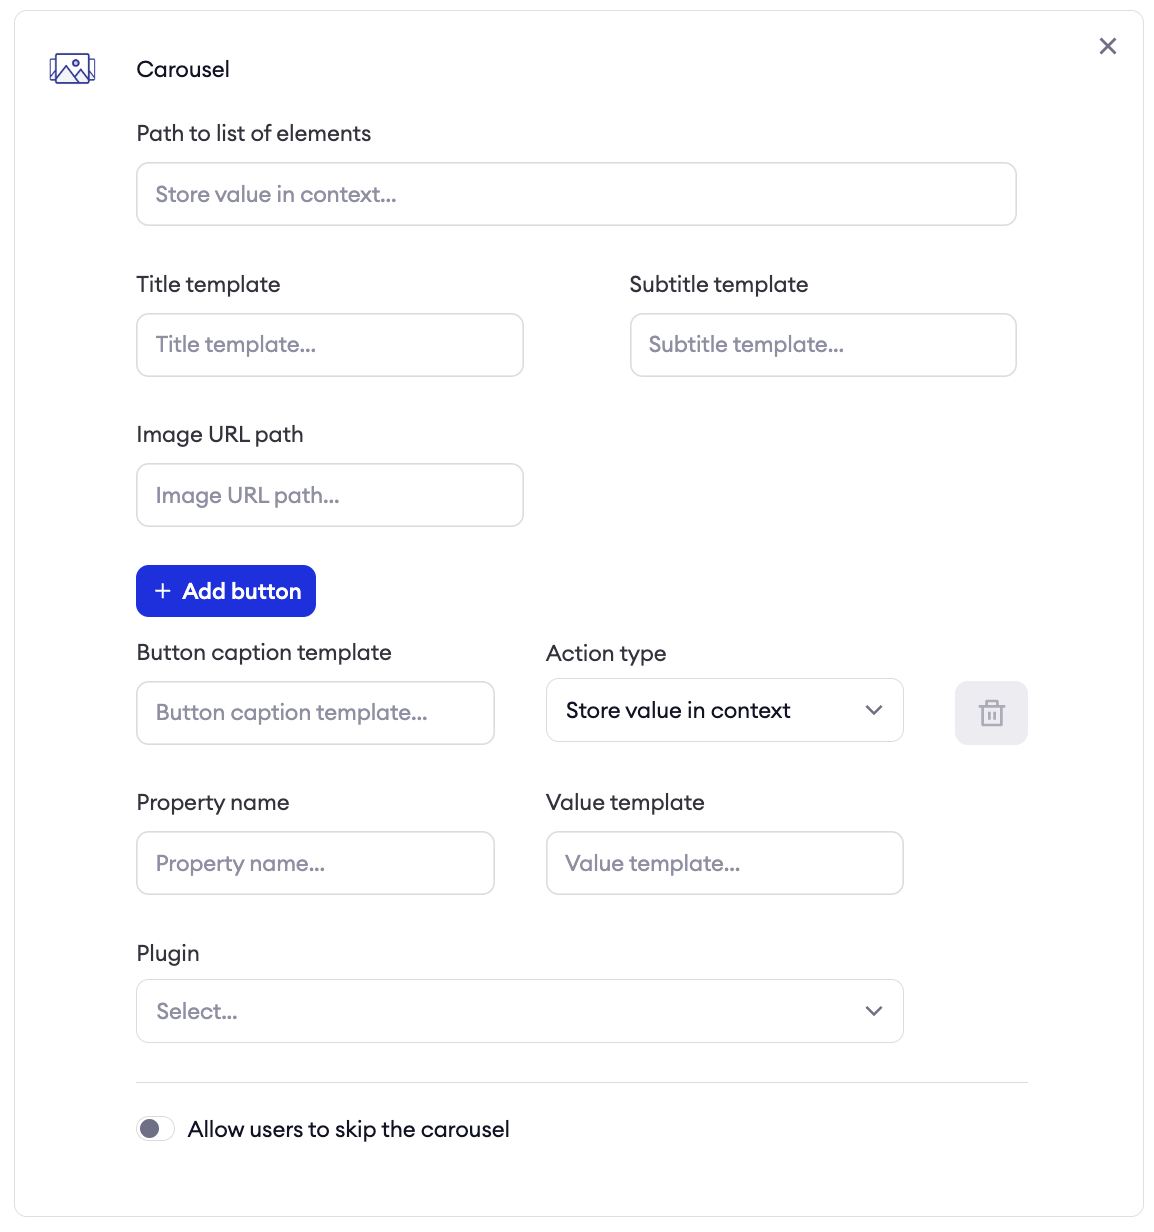
Inputs
| Field | Example |
|---|---|
| Path to list of elements (required) | $.result.orders |
| Title template (required) | ${productTitle} - ${sku} |
| Subtitle template (required) | Price: ${price} ${currency} |
| Image URL path (optional) | ${imageUrl} |
Buttons - for a carousel, we need at least one button. You can add more, by pressing + Add button. We currently support two button action types:
- Store value in context
- Open web
Action type: Store value in context
Selecting a button will store value template under property property name and trigger a plugin. You can access stored value under property name in this plugin.
| Field | Example |
|---|---|
| Button caption template (required) | See ${productName} |
| Property name (required) | selectedProduct |
| Value template (required) | ${productId} |
| Plugin (required) | Select form the list |
Action type: Open web
Pressing a button will open URL.
| Field | Example |
|---|---|
| Button caption template (required) | See ${productName} |
| URL template (required) | ${shopUrl} |
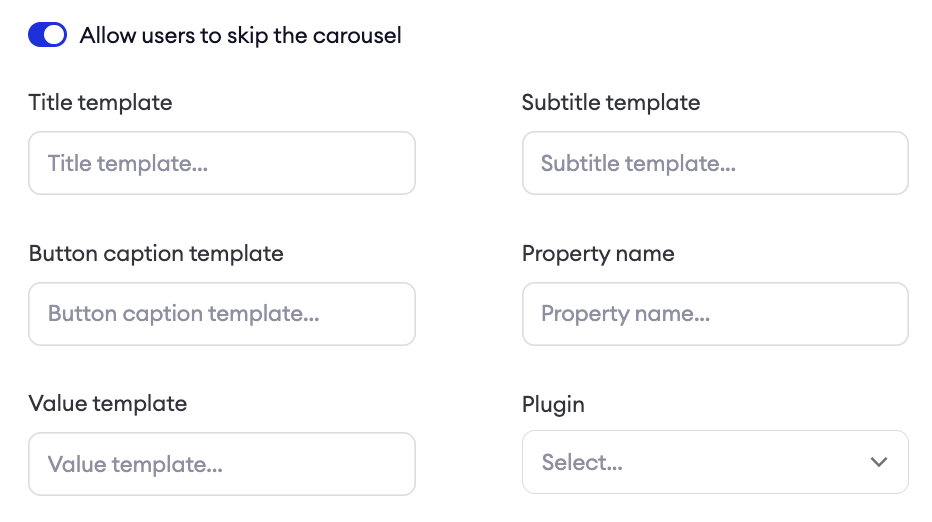
Allow users to skip the carousel (optional)
This is an optional toggle that can render a fallback plugin if user wants to skip the carousel.
Options
Options are dynamic quick buttons, which can be automatically generated based on provided JSON. Selecting a button will store value template under property property name and trigger a plugin. You can access stored value under property name in this plugin.
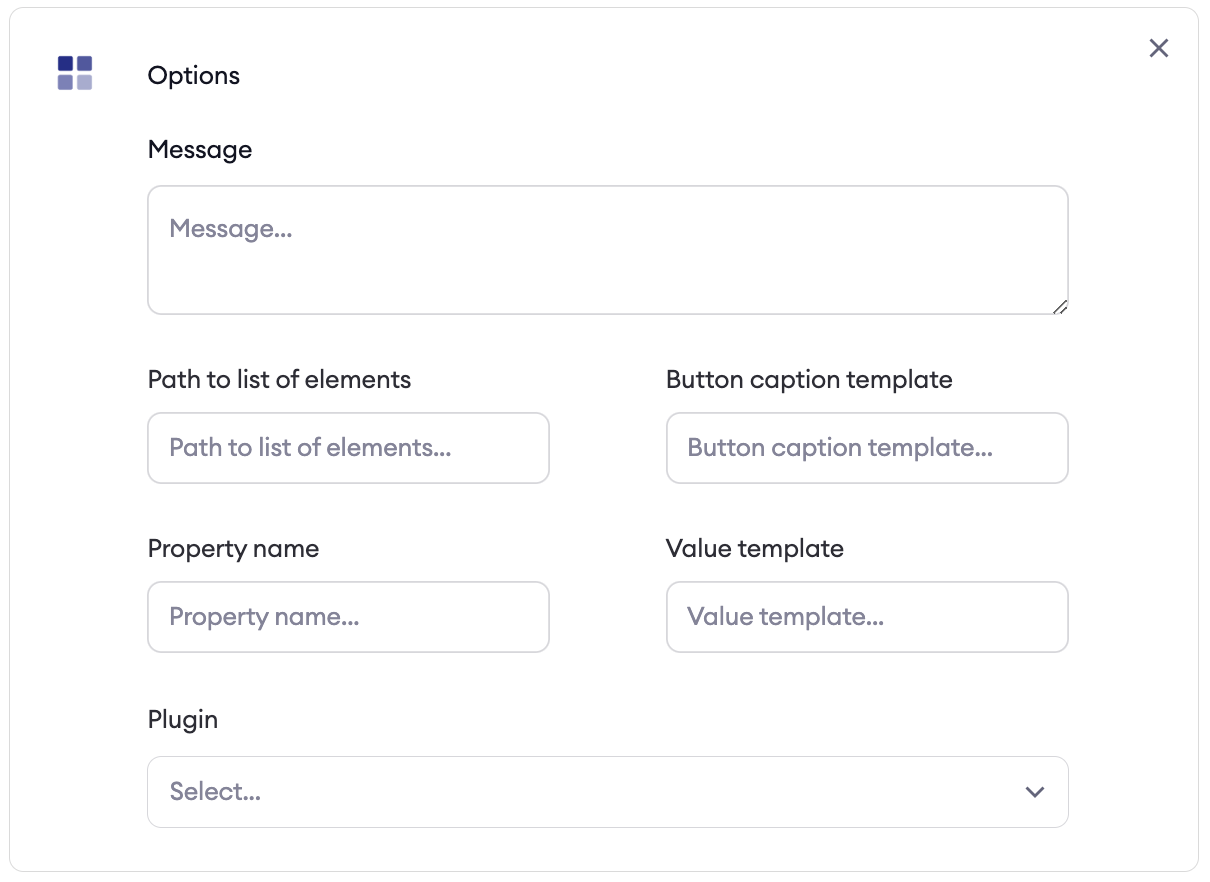
Inputs
| Field | Example |
|---|---|
| Message (required) | Select the order below |
| Path to list of elements (required) | $.result.orders |
| Button caption template (required) | ${orderTitle} - ${orderDate} |
| Property name (required) | selectedProduct |
| Value template (required) | ${orderId} |
| Plugin (required) | Select form the list |
Cloning and translating REST Automation
You can clone and translate the REST Automation. In order to translate it, you need to have regions enabled with at least two regions. The script recognizes the initial language and translates all relevant user inputs.