
Custom Columns
Custom Columns let you enrich your interaction data with AI-generated insights tailored to your business needs. For each conversation, Zowie's AI Agent automatically evaluates and populates the columns you define - based on instructions written in plain language
Creating a Custom Column
Create a Custom Column to generate AI insights for each new interaction.
- In the Supervisor Interactions view, click Manage Custom Columns.
- Click + Create column.
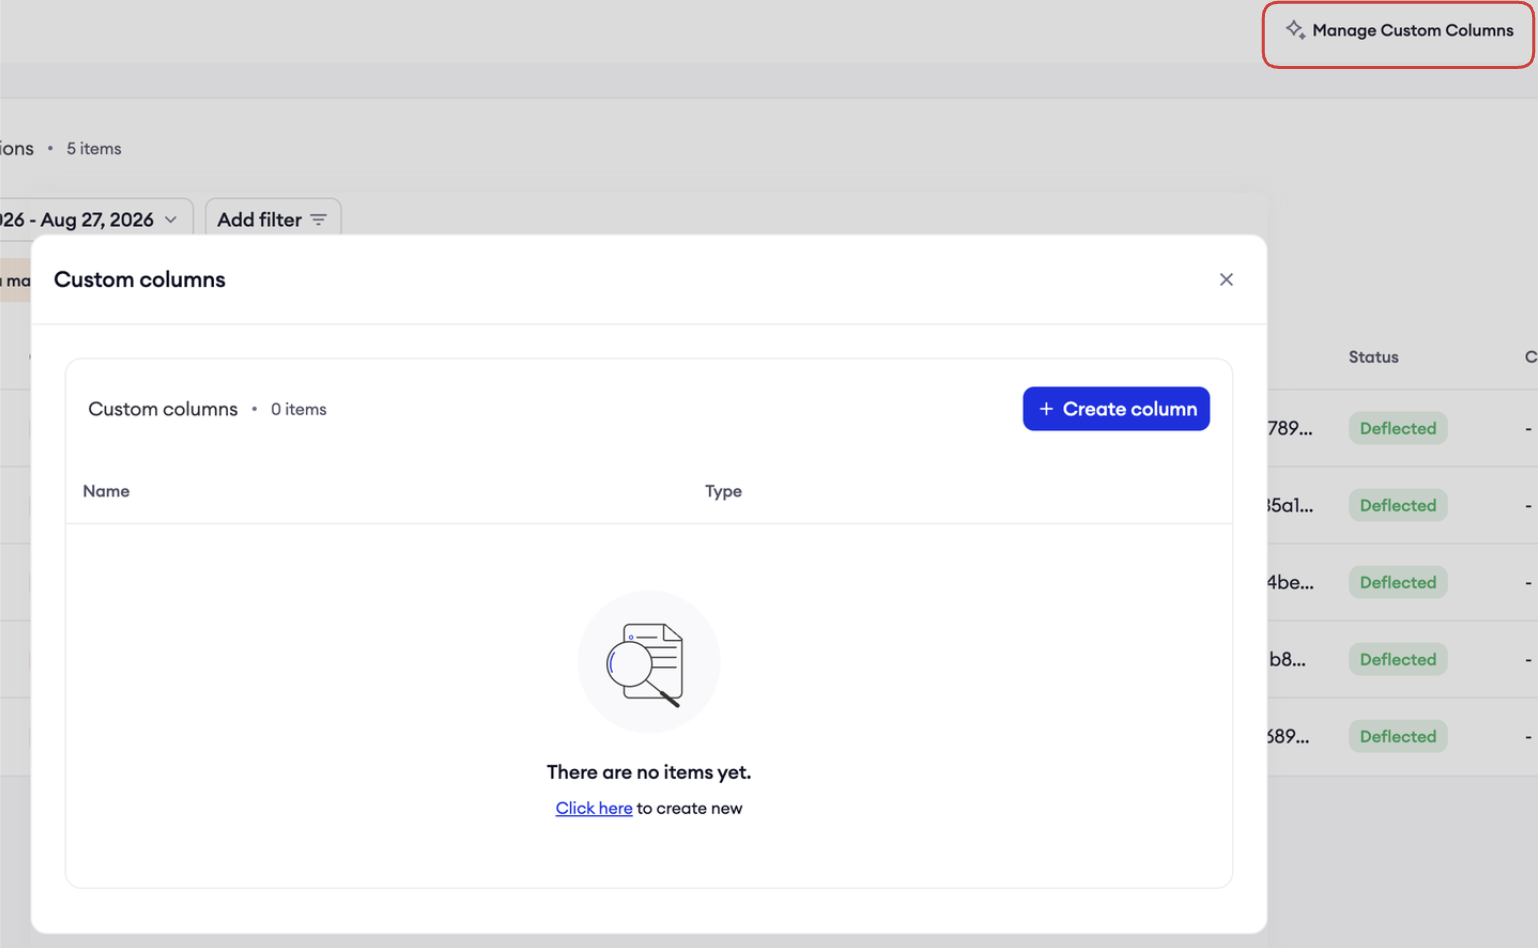
- Fill in the following fields:
| Field | Description |
|---|---|
| Name | A label for the column, e.g. Sentiment, Summary, Number of messages |
| Type | The data type:enum (a fixed set of values), number, text, or long text |
| Instructions | A plain-language prompt for the AI, e.g. "Extract the sentiment of the conversation" or "Short summary of the conversation" |
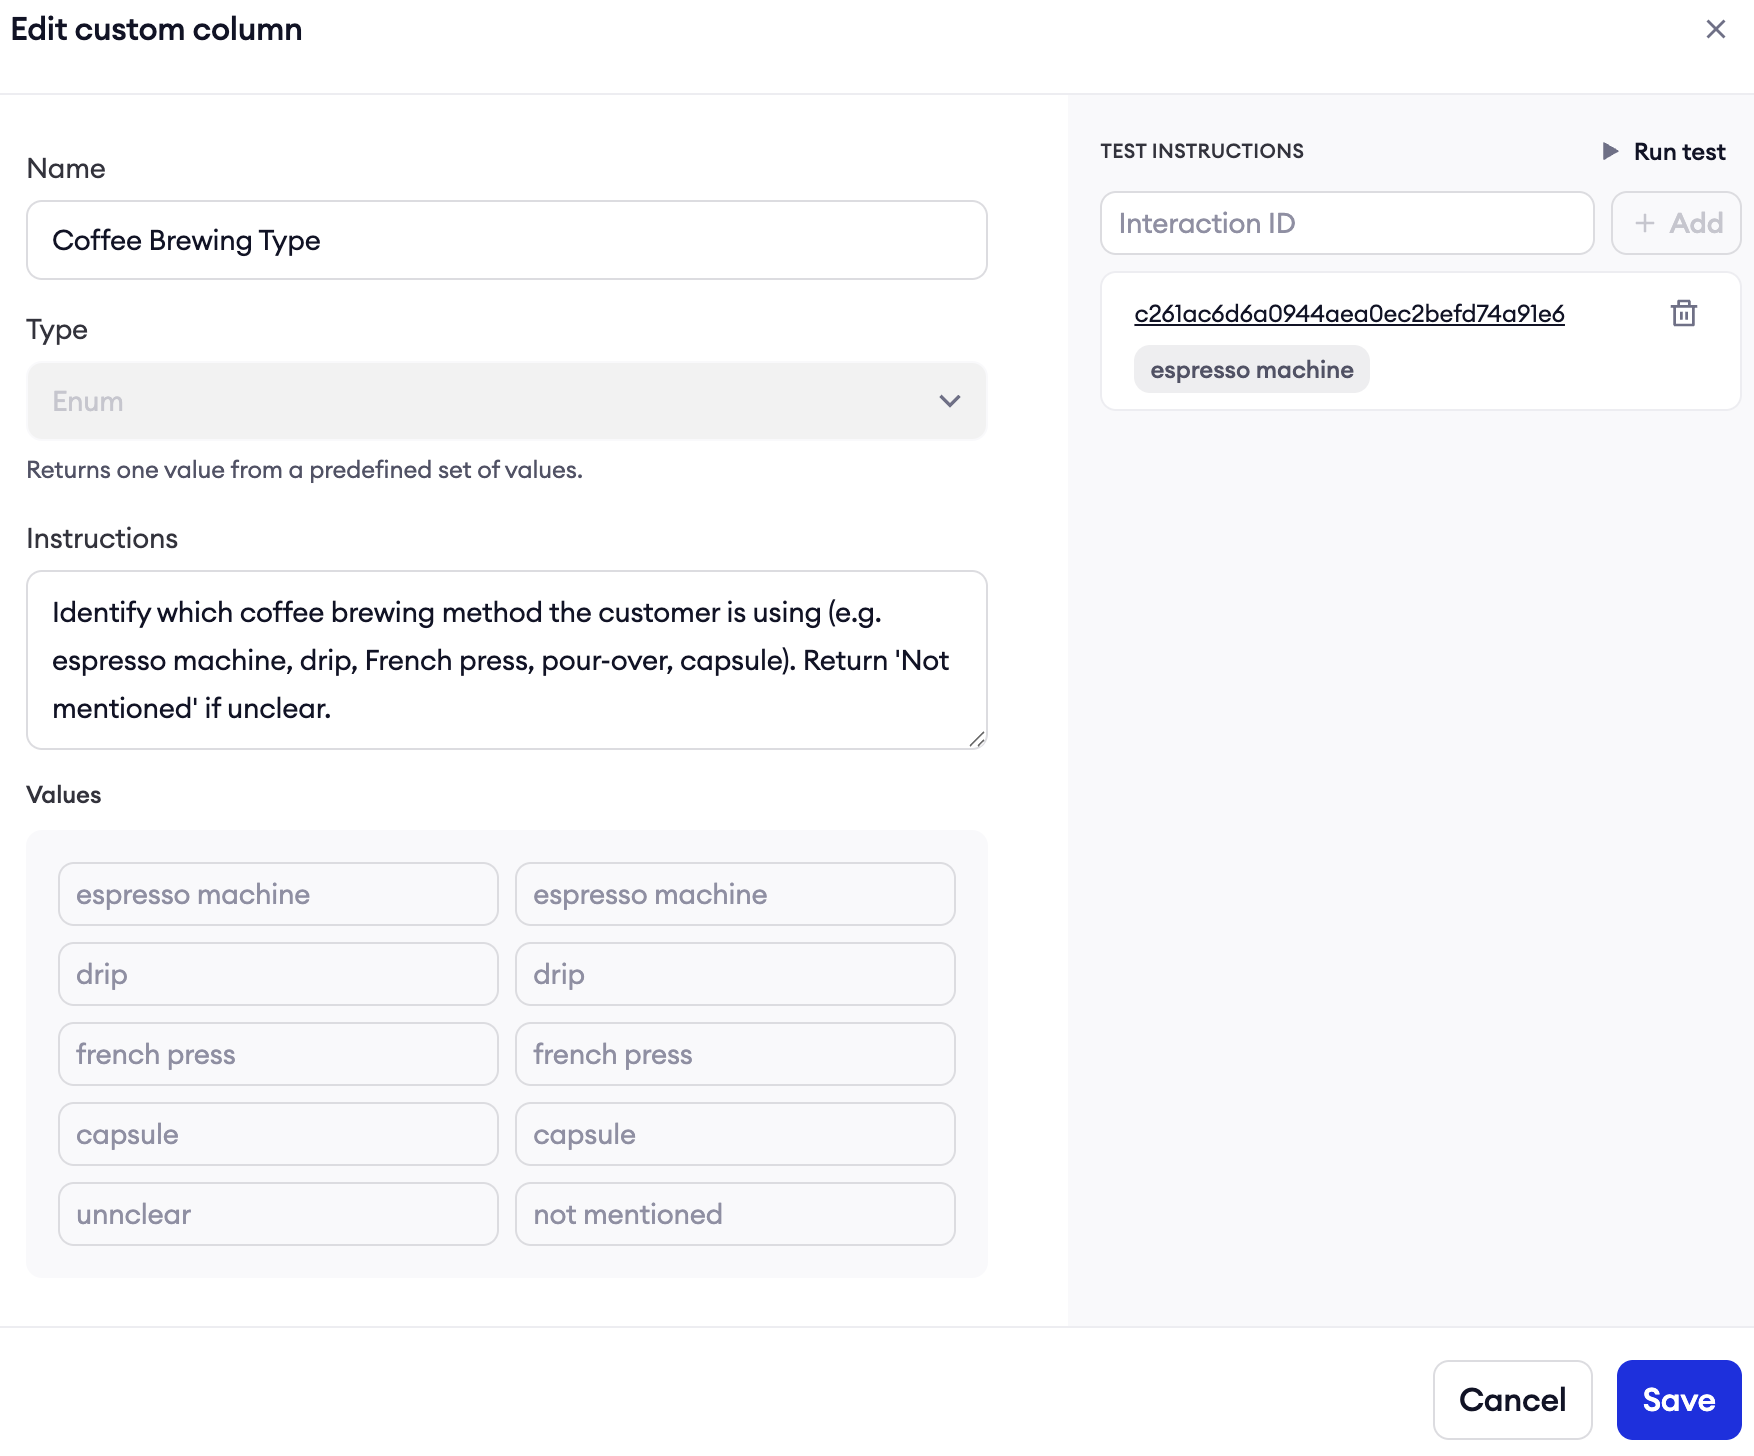
| Values (enum only) | The allowed output values, e.g. good, bad |
Limit: You can define a maximum of 3 Custom Columns per workspace. The Add button is disabled once the limit is reached.
Column types
- enum — The AI assigns one value from a predefined list. Enum columns are not available for display as a sortable/filterable table column, but their values are visible in interaction details.
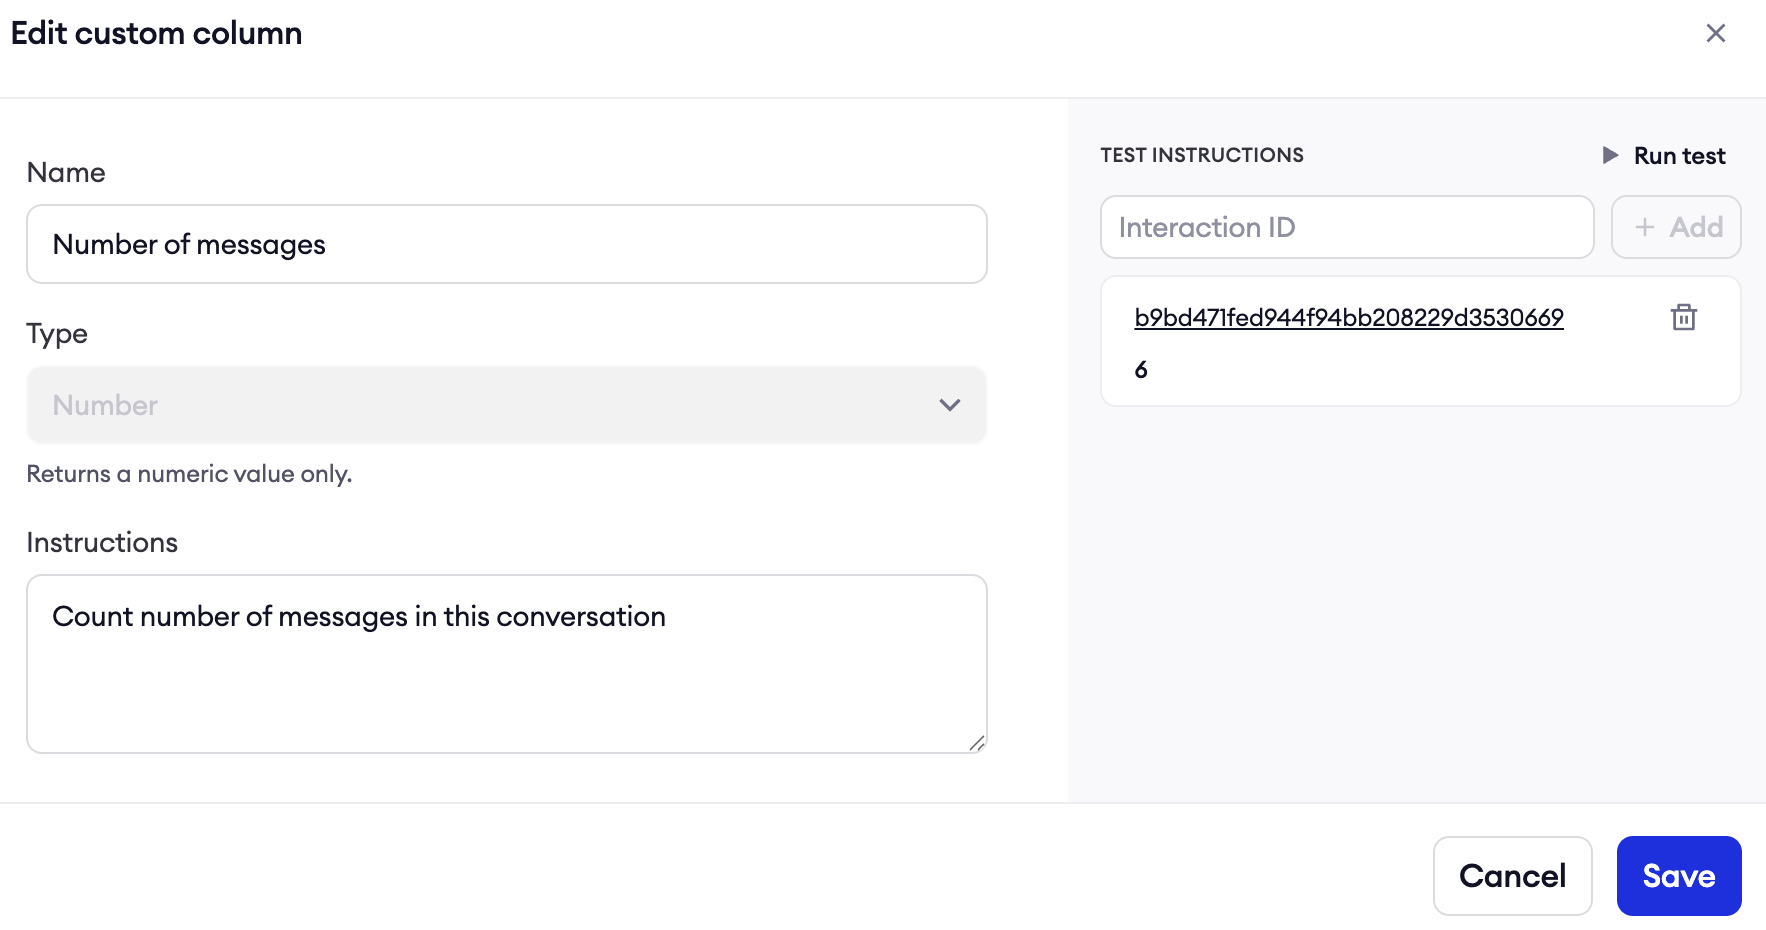
- number — The AI returns a numeric value, e.g. message count.
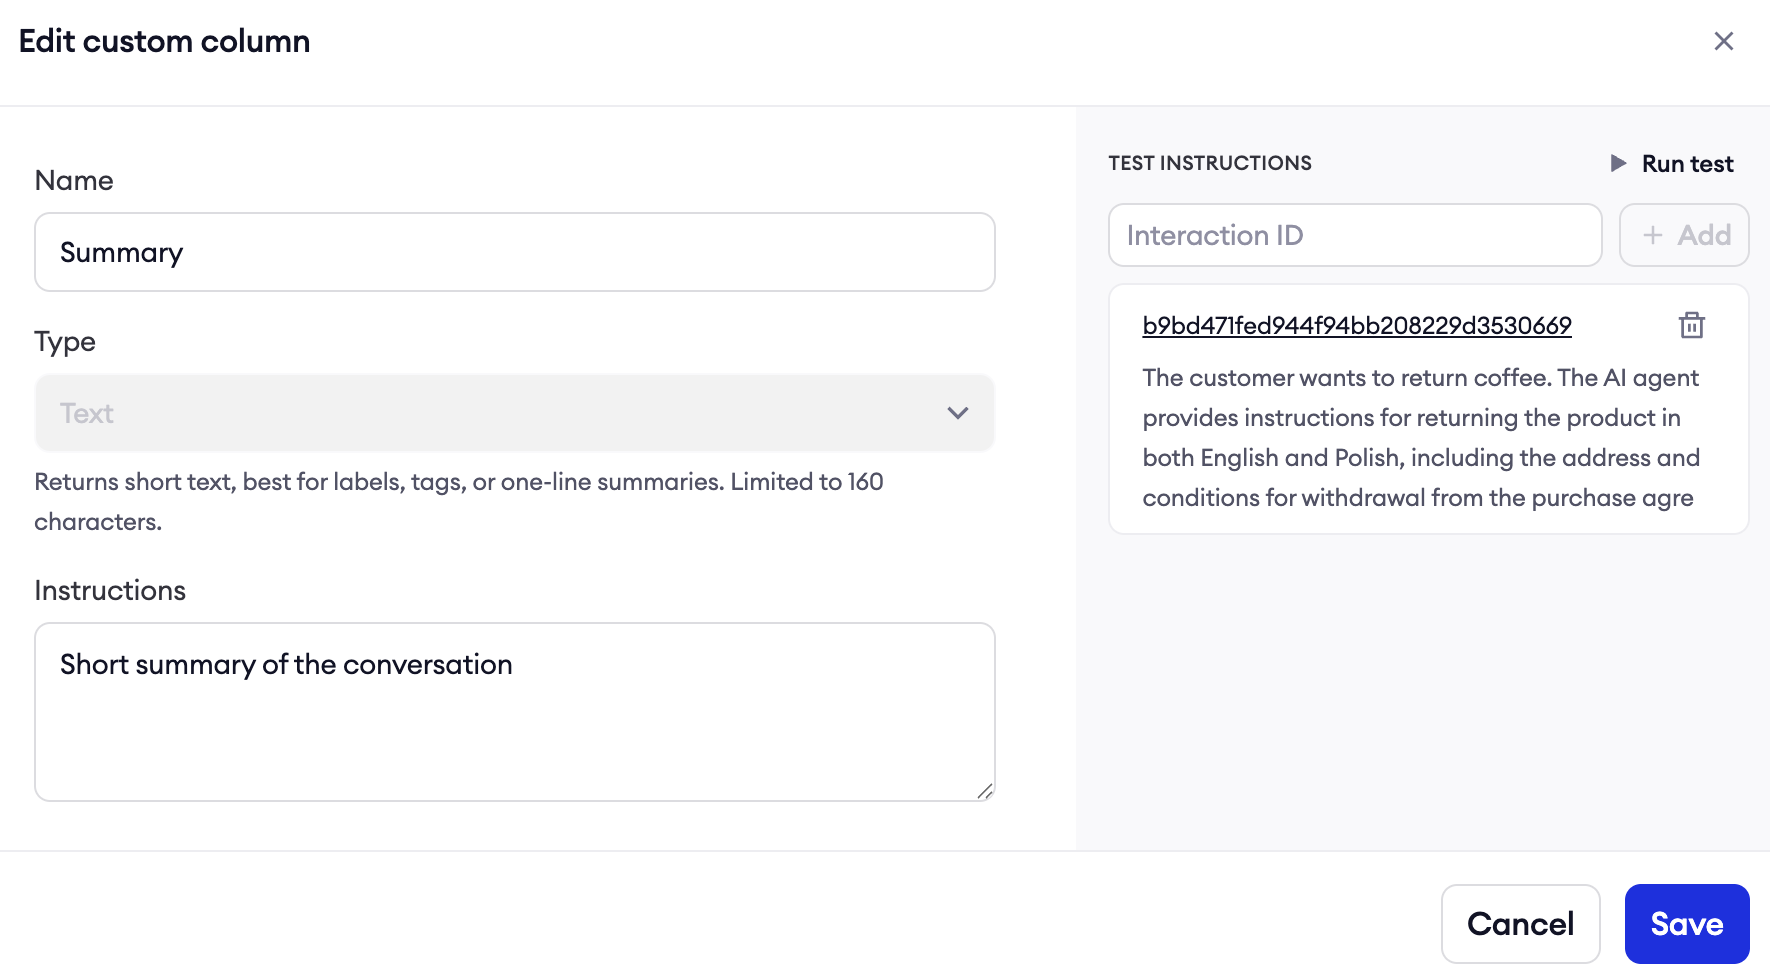
- text — The AI returns a short free-text value, e.g. a summary.
- long text — The AI returns detailed answers or explanations. Values are limited to 1,800 characters.
Test Run
Use the Run test panel on the right to preview the AI's output for a sample interaction before saving.
- Copy and Paste any Interaction ID from Supervisor
- Press + Add
- Press >Run test
Example #1 - Text type column
Example #2 - Number type column
Example #3 - Enum type column
Adding Custom Columns to the Interactions table
Once your columns are created, you can add them to the table view:
-
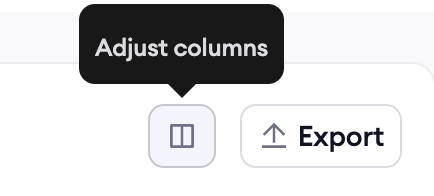
Open the column selector in the Interactions table.
-
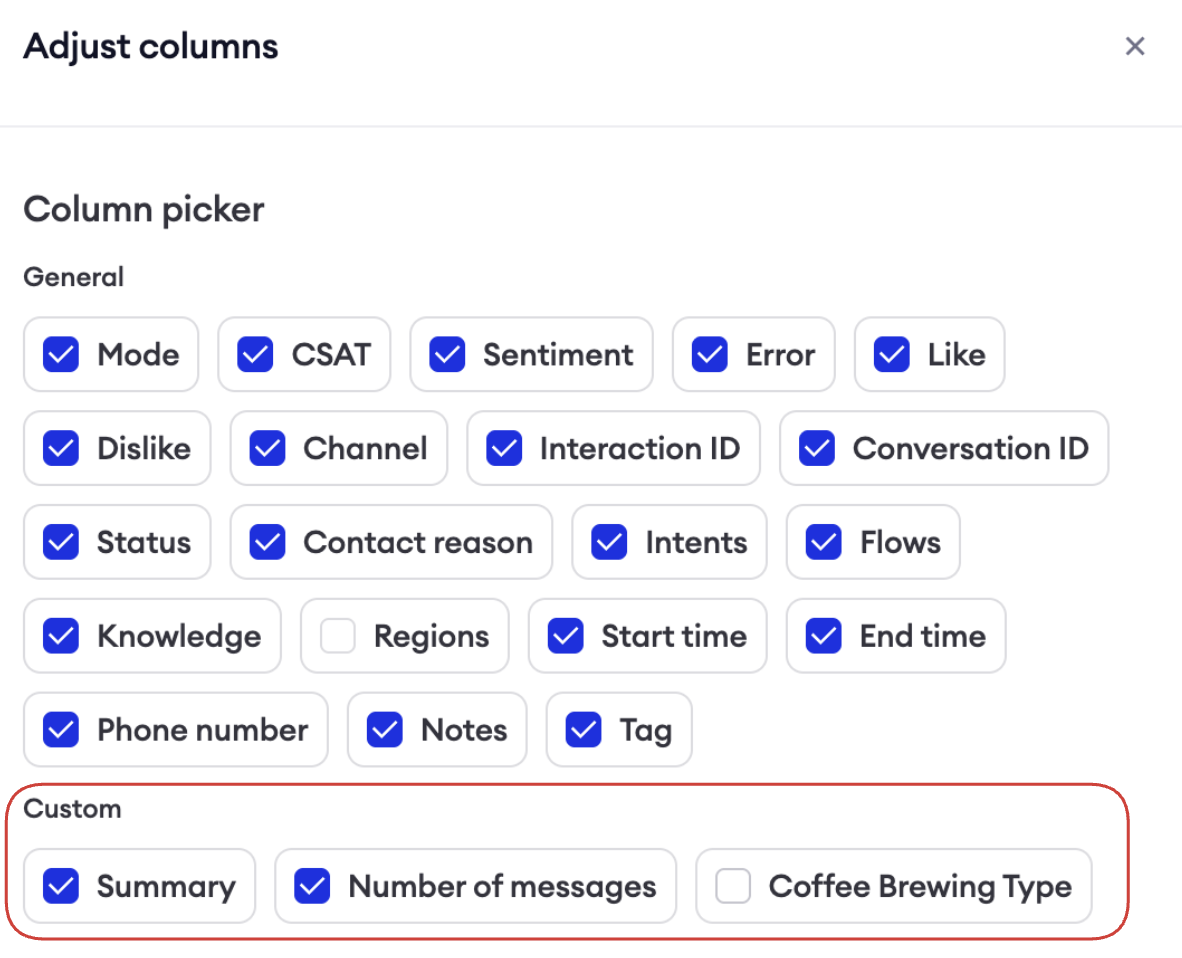
Select the Custom Columns you want to display.
-
Drag them to reorder, just like any other column.
-
Click Save.
Your selected columns will appear in the table and in the details view for each interaction.
Viewing values in interaction details
Custom Column values are visible both in the Interactions table and when you open an individual interaction.
Note: Values are only generated for interactions that occur after a column is created — existing historical interactions are not backfilled.
FAQ
Can I edit or delete a Custom Column after creating it?
Yes. Open Custom Columns settings, select the column, and update or delete it. Deleting a column removes it from the table and all interaction details.
Why don't I see values for older interactions?
Custom Columns only process interactions that happen after the column is created. There is no retroactive backfill.
I've reached the 3-column limit. What are my options?
You'll need to delete an existing column before adding a new one. Review which columns are actively used before removing any. If you still need more than 3 columns, please contact your Technical Account Manager.
Updated about 2 months ago